There are many ways to capture screen activities on a mobile device. Last time I shared with you two methods to get this done on an iPhone and iPad while playing Clash Royale. One is using the AirShou app (for non-jailbroken devices), the other is via Display Recorder (for jailbroken devices).
If you have chance to browse the discussion section, you’ll notice a comment made by “SkythekidRIS” about using the QuickTime technique. Yes, if you have a Mac, recording iOS device screens is quite convenient with QuickTime — the built-in media player on Mac OS X. It allows you to view, edit, and record audio and videos. Most Youtubers are now using this method to record the screen.
Thanks to JP from SoftwareHow, he contributed this detailed tutorial on how to use QuickTime to record iOS screen videos. For further reading, he also introduced three other awesome techniques on his blog.
How to Record Your iOS Device Screen using QuickTime Player on Mac
What you’ll need to prepare:
- An iPhone or iPad with iOS 8 or later (sorry, Android bros)
- A Macintosh computer with OS X Yosemite or El Capitan (soon macOS Sierra).
- The built-in QuickTime Player utility.
- A lightning cable that comes with your iPhone or iPad.
The step by step guide:
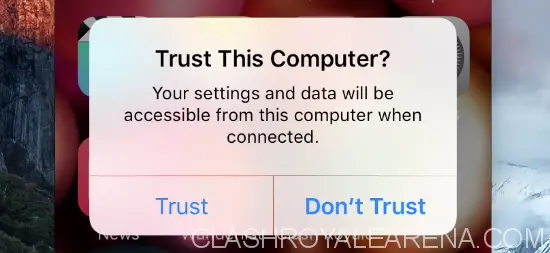
Step 1: Find the lightning cable and use it to connect your iOS device (iPhone or iPad) to a Mac. If you see this “Trust This Computer?” pop-up warning on your device screen, hit “Trust” to continue.
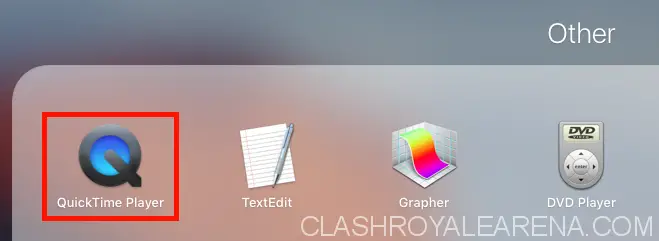
Step 2: Open Launchpad, locate the QuickTime Player app in the “Others” folder. Alternatively, you can do a search in Spotlight to find the app. Click the app icon to open it.
Step 3: A new window pops up, asking you to select a file to open. Leave it alone. This is for playing or editing an existing video or audio. Instead, select “File” in the menu. See Step 4.
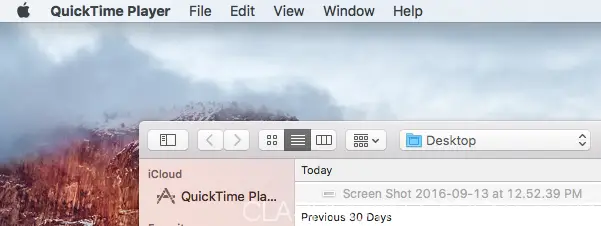
Step 4: In the menu, select File > New Movie Recording. Note: you should not select New Screen Recording. Don’t be fooled by the name.

Step 5: Now it’s the magic moment. To record screens from your iOS device, you click that arrow down icon (next to the red circle button) and select your device under “Camera”. Here, you can also choose which Microphone to use during the recording process.
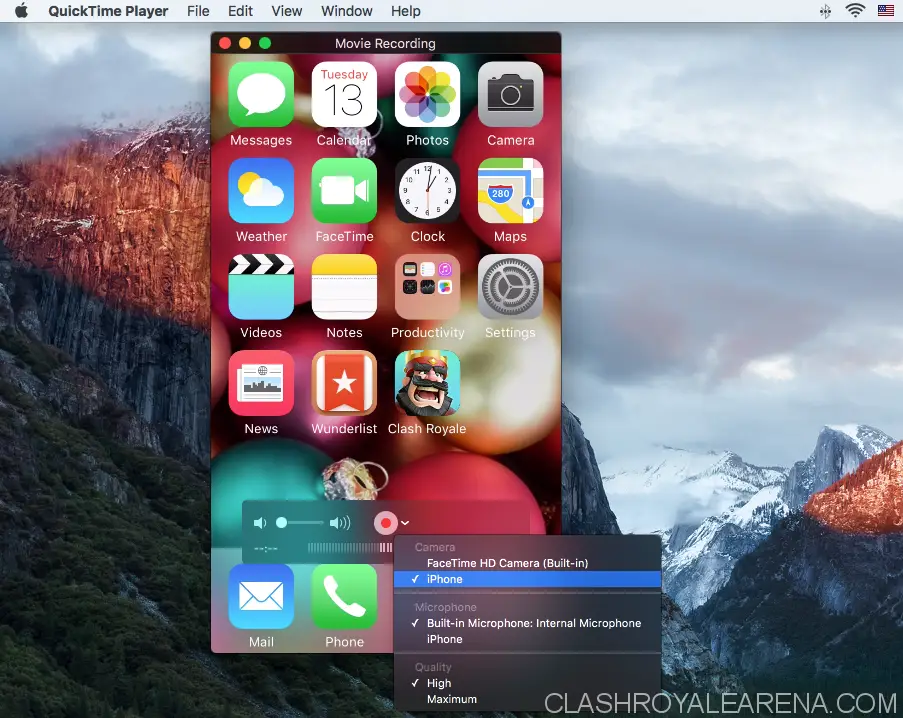
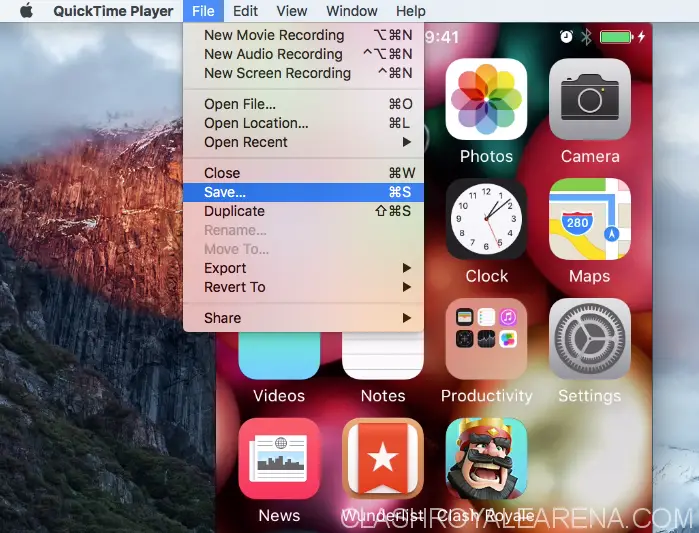
Step 6: Hit the red button to start recording. Now you can play the Clash Royale game as you want. Once you finish, click the gray button to stop recording. Next, save your video by clicking File > Save.
That’s it. You are all set. Do you find this tutorial helpful? Leave a comment below and let me know!

