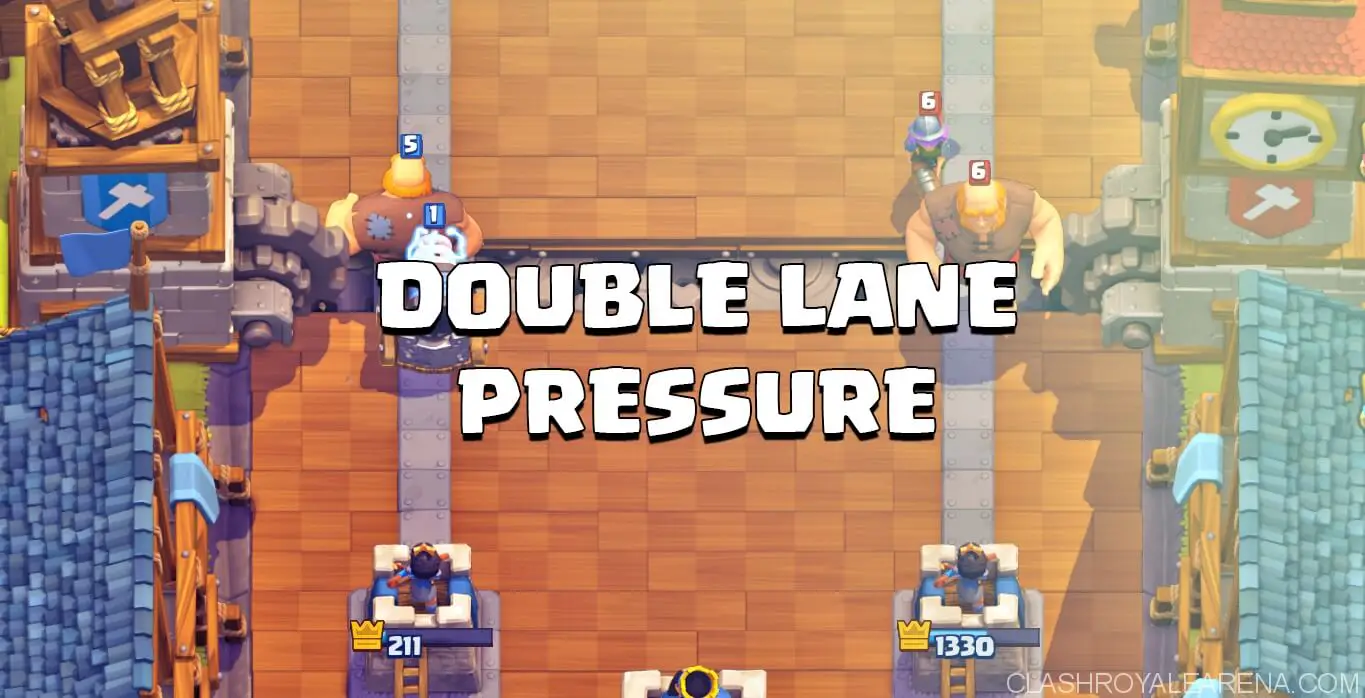
Hey guys it’s Ash and this is going to be a quick guide on one of the most important high level strategies in the game, Double Lane Pressure. Double Lane Pressure is a strategy I’ve termed in which you pressure your opponent by utilizing both lanes. Usually, most players only focus on attacking one of their opponent’s towers at a time. But in this video, I’m going to show you guys a bunch of examples of how you can utilize both lanes and when is the best time to attack both lanes and win.
How to Double Lane Pressure in Clash Royale
Example 1:
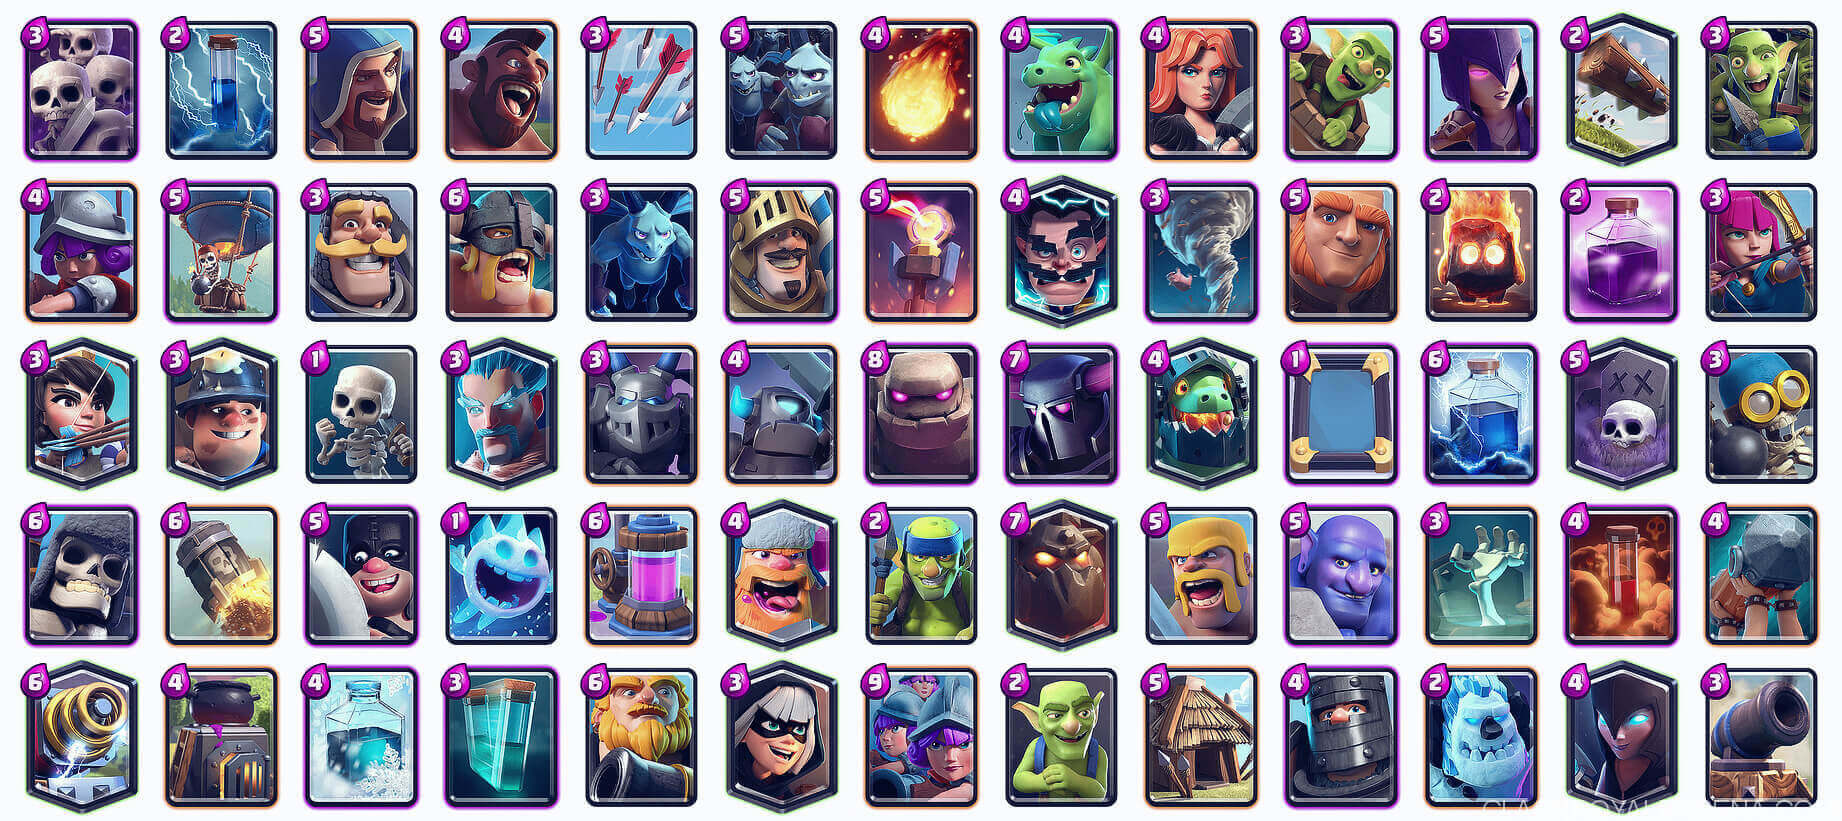
The first example I want to give is when your opponent deploys an expensive troop like the P.E.K.K.A, Giant, Golem, or Sparky. All of these cards are expensive in Elixir cost and require support, or are easy to counter. For example, the P.E.K.K.A is a very easy card to deal with when she is alone. But when she’s coupled with another troop such as a Wizard, she becomes a much bigger threat. Otherwise, you easily counter her with very little Elixir.
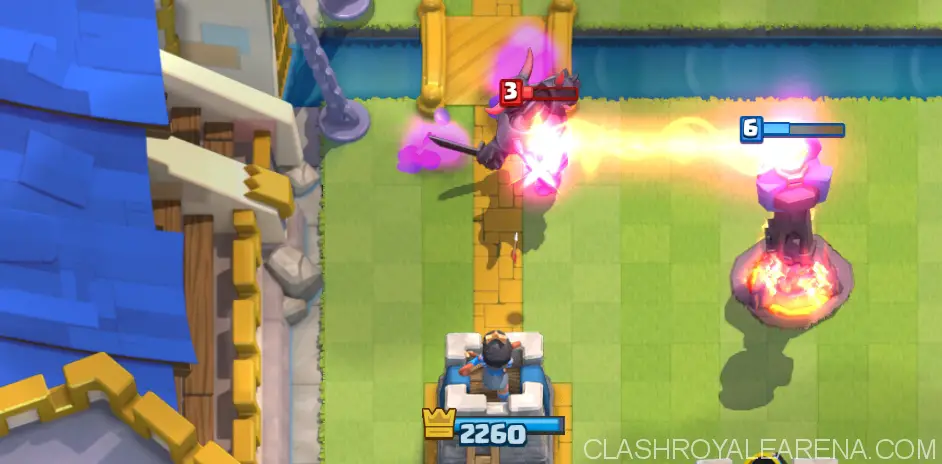
So when your opponent deploys an expensive troop like the P.E.K.K.A, then the first thing in your mind should be to Double Lane Pressure. When your opponent deploys the P.E.K.K.A, he spent 7 Elixir, leaving him with only 3 to defend. So what you should do is to attack and pressure your opponent on the other lane. For example, if he deployed the P.E.K.K.A on the right lane, then you should attack and pressure the left lane. What this will do is, it will force your opponent to react and defend the left lane. This is when your opponent is most vulnerable because he’s only going to have about 4 Elixir to stop your push. So as long as you pressure your opponent on the left lane and keep pressuring him on the left with your Elixir advantage, your opponent is going to have a very difficult time supporting his P.E.K.K.A, or Giant, or Golem, or Sparky. And then once that troop makes it to your side, you can easily counter it now because it’s going to be unsupported as your opponent spent all of his Elixir defending.
Example 2:
Another similar example is when your opponent deploys an expensive support troop like the Wizard or Witch. You can immediately attack the opposite lane and force pressure on your opponent. This will then result in your opponent failing to support their Wizard or Witch a tank such a Giant, allowing you to easily counter that threat.
So as you guys can see, the Double Lane Pressure technique can be used any time your opponent deploys a troop that needs support to be effective or pose a lot of threat. A card such as the Hog Rider is fast and doesn’t need support to hurt you badly. So you can’t Double Lane Pressure against a Hog Rider push. For that, you need to focus on Counterpushing, not Double Lane Pressuring.
Example 3:
The other example I want to share about Double Lane Pressure is when you should initiate attacking both lanes. When is it the best time to attack both lanes?
This one is a little more advanced because it requires you to first scout your opponent’s deck and also your opponent’s moves.
For example, say you’re using the Hog Rider and Prince in your deck. Both the Hog Rider and Prince will do a lot of damage if they make it to your opponent’s tower, but that’s the main challenge, getting them to your opponent’s Arena Tower. So say that your opponent has Barbarians and Minion Horde to easily counter both your Hog Rider and Prince. So what you need to do now is form a plan and Double Lane Pressure your opponent to get to their Arena Tower. Because if you don’t Double lane Pressure, sending your Hog Rider and Prince together in one lane will allow your opponent to easily counter both of them with ease because both the Hog Rider and Prince share similar weaknesses.
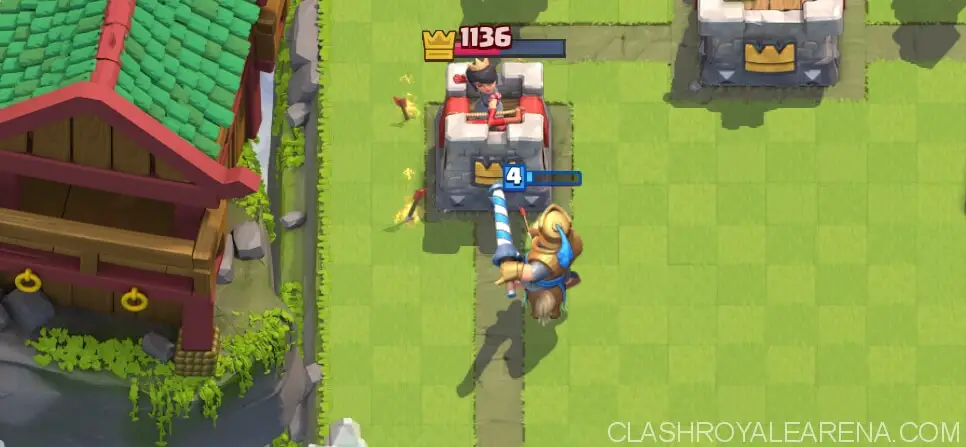
So what you should do is first send out your Hog Rider or Prince with a combo in one lane. This will of course force your opponent into defending that lane. So say you deployed your Hog Rider on the left lane alone to basically bait your opponent into using his Barbarians or Minion Horde. Your opponent probably thinks that he made a smart move and countered your Hog Rider push very easily. But what you’ve done now is created an opening on the right lane. Your opponent no longer has Barbarians, as those Barbarians were already deployed, leaving your opponent with just a Minion Horde to defend your Prince push. So now you send in your Prince on the right lane and couple him with Fire Spirits to instantly wipe out the defending Minion Horde and deal incredible damage to your opponent’s tower.
This would not have been possible if you did not Double Lane Pressure. If you had sent in your Hog Rider and Prince on the same lane with Fire Spirits, then your opponent would have easily countered that with his Barbarians and Minion Horde. And remember, since you’ve pressured your opponent on the right lane with your Prince, this disallowed your opponent of supporting his Barbarians, making it very easy to also counter the unsupported Barbarians.
So this is how you Double Lane Pressure. It’s more of an advanced technique, something you guys will learn to master more of as you keep playing. So I hope you guys enjoyed this short tutorial, I will upload more of these advanced strategies in the future. And of course I’ll continue to upload my gameplay every day so you guys can also watch all the different strategies I use when in a battle. So thanks for reading and watching my vido, be sure to leave a like and also subscribe for more daily Clash Royale content!


