Hey guys it’s Ash and today I want to show you guys the many ways to break down big combinations of troops. For example, what is the best way to deal with a Giant with a Bowler and Mega Minion behind it? It’s easy to counter a lone Giant, but when he’s paired with multiple other troops behind him, it becomes a much bigger challenge.
How to deal with Big Pushes in Clash Royale
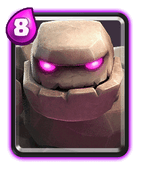
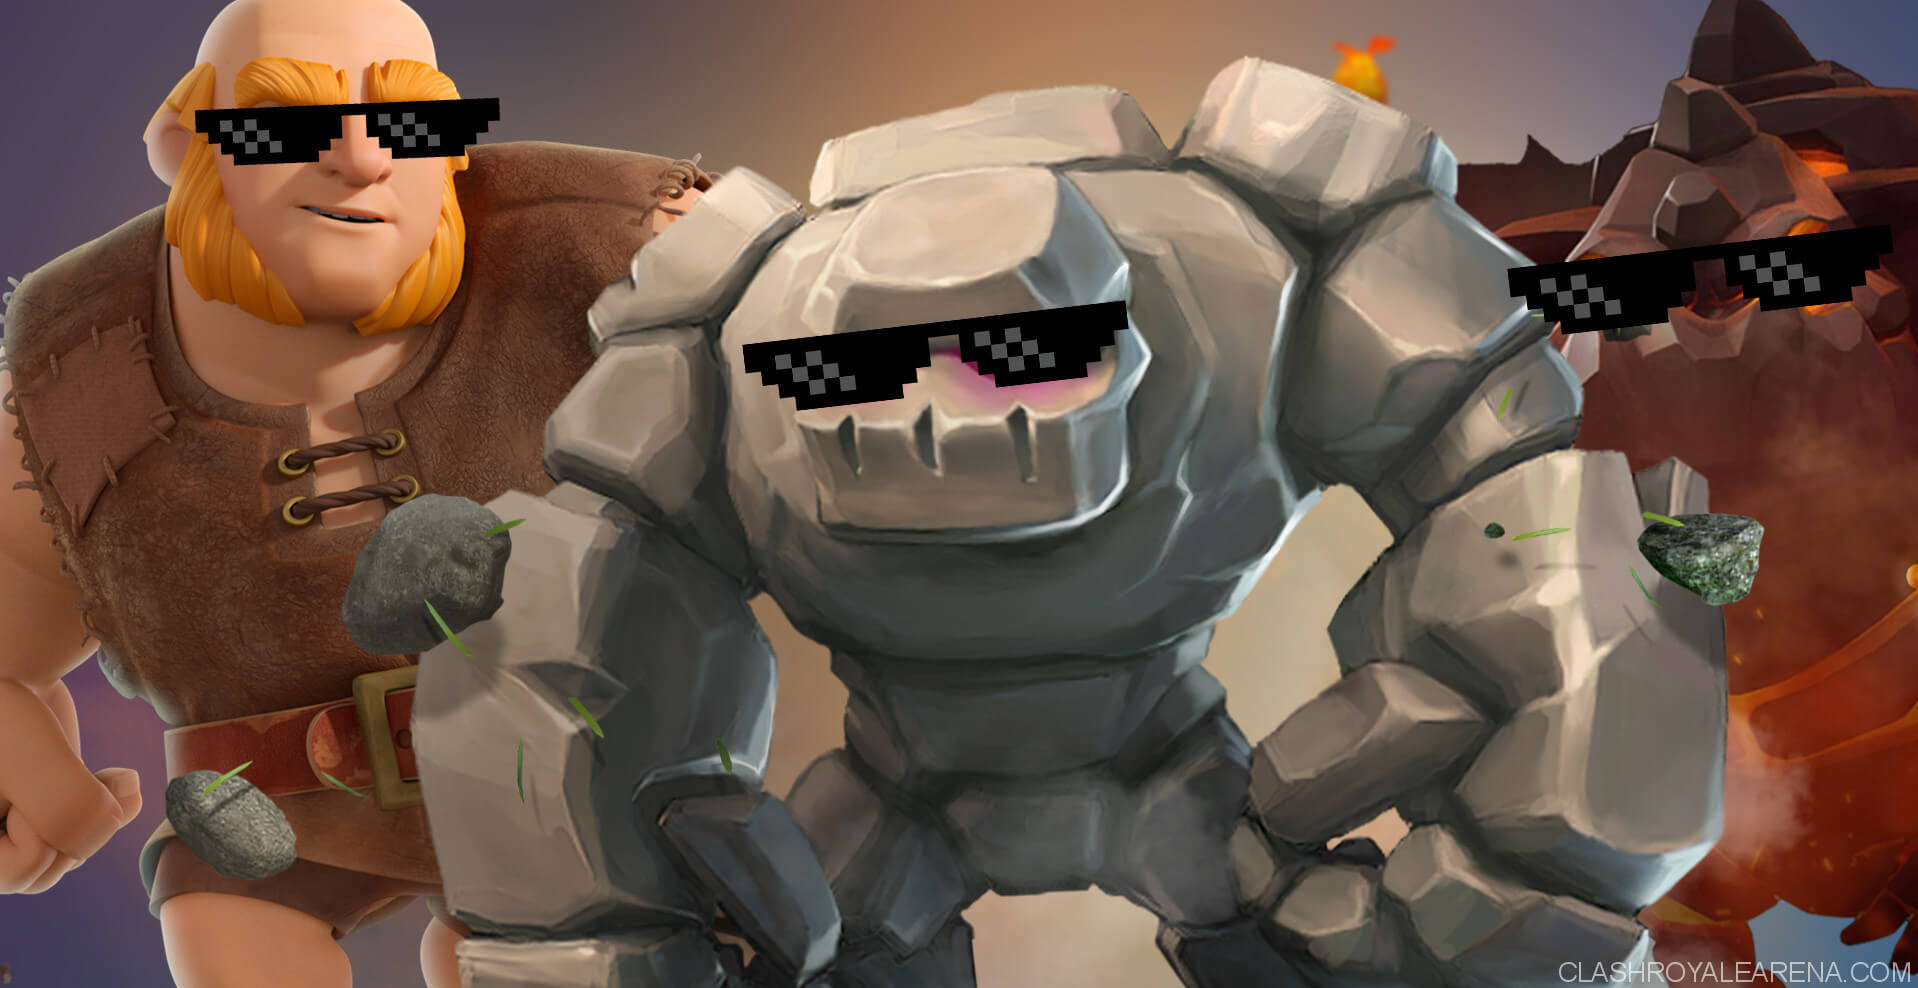
Big tank pushes are one of the most challenging aspect to this game, so understanding how to beat them is extremely important. So in this guide, we’ll be going over how to stop big combinations that utilize the Giant, Golem, Royal Giant, or Lava Hound.
First, just want to mention that if you guys have Twitter or Facebook, then be sure to follow me. I’m very active, I post every day, and I also regularly respond.
There are 3 things you need to do to stop a big tank push.
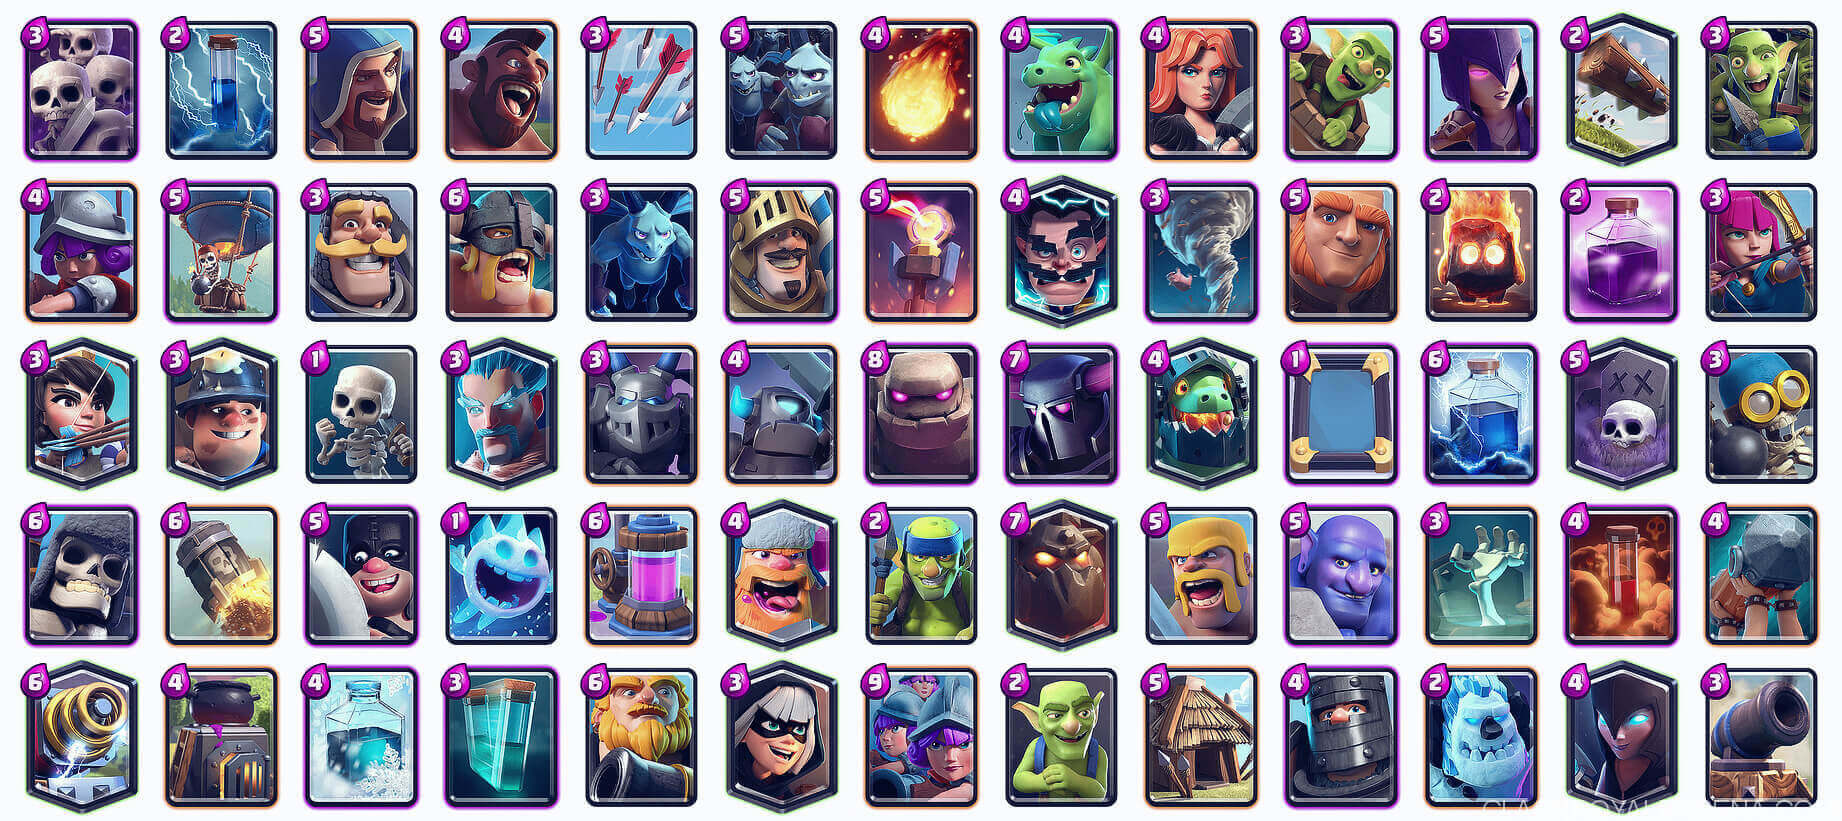
- You need a tank killer. A tank killer can be either a hard hitting troop such as a Mini P.E.K.K.A or Barbarians or a defensive building like an Inferno Tower or Cannon. Or a combination of defensive units such as a Tombstone and Archers.
- You need a support distractor. A support distractor is a unit that can be used to distract the supporting units behind a tank. Some examples of support distractors are Ice Golem, Knight, Guards, Valkyrie, Dark Prince, Baby Dragon, and so on.
- You need a support killer. A support killer is a unit that can safely kill the supporting units behind the tank while your ‘support distractor’ distracts them. Cards that usually are great support killers are Mega Minion, Musketeer, Archers, Valkyrie, Bowler, Wizard, and so on.
Whenever I’m building a new deck, I always make sure I have cards that can fulfill all 3 of these roles.
Make sure your deck isn’t missing a tank killer, support distractor, or support killer.
Against Giant pushes
Let’s start with the Giant. What is the best way to deal with a Giant push with a Bowler and Mega Minion behind it?
Step 1: Place your tank killer to kill the Giant. So in this example, we’ll place our Tombstone in the kill zone and our ranged Archers away from it.
Step 2: We’ll use our Ice Golem to distract both the Bowler and Mega Minion, while our Tombstone and Archers slowly kill the Giant.
Step 3: While the Ice Golem is distracting the Bowler and Mega Minion, drop your own Mega Minion, which is your support killer, on their Mega Minion. As the Ice Golem dies, it will also slow down your opponent’s Mega Minion and Bowler, making sure that your Mega Minion comes up on top.
Watch this gif for more details:
In Clash Royale, a good defense isn’t a defense that can completely shut down your opponent’s push. A good defense is a defense that can lead to a counterpush. And that is also something I want to convey strongly in this guide.
Your opponent’s Giant, Bowler, and Mega Minion all cost 13 Elixir together. While you used Tombstone, Archers, Ice Golem, and Mega Minion to stop it, which is a total of 11 Elixir. You not only stopped the push, but also have Archers and Mega Minion alive, which is very important. You can then add a tank such as Giant or minitank like Hog Rider in front of your Archers and Mega Minion and you’ll have a really powerful counterpush. And this is what makes your defense such an excellent defense. It led you to an excellent counterpush with high value.
There are so many ways to counter any big push with a tank when you have the 3 ingredients: The tank killer, the support distractor, and the support killer.
Against Golem Pushes
So let’s do another example. Say your opponent has a Golem backed up with Archers and Mega Minion and also has a Zap Spell to reset your Inferno.
Step 1 – Place down your Inferno Tower in the kill zone.
Step 2 – Wait for the Mega Minion and Archers to first cross the bridge, and then drop your support distractor to distract the Archers and Mega Minion. So we’ll use the Knight to distract the Archers and Mega Minion.
Step 3 – And at the same time, we’ll use our Musketeer to shoot down the Mega Minion and Archers. Even if he Zaps to reset our Inferno Tower, it won’t be enough to stop us without his supporting troops.
After countering his push, we’ll add a Giant in front of our Musketeer for a powerful counterpush.
Oftentimes, when you don’t have a powerful defense like the Inferno Tower, it becomes almost impossible to stop a big Golem push from reaching your Arena Tower. So what am I supposed to do? Well the best way to stop a big Golem push is to never let your opponent build it. You need a lot of Elixir to form a big push with the Golem. When your opponent plays a Golem, he’s spending 8 Elixir, leaving him with 2 Elixir to. So by quickly making a big push on the other lane, like a quick Hog Rider push, your opponent will be forced to use up every last bit of his Elixir to stop you, or otherwise lose his tower. This will leave the Golem without any or much support troops, making it much easier for you to stop it.
Against Royal Giant
Now what about countering big Royal Giant pushes? Royal Giants have 6.5 tile range and take up a lot of space, making it harder to deal with the supporting units. However, a Royal Giant has about 30% less HP than a Giant.
Again, you can use the same formula to stop a Royal Giant push.
Step 1 – Drop your tank killer. If you’re using a defensive building such as an Inferno Tower, then make sure to time it properly, placing it down at the same time the Royal Giant crosses the bridge. It’s important to allow the Royal Giant to cross the bridge, so your Arena Tower can target it.
Step 2 – Now since the Royal Giant takes up so much space, you need to drop your “support distractor” right on top of the Royal Giant, in front of your “tank killer” and “support killer.” Certain units can act as both “tank killer” and “support distractor” due to their decent HP combined with powerful DPS, such as the Mini Pekka or Barbarians.
Step 3 – Against a Royal Giant user, you don’t necessarily need a “support killer.” Rather, it is better to target the Royal Giant due to its much less HP compared to a Giant, and then counterpush. So Step 3 against a Royal Giant user should be for you to mainly focus on the counterpushing. If you can’t completely shut down a Royal Giant from targeting your Arena Tower, then you need to counterpush. And most of the time this is the case. You can defend as well as you can, but a Royal Giant could still get at least 2 hits on your tower. Your goal should not be to completely stop a Royal Giant, your goal should be to mitigate or lessen the impact of that Royal Giant as much as possible, and then save your Elixir and counterpush right afterwards. Because the Royal Giant is an expensive 6 Elixir card, it’s very difficult to stop a counterpush after you’ve spent all your Elixir on supporting the Royal Giant. So you must capitalize on this.
Another important thing I want to cover is the placement of your Inferno Tower when dealing with a Royal Giant. It’s a common misconception that your Inferno Tower be placed in the kill zone every time. In fact, against a Royal Giant user who uses Minions to distract your Inferno Tower, it’s best to place your Inferno Tower in this manner to counter the Royal Giant, and prevent your Inferno Tower from getting distracted by Minions.
Against Lava Hound Pushes
Lastly, we’ll cover Lava Hound pushes. When dealing with Lava Hounds, you need to understand that your main threat are the units behind the Lava Hound and the Lava Pups that will emerge after the Lava Hound’s death.
So usually it’s best to address the supporting units behind a Lava Hound first. However, it’s also very dependent on the cards you have. For example, if you have an Inferno Tower and Arrows, then you should use the Inferno Tower to directly kill the Lava Hound quickly, and then use Arrows on the Lava Pups and the supporting units behind the Lava Hound.
A good Lava Hound player will try to use his Minions to distract your Inferno Tower, so in this case, it’s better to position your Inferno Tower in this manner so that your Inferno Tower locks onto the Lava Hound safely. Believe it or not, placing an Inferno Tower like this against a Lava Hound user is a great idea because there’s no kill zone against a Lava Hound. You won’t be able to pull the Lava Hound to the middle where both your Arena Towers can target, so it’s better to place your Inferno Tower next to your Arena Tower.
Not only that, Miner is very commonly used with Lava Hound as the Miner can shield for the Lava Pups. So another reason to place your building next to your Arena Tower is so that your building is in range to also target that Miner right after the Lava Hound pops.
If your opponent plays a Mega Minion behind their Lava Hound or any other tank, then there are a couple of ways to deal with that. You can use a defensive building to separate the tank from the Mega Minion, then use a ranged attacker like a Musketeer to shoot down the Mega Minion.
Or use a support distractor like an Ice Golem or Ice Spirit to pull out the Mega Minion, while you use your own Mega Minion to kill theirs. And then your Mega Minion can easily pick off the Lava Hound.
Okay guys, thank you very much for reading this pretty long guide haha. Hopefully you have found it helpful! Good luck! See you in the ladder!

