What is up guys, Corrosive Logic here (Small youtuber and CR enthusiast)!
It’s been a while since I’ve made a Clash Royale guide, but the Golem beatdown deck I started playing yesterday gave me some inspiration!
In-Depth Analysis of the Golem Beatdown Playstyle (Pro Tips)
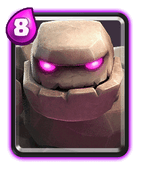
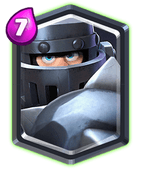
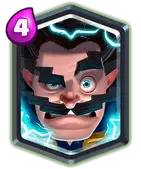
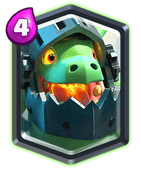
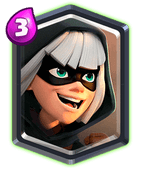
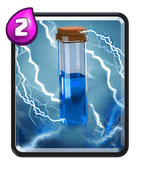
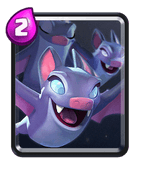
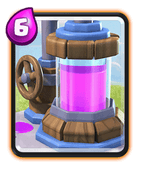
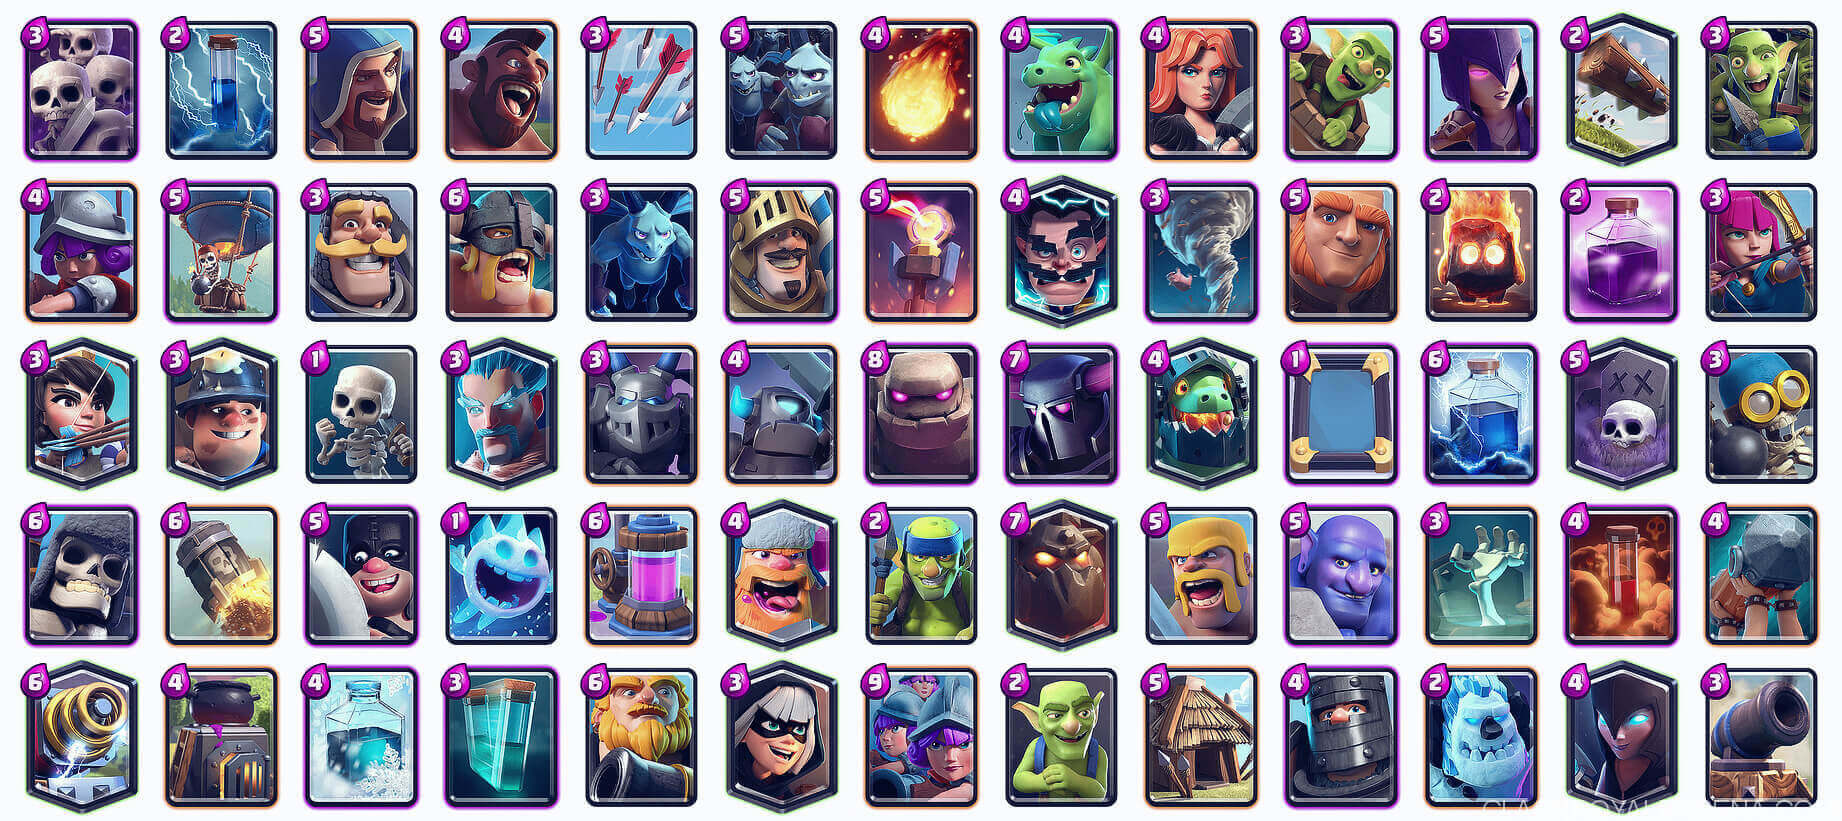
This is the deck I am using at the moment.
General Gameplan
“Pretty much how every Golem beatdown deck is played”
In my opinion “beatdown” as a deck archetype is very broad description for a playstyle that can be sub classified into a lot of different decks.
“Beatdown” is basically the idea behind gathering a big Elixir lead by taking damage and making your opponent lose momentum (explain in more detail later), and using this Elixir to take your opponent’s crown towers down in one or two pushes.
Golem, Giant, Lava Hound and P.E.K.K.A beatdown are all similar in the idea behind beatdown, but at the end of the day each of these are different deck archetypes played in different ways.
I pretty much just wanted to clear that out early, as I find that a lot of people seem to think that they are all the same.
The majority of beatdown decks carry the Elixir Pump to help accrue that massive Elixir lead, and so does this deck.
After you get that Elixir lead, in typical beatdown fashion you play your tank at the back, you support your tank with the RIGHT support units, and then you proceed to get the 3 crown and the hoo-rah!
That’s the summary of playing Golem beatdown, in a very VAGUE but simple 2 lines.
Opening plays
First off lets start off with the opening plays in this deck of mine.
- If I have the Elixir Collector, I will 100% play it above my king Tower the moment I reach 10 Elixir.
- If Elixir Collector is my next card in rotation I will most likely cycle Bandit or Bats in order to use my Pump, unless I’m forced to defend my opponent’s push thus forcing me to spend Elixir defending instead of using the Pump.
- If Pump is not my hand, I will either cycle Bats at the back, or wait for my opponent to make the first move and react accordingly.
- If I don’t have Elixir Pump or Bats in cycle, I will wait for my opponent to make the first move.
When my opponent makes the first move
- If my opponent attacks (Hog push, Goblin Barrel etc.), I will defend accordingly.
- If my opponent plays a slightly faster card at the back (Lumberjack, Bandit, Electro Wizard, Goblin Gang etc.), then I react by playing one of my support unit cards at the back on the same side.
That is basically every situation I can encounter at the opening of a game. The only situation I haven’t covered is if my starting hand doesn’t have Bats, Golem, Bandit or Elixir Pump… in this case you’re more than likely going to throw away Elixir at the start of the game, thankfully the chances of you having this hand are extremely low.
Momentum – Timing Your Golem
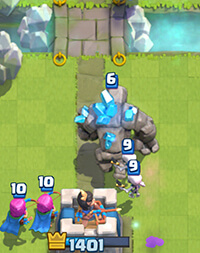 Playing your Golem at the right times is essential to winning games.
Typically you want to play your Golem when you have an Elixir lead, or when cycling to another Pump wouldn’t be productive.
The majority of the time you want to stick to the same lane that your opponent is attacking, it would be very unwise for your opponent to attack your Golem side, as you can just defend and counterpush behind the Golem with your support units.
A very common issue a lot of players face is being undecided on whether they should play the Golem, or cycle a card in order to play the Pump.
Now this depends on what sort of deck your opponent is playing. Keep in mind that in this beautiful deck of mine, every single support unit has to be reacted to besides the Bats, even if on their own.
What I mean by this is that Electro Wizard, Bandit, idrag and Mega Knight all have to be defended against, even if they are just played alone.
This is very useful to know, because let’s say for example you play your Electro Wizard in order to cycle to a Pump, your opponent then counters your Electro Wizard with let’s say a Bandit. When your opponent’s Bandit starts waddling back to your side, you’re going to have to make a decision. Will you play the Pump but suffer 800 damage because of the Bandit, or will you counter the Bandit with your own Bandit and start a vicious cycle of your opponent countering your Bandit with another lone card?
This is why I think that in a lot of situations like these, when you’re unsure of what your opponent is going to counter your cycle card with, just go ahead and play a Golem at the back instead of trying to cycle to a Pump.
The only times I would cycle is if I’m sure that my opponent is just going to counter with a passive card, for example if I cycle Bandit and I’m sure that he’s just going to counter with Ice Golem, Goblins, Ice Wizard etc. This way I can feel safe knowing that I don’t have to react to his lone card and I can safely play my Elixir Collector.
Another point about momentum I would like to mention is, try to only play your Golem at a time so that every other card you play after the Golem is going to support it.
For example, if I play a Golem at the back, I don’t want to have to react to an eWiz crossing the bridge, or a Balloon in the opposite lane, I want any support card I place to be able to support the Golem, thus be behind the Golem.
So try to deal with any of these stray cards before you play your Golem, in order to not lose momentum.
If my opponent rushes my opposite lane after I play the Golem, I will inevitably have to counter, but I will try to use as little as possible, and focus more on nullifying damage rather than preventing it.
Also a neat trick is to play something like eWiz on your Golem side of the arena, but still be in range to shoot at your opponent’s troops in the opposite lane. This allows you to both nullify damage and also support your Golem with the Electro Wizard.
When to Commit to the Golem?
Knowing when to commit to the Golem is deeply interlinked with momentum and an Elixir lead.
Like I mentioned above, there are times when you don’t have an Elixir lead but will be forced to play the Golem.
In these cases, you often don’t want to commit heavily to the Golem as you won’t have the momentum to do so.
- If your opponent has an Inferno Tower, and you don’t have the Elixir lead to overwhelm it, then just let your Golem go as you will end of making more negative trades if you try to commit.
- If you feel like you’re playing against P.E.K.K.A, then you literally CANNOT play the Golem until you have either an Elixir lead or caught your opponents P.E.K.K.A played too early (I’ll talk more about how to deal with P.E.K.K.A later).
In the horrible scenario in which you did play a Golem, and they are countering with a P.E.K.K.A, then I either try to kill the P.E.K.K.A while my Golem is still tanking, or I let my Golem die and try to counter the push coming back at me….neither of them are nice situations to be in…
In the case where your opponent does not have a super counter in the Inferno Tower or P.E.K.K.A, and your opponent counters your Golem with other cards, then I know it’s ok to commit.
You don’t have to necessarily commit 100%, just commit enough to at least kill off your opponent’s cards while they’re still targeting the Golem. This way your opponent won’t be able to counterpush.
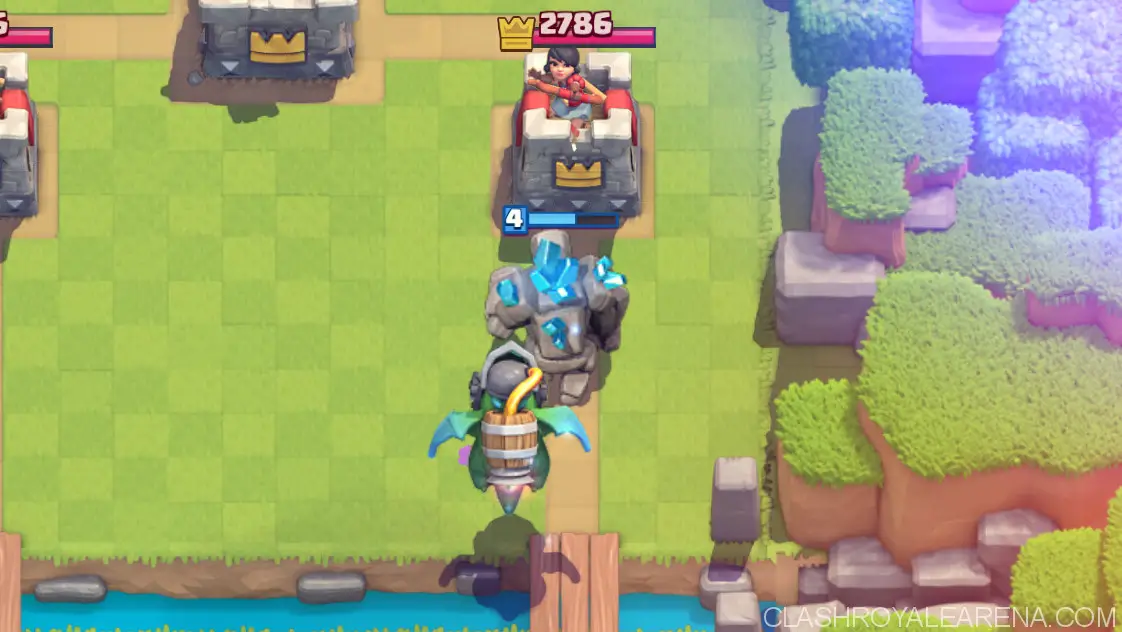
When and How to take damage
As a beatdown player, you are more than likely going to suffer damage.
80% of knowing when to take damage, and when to defend it comes down to experience and your feeling for the game, as there’s so many possible scenarios that it’s very difficult to explain, however I will do my best to give a few pointers and tips.
Taking damage can occur at any point in the game, whether it’s letting a stray eWiz hit your Tower, or getting punished after you play an Elixir Pump or Golem.
You as the beatdown mindset player have to decide how much you are going to expend in order to defend without losing momentum.
- If you are ahead in Elixir, you can afford to defend more, knowing that you still have the Elixir and momentum for offense.
- If you are behind in Elixir, then you will have no choice but to take damage in order to try to come back into the game.
https://www.youtube.com/watch?v=rmKYztkxeYk
Minimalizing Your Opponent’s Ability to Punish (Especially vs Hog Lightning)
Ultimately we’ve established that we as beatdown players are going to receive damage, but in conjunction with keeping momentum and timing your Golem, we have to minimalize our chances of getting punished.
A specific matchup I’d like to discuss is Golem beatdown vs Hog Lightning, because Hog is capable of punishing so hard.
Typically when I Pump up at the start of the game they will send in their Hog and punish me.
Be careful when countering Hog with Bandit/eWiz, you don’t want your opponent to be able to hit Pump, Tower and your defensive troop with one Lightning, that would just be insane value and it could quite cost you the game, so make sure that you place your troop far away from the Pump.
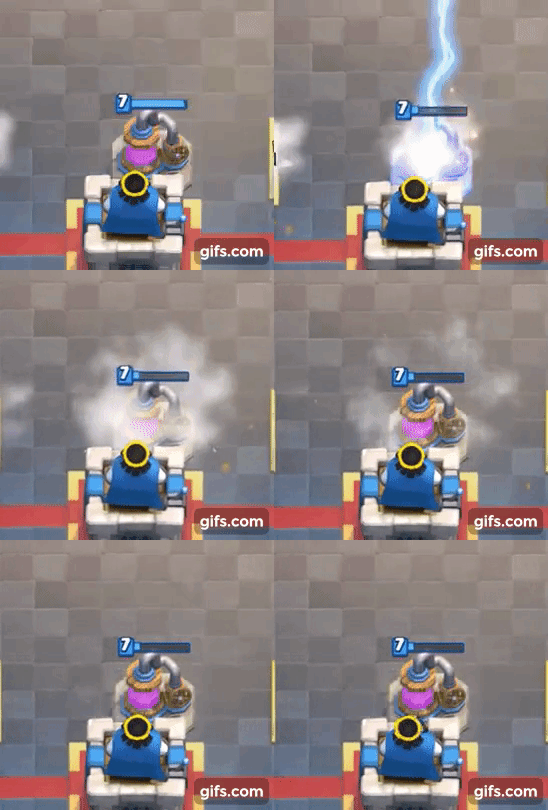 However if your opponent does not Lightning Pump, you could be in a very good position. This is the situation, you have a Pump down, you have suffered 3 Hog hits, but you have a defensive card that survived that your opponent will have to react to.
At this point, you have incredible momentum.
Whatever your opponent uses to react to your stray card, you can ignore it and just play Golem at the back. You are now ahead in Elixir by an absolute mile, since you have a Pump and they were forced to react to your stray card!
Lets get back on track and talk about what to do to prevent being punished by Hog when you play Golem.
Hopefully you will have realized that your opponent is playing Hog early in the game, and you won’t make the mistake of playing Golem at the back when they have Hog in hand.
The only time this might be acceptable is if you are playing Golem on the damaged crown Tower side, forcing your opponent to have to split the damage between your crown towers if they choose to punish you.
Otherwise, against Hog I will typically wait for them to have used their Hog offensively, or even to punish my Pump.
After they use their Hog I can just plomp my Golem’s a** at the back, and rest assured that he has no Hog to punish me.
This is a perfect example of throwing your opponent off his momentum.
If your opponent refuses to use his Hog….well then I guess your opponent won’t be dealing any damage!
Playing Against Hard Counters
There’s 3 main hard counters to Golem, and I’ll explain how to play against them.
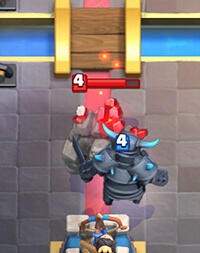 P.E.K.K.A
Let’s start off with the worst. P.E.K.K.A completely destroys Golem, doesn’t take a genius to figure that one out.
Unfortunately for us, P.E.K.K.A is rampant in the current meta, and the fact of the matter is, every deck out there has a counter deck.
If a P.E.K.K.A player plays perfectly against you, you’re going to lose….no question about it. However there are ways to outplay P.E.K.K.A in this matchup that isn’t as impossible as you might think.
I’ve played against P.E.K.K.A plenty of times in these grand challenge runs and won.
In an ideal scenario, you want to hold your Golem and wait for them to play P.E.K.K.A.
Against P.E.K.K.A beatdown decks your opponent is going to have to end up playing P.E.K.K.A. In this case, you can either play Golem at the back of the opposite lane, and possibly trade towers, or you can let the P.E.K.K.A travel a bit further, then play your Golem on the same side as the P.E.K.K.A.
This allows you to take out their P.E.K.K.A when it’s on your side of the arena with the Inferno Dragon. Since it’s on your side of the arena, enemy Electro Wizard won’t be able to reset the iDrag because it’s protected by the Golem. Lightning doesn’t kill iDrag and Zap will only prolong the inevitable.
However there will be many occasions where your opponent is playing P.E.K.K.A Hog, or P.E.K.K.A Miner, and they will refuse to play P.E.K.K.A. In this case you just have to go for a Golem push. An ideal situation is where you would have built an Elixir lead with pumps, which allows you to overwhelm their P.E.K.K.A. However this isn’t always possible, and you will have to play smart. You have no choice but to try to take out the enemy P.E.K.K.A using your Inferno Dragon. Try to attack them when they don’t have eWiz in cycle, but if they do you will simply have to either snipe the ewiz with Bandit/Mega Knight, or you will have to put enough troops in front of the idrag so that the enemy eWiz can’t reset it.
Another thing you can do against an impenetrable P.E.K.K.A wall is to wait for them to use all their Elixir to counter your Golem, then rush the other lane with Mega Knight and other support units. This isn’t a reliable tactic but has saved me the game on a few occasions. However only do this as a last resort when you really see no way to counter their P.E.K.K.A.
That’s my 2 cents on how I deal with P.E.K.K.A.
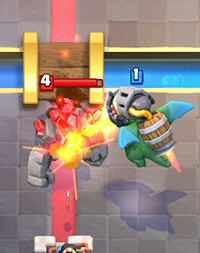 Inferno Tower and Dragon
These are two hard counters to Golem that I don’t worry too much about.
Both of these are easy to overwhelm on a well committed Golem push.
All you have to do is get a bit of an Elixir lead, go in with the Golem and use your Zap to buy you enough time for your support units to overwhelm the enemy.
Inferno Tower and Dragon can also be reset by Electro Wizard if they’re played too close to the bridge.
Inferno Tower is commonly played with Log bait, and against Log bait you have to heavily depend on your Mega Knight to win games.
The Inferno Tower can’t deal with both the Golem and Mega Knight, only possibly one, so it’s pretty self-explanatory how you are able to overwhelm your opponent with Mega Knight and other support units.
Which Support Units to Play Behind Golem?
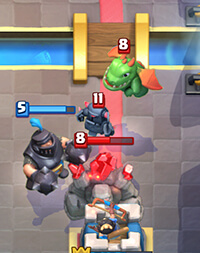 This is also something I would like to briefly talk about.
When supporting your Golem, wait until the last possible moment before playing support units.
There’s only so much Elixir to go around so you better choose the support units you’re going to use carefully. Either react to what your opponent counters your Golem with, or think what sort of deck your opponent and what sort of cards he’ll use to counter Golem.
For example if you know he likes to play a ranged card, then playing Bandit to support the Golem is probably a better idea than playing the Inferno Dragon.
Just a very simple tip for you guys to keep in mind.
Playing Golem in the middle or at the back?
This is my final tip for you guys.
A common dilemma that I face as a Golem player is whether to play Golem at the back or towards the middle of the arena.
In an ideal world I get to play the Golem at the back everytime to build my push. The majority of my Golem placements will be at the back because that’s simply the best way to build your push.
I only play the Golem in the middle when
- There is like last 40 seconds of the game. If I play Golem at the back, it’s barely going to reach my opponents crown Tower in that small time frame. Because of this, I might play Golem just above the king Tower so that it will actually reach my opponent before the game ends.
- I need my Golem to tank for something. For example if an enemy P.E.K.K.A is coming towards my side, I might play a Golem+Inferno Dragon to take care of anything my opponent uses to push. This Golem placement might not necessarily be in the middle of the base. I could still play it behind the crown Tower, but not all the way at the back, as long as my Golem is able to walk forward and tank for my crown towers, it’s perfectly fine.
- I want to increase the chances of my support units being able to counterpush. For example if I play Golem all the way back, and they punish my opposite lane or same lane, whatever I use to counter their push is going to get no value because it’s in front of my Golem. However if I had played Golem in the middle then that means whatever I use to counter their punish can continue to survive and support my Golem.
Conclusion
Beatdown isn’t as unskillful as you might think! There’s a lot of thought process going through a beatdown player’s mind, specially on the decision making part of the game. Whereas in cycle/control decks there’s less decision making and more precision play in terms of defending perfectly.
I hope you guys enjoyed this guide and learnt some more advanced tricks regarding playing Golem beatdown.
I would very much appreciate it if you guys could check out and possibly subscribe to my Youtube channel!


