Hey guys, G-MAN here today with a modification of the Golem Lumberjack deck with an addition of the Night Witch.
I decided to make this guide because after I managed to get 12 wins in the challenge, I realized there aren’t many Night Witch decks out there yet. This is my first guide so bear with me.
I’ve tested this deck out only in challenges and tournaments, (because my card levels are too low for Challenger II) and it fared well. The amount of three crowns I have gotten with this deck is crazy.
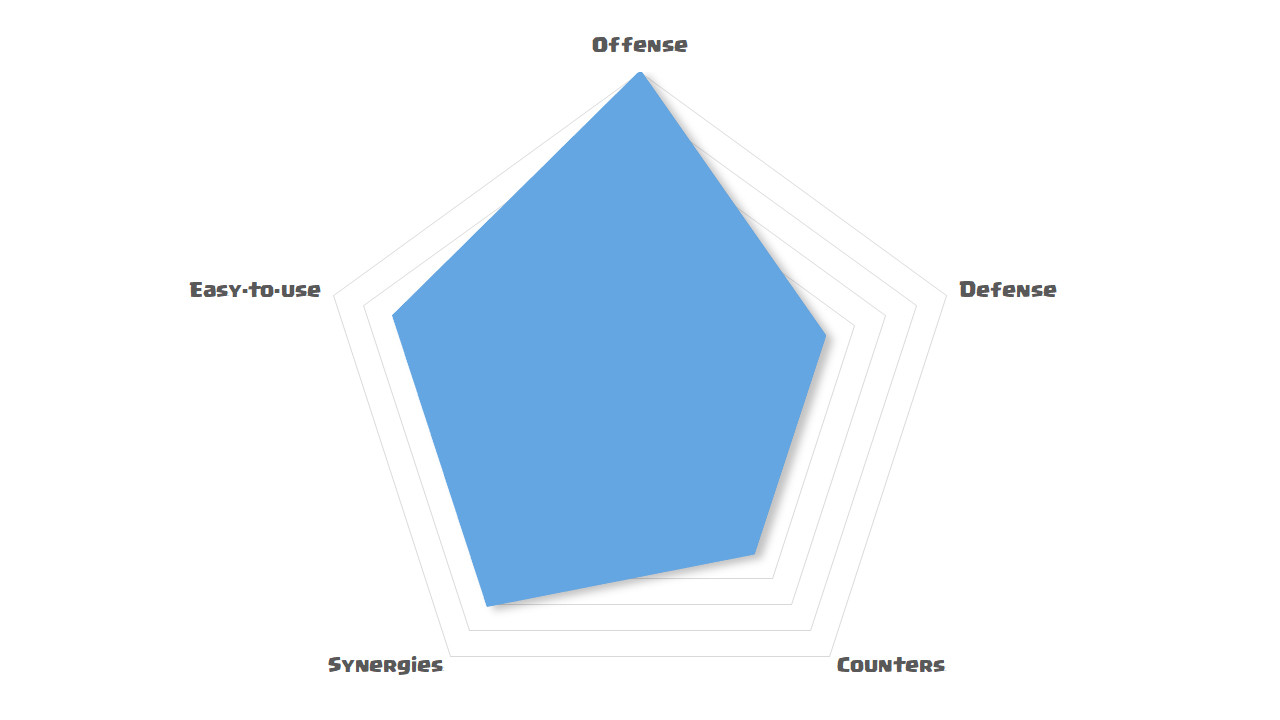
Golem Night Witch Beatdown



Cards Breakdown
Golem: Golem is the strongest tank in Clash Royale.
Because of its high cost, make sure you only play it when you have at least one Elixir Collector down or you are in double Elixir. I usually play a card before I play my Golem to help defend when the opponent rushes you.
You will want to build up a strong push by starting a Golem in the back so you have time to build up Elixir and support your Golem.
With this deck, the support units behind the Golem do tons of damage, making the Golem a perfect tank.
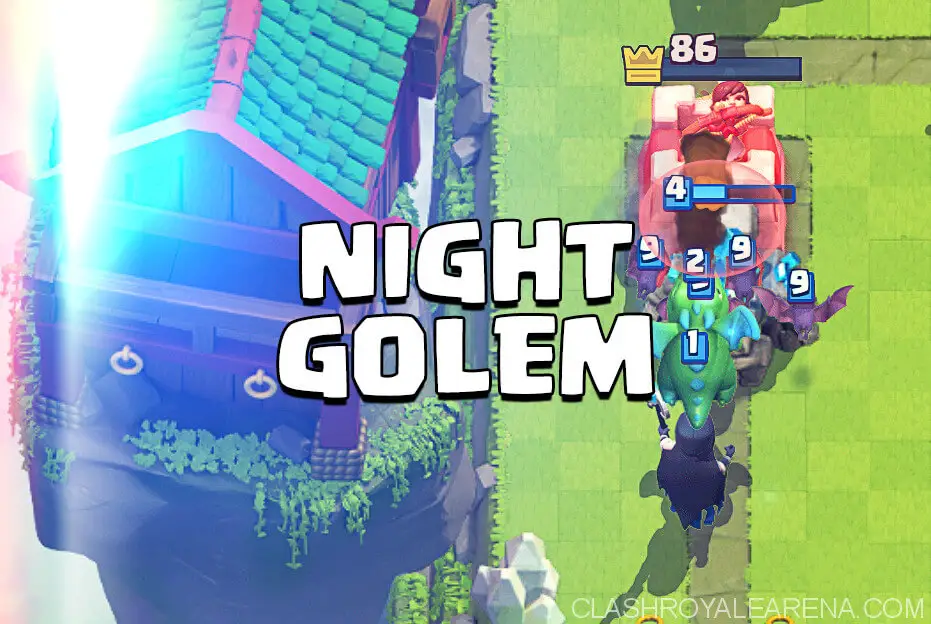
Night Witch: This new card is a beast on defense, and perfect for counter-pushing. Behind a Golem, it is an absolute beast.
The bats create a swarm and are perfect for chipping down troops, and your opponent will get punished if they leave the bats alone. They also can distract an Inferno Tower if you don’t have enough Elixir for your Lightning.
The Night Witch itself does good damage, and when it gets to the Tower, your opponent is screwed.
The Night Witch replaces the Lumberjack from the original deck. These two legendaries are kinda similar in my opinion. They both can’t be left alone, are great on defense, and have a death effect.
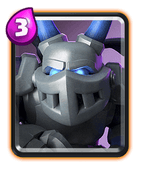
Mega Minion: This is your air defense and it is perfect for killing glass cannons. It is a great support troop, killing Minions one-shot and dealing tons of damage. It works very well behind a Golem.
Baby Dragon: This card pairs extremely well with the Golem. Its splash is vital to the success of this Golem deck due to the fact that the only other splash is Arrows. It is one of the best support troops and can be used on defense or offense.
Arrows: MAKE SURE YOU SAVE YOUR ARROWS FOR WHEN YOU REALLY NEED THEM!
Please don’t make the mistake of Arrowing Minions.
You should have enough support troops to take out swarms. Unless you can make a huge positive Elixir trade, save the splash for defense, when you don’t have your Baby Dragon.
Arrows are better than Zap, because they kill Minions and has larger range. Log doesn’t target air, and Fireball is more expensive and has less radius.
Skeletons: After the re-addition of the 4th skeleton, these bundle of bones are amazing value for one Elixir.
They can be used for cycling, swarming, distracting, killing glass cannons, and stopping tanks.
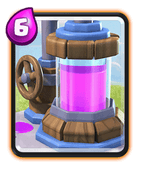
Elixir Collector: This is a must in such an expensive deck. Perfect for gaining Elixir leads and overwhelming your opponent.
Normally, I only need one Elixir Collector down to three crow in one push, but sometimes you can even do it without an Elixir Collector.
Lightning: Just make huge positive Elixir trades and demolish buildings and tanky troops for a clean path to the Tower. I will tell you how to use it against other decks later in this guide.
Replacements
These don’t work as well, and some of the synergies are destroyed. Not recommended=*
- Golem- None
- Night Witch- None
- Mega Minion- Electro Wizard, Musketeer
- Baby Dragon- Wizard, Executioner
- Arrows- Fireball, Zap*, Log*
- Elixir Collector- None
- Skeletons- Goblins, Spear Gobs*(maybe), Goblin Gang*(probably not)
- Lightning- Electro Wizard*, Rocket*, Fireball*

General Gameplan
Early Game: Place your Elixir Collector down, build up Elixir. Figure out your opponent’s deck, take some damage, but not too much. Start off slow, play defense mostly. You have the bigger tank, so if they play a tank at the back, you should play Golem at the back as well.
Mid Game: You can start creating pushes now, but only if you have a good Elixir advantage. Now you can start to sacrifice some Tower health to create huge pushes. Honestly, the synergies between all of the cards in this deck is amazing, so you can pretty much just spam troops behind your Golem and it will work well. Just make sure you know when your push has been broken up so that you don’t waste Elixir.
Late Game: This is when you go all in. Put an Elixir Collector down, and create an undestroyable push. Just get as many cards down as possible, Lightning buildings and troops for positive Elixir trades, and add even more troops. The counter-pushing capabilities of this deck are amazing, so utilize it.
Match-Ups
Note: The Night Witch is an absolute beast on defense, so use her wisely. Make unstoppable counter-pushes with her and make your opponent panic.
Lavaloon: In the original Lumberjack Golem, Lavaloon was a serious problem. It’s still a serious problem with this deck, but it is easier to defend because you have a bat-spawning machine instead of a Lumberjack. Just make sure to save your air-targeting troops. Chances are, you’ll lose a Tower, so make sure you create a few huge pushes to destroy your opponent. You also have the bigger tank, so utilize that.
Graveyard: Shouldn’t be too much of a problem if you play correctly and don’t panic. You have a Baby Dragon and skellies, so you should be mostly fine. Even if you do lose a Tower, you can easily destroy your opponent’s towers as well. Also, once they take on Tower, it’s harder for them to take another.
Golem: Just make sure you have the Elixir advantage and everything will work out.
Hog: You have many counters, and one huge push will destroy them, so this should be a fairly simple match-up if you can get a push going.
3 Musketeers: Save your Lightning for the 3 Muskets, make sure you take out only the muskies. Yep, you heard that right. Don’t Lightning the pump or the Tower, save it for the muskies. You should be able to deal with the Ram easily. Make sure you don’t get outcycled to the point where you don’t have your Lightning.
Zap/Log Bait: Here we run into trouble. We only have Arrows, no Log, no Zap. Save your Arrows for the Barrel, and use your Baby Dragon to take out Goblin Gangs and Skarmys. Save your Lightning for the Inferno Tower and beware of a Rocket. Try to not take much damage against Bait decks.
I think that’s all I have for this deck. I really hope you try it out even if this guide was horrible ¯\_(ツ)_/¯, because the deck is just so OP. This deck is good for challenges and tourneys because of the amount of epics.
Enjoy! ( ͡° ͜ʖ ͡°)
-G-MAN aka The Log FTW

