Elixir – Basic Guide to Attacking and Deploying
Hello guys, It’s Ash! Nice to see you guys again in this new post! Today, I am going to give you my own advice of attacking and deploying Elixir fundamentals in Clash Royale. I hope you guys will like it!
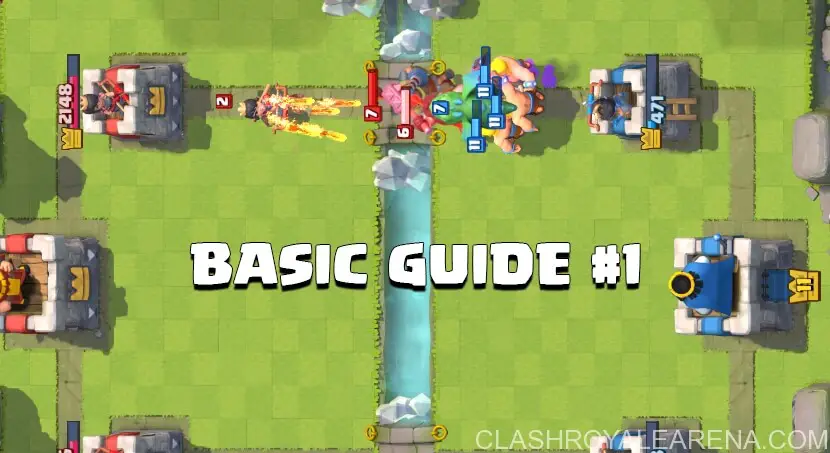
Clash Royale Elixir Basic Guide Part I
When starting your battle, you should first allow your Elixir bar to fill
You should not recklessly deploy your cards without first loading up on a full Elixir bar as this will only give your opponent the advantage. Filling the Elixir bar to full will give you an advantage. For example, say you deploy your Prince card when battle just started and you have 6 Elixir. Your opponent can simply place a Tombstone, which costs 2 less Elixir and quickly counter your Prince and take a 2 Elixir lead. Loosing Elixir lead will cause you to loose the Clash Royale battle.
Another example is playing a defense such as the Inferno Tower right away. This is a bad idea as your opponent can just wait a few seconds to load up on full Elixir, plan out a good counter, and also weaken your Inferno Tower without even touching it because of the Inferno Tower’s 40 second lifetime. Thus, it is important to first allow your Elixir bar to load up. Loading up on your Elixir will increase your chance of winning the battle.
Usually, you will face opponents who will also wait to deploy until they have a full Elixir bar. In this case, you have two options:
- Deploy your card first – If you reach 10 Elixir and deploy you deploy your card first, then you will be given a greater Elixir lead for every second your opponent remains at full Elixir.
- Deploy your card second – If you reach 10 Elixir and decide to wait and deploy your card right after your opponent to play a better counter, then that will give your opponent an extra 1 Elixir lead.
Usually, it is best to deploy your first card at the moment or right before you have a full Elixir bar. Deploying your first card right when the Elixir is full gives you maximum benefit.
When starting your battle, it is often a good idea to start with a low Elixir cost card
Start slow. I have stated in this guide numerous times that you should start your battle with a slow tempo, and this is a key fundamental to winning. Moving slow in order to win fast when it’s time to attach. This is the Basic Guide to Attacking and Deploying.
For example, say you have the Prince and Archer card in your starting hand. Do you start with the Archers or your Prince? It is often better to start with the Archers due to their significantly less Elixir cost (3 Elixir compared to Prince’s 5 Elixir cost). Why is this important? This is important as starting with a high Elixir-costing card is often dangerous. If your opponent simply places a Tombstone card (3 Elixir cost), then you are quickly in losing the Elixir race by 2.
While playing a low Elixir-costing card such as the Archer comes with less risk of that and will also allow you to scout your opponent’s first move without having to waste Elixir on a full bar. If your opponent decides to send out his Giant and Musketeer at the same time, then you are prepared to make a good counter with the 7 remaining Elixir. While if you had deployed your Prince, then the Giant + Musketeer combination will quickly take out your Prince.
A good idea is to load up on Elixir to create a stronger combination of cards is to deploy your troop card at the very end of the battlefield (behind your Towers)
As your troop(s) take a longer time to travel to the opposite side, you allow yourself to load up on greater Elixir. Thus, if you wish to create a deadly combination such as a Giant + Musketeer + Witch, then this requires 14 Elixir to do so. To accomplish this, you can place your Giant at the far end behind one of your Towers and by the time he travels to the crossing bridge, you will have the additional 9 Elixir to complete your combination.
Which Arena Tower should I attack first?
When starting your battle, you may choose to attack either of your opponent’s Arena Towers first. However, if your opponent chooses to attack first, then you should prepare a counter to his threat to protect your tower rather than ignore the threat and attack the other tower. For example, if your opponent sends out Archers against your left Arena Tower, ignoring the Archers and going for the right Arena Tower with your Prince card is a bad idea because the Archers will deal significant damage to your left Arena Tower while there is no guarantee that your Prince will make it to right Arena Tower as your opponent can simply place a Tombstone or Skeleton Army to stomp your Prince. And so, ignoring the threat and making a reckless play like that can cost you the battle right from turn one.
Focus on destroying one Arena Tower at a time
A big mistake I see new players often make is that they keep switching towers. You should focus on destroying the tower with the lowest HP first, and then move onto attacking the second tower while also playing defense if you’re in the lead (to let the clock run out).
Try to shift the momentum of the battle towards the direction of your healthiest Arena Tower
For example, say that your left Arena Tower has 1000 HP and your right Arena Tower has 2000 HP (and both your opponent’s Arena Towers are at full health). In this scenario, your opponent will try to constantly target your left Arena Tower since it is obviously weakened. However, it is still very possible for you to win even if you’re trailing. What you should do to make a comeback is try to force your opponent to attack right Arena Tower rather than your weakened left Tower.
In order to do this, you should load up on Elixir, and play a little defense on your left Arena Tower (remember Arena Towers have Archers atop them to assist you on defense so take advantage of that) and then make the first move in attacking your opponent’s right Arena Tower with a good combo (i.e. Giant + Musketeer). This will make it difficult for your opponent to ignore the big threat and will have him shift his offense towards to protect his Arena Tower. With his offense shifted towards the right side, you can now focus on repeatedly placing pressure towards this side (preventing your opponent from spending Elixir to target your left side). This strategy will allow you to even the playing field, while going for a one Crown victory.
The most powerful attacks are attacks that are played in combinations
For example, a card such as the Giant is not much of a threat alone as he is a very slow troop. However, when combined with a ranged attacker such as the Archer or Musketeer card, it becomes a much bigger task to stop this threat. A Giant alone can be taken down by a 3 Elixir Minion card, but with the assistance of Archers, the Minions will not be able to take out the Giant (as he makes his way to your opponent’s tower). Thus, you should constantly try to load up on Elixir (and also win Elixir trade-offs) and attack in combinations!
There are many distinct ways of classifying a troop card and its specialties:
- Ground troop = A troop that attacks from land.
- Air troop = A troop that can fly and attack from above. Air troops can avoid being targeted by Ground troops that cannot target flying units (such as Bomber, Prince, Knight, Valkyrie, etc.).
- Melee troop = A troop that fights mano a mano (hand-to-hand combat).
- Range troop = A troop that can attack from a distance. Range troops such as Archers are able to attack from afar and so they are best utilized behind melee troops as the melee troops are able to shield your ranged attacker.
There are two types of damage inflicting cards
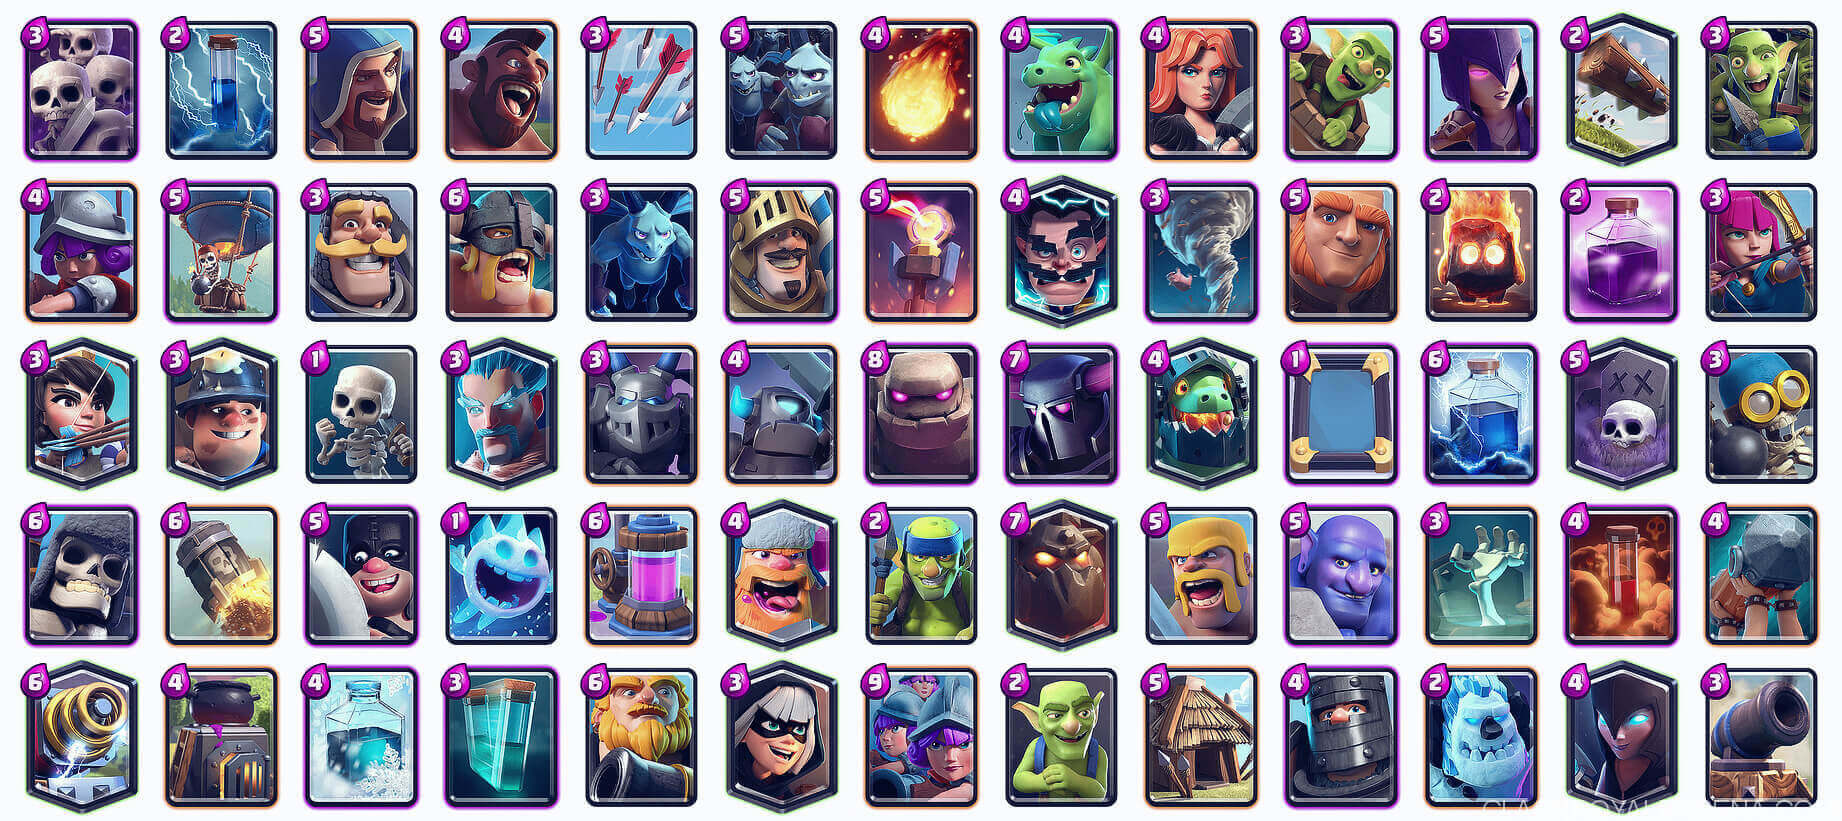
Cards that deal “point damage” (damage to a single troop or building) and cards that deal “area or splash damage” (damage to multiple troops or buildings). Point damage cards include Musketeer, Prince, Archer, Mini Pekka, etc. Area damage cards include Bomber, Valkyrie, Witch, Baby Dragon, Arrow, Fireball, etc. While it may sound like area-damaging cards are the better option, they are among the weakest cards in the game. Thus, these two types of cards have different roles. With the ability to damage multiple units, area damage cards are best utilized for defeating hordes or swarms of low HP troops such as Skeletons, Goblins, Barbarians, etc. While point-damaging cards tend to have the greatest DPS (Damage Per Second) among all cards and so they can best utilized for destroying high HP units. For example, a Mini Pekka can be used to quickly take down a Giant. While an area attacker like the Valkyrie will struggle to deal decent damage onto the Giant.
This guide was submitted by Ash, check his YouTube channel at here. Thank you very much for reading! Please share this post with your friends If you find it helpful, that will help this blog a lot. Thank you my friends!

