Hello guys it’s Ash and today I want to share with you a very helpful guide to almost any Clash Royale player. This guide is about choosing the right decision which can cost you the whole battle.
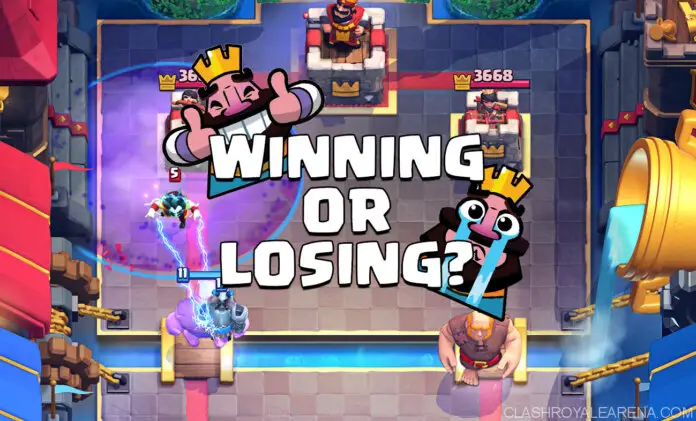
Winning or Losing In Only 1 Turn
I want to start by apologizing for my sudden disappearance. A lot of personal things have been going on in life, so I needed time away from YouTube.
I’ve also haven’t been home for a while, and just recently got back, so I can now make videos frequently once again. I love making videos and I love Clash Royale, so I want to be able to continue to make great videos for as long I can. Sometimes things happen and I may need to take a break, but I promise you guys that I won’t ever give up on YouTube and Clash Royale.
So today I want to share a guide that should be very helpful to all Clash Royale players. The reason I call it “Winning or Losing in 1 Turn” is to show you guys that a single decision in a single turn can result in you winning or losing.
For example, if your opponent plays Golem on the left lane, should you play your Giant on the same lane or opposite the Golem?
Believe it or not, if you make the wrong choice, then you’ve likely already lost the battle because of your wrong choice.
So I’m going to simplify everything for you guys, showing you how easily you can win battles by making the right decision.
Big Tank vs Small Tank
So let’s start with the Golem vs Giant, a big tank vs small tank scenario.
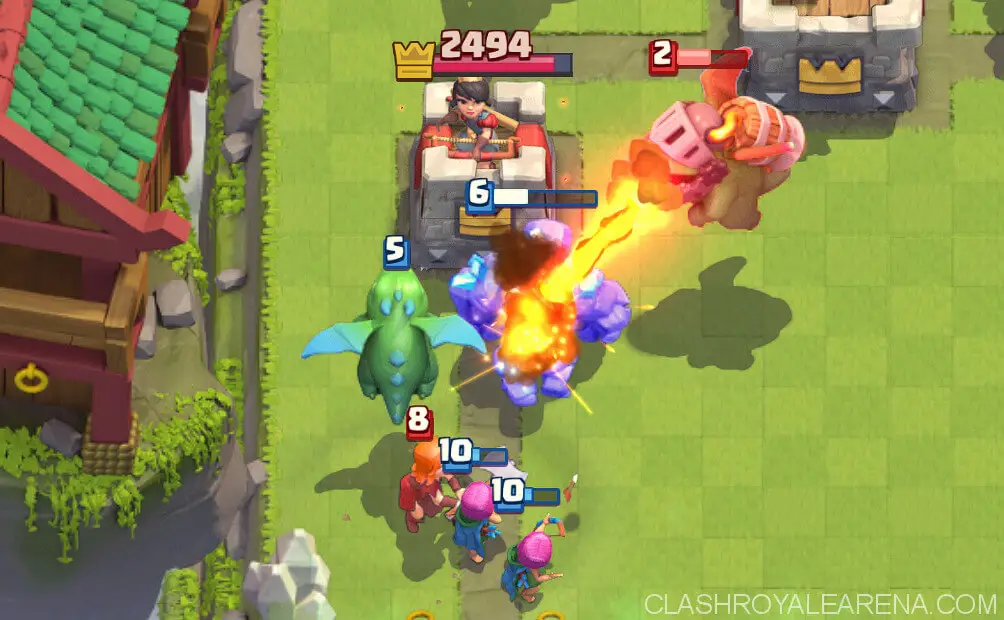
Whenever it’s a big tank like Golem versus a smaller tank like a Giant head to head, the Golem almost always has the advantage because it can survive a lot longer and continue to support with Golemites.
Scenario 1:
Let’s look at a scenario where your opponent plays their Golem all the way at the back left lane, and you decide to deploy your Giant all the way back in the same lane. This is a horrible place to deploy your Giant and you’ll see why.
The reason for this is that by the time your Giant reaches the bridge, the Golem also reaches the bridge. And the Golem user will have lots of Elixir to kill your Giant while the Golem distracts all your supporting units behind the Giant. The Giant will die quickly and then the supporting troops behind the Golem will kill the supporting units that were behind the Giant and also deal a lot of damage to your Arena Tower.
Scenario 2: What about deploying the Giant in the same lane, but directly at the bridge?
This is actually the worst possible place to deploy your Giant against a Golem because you open up yourself to a very big Golem counterpush.
The defender will likely lose a lot of Tower health due to your aggressive push, but then you’ll run out of Elixir and won’t be able to defend against the counterpush, resulting in you getting hit harder and most likely losing your Arena Tower or worse.
However, the case is different during Double Elixir Time. Since at Double Elixir Time you get Elixir faster, you will be able to attack more aggressively.
Not only that, during Double Elixir Time, time is limited, so your goal should be to take down your opponent’s tower before he takes yours. So only during Double Elixir Time, aggressively deploying Giant at the bridge in the same lane is the best move! So you can see as to how the timing of a battle is key for victory.
If it’s not Double Elixir Time, then it’s the worst move, but if it is Double Elixir Time, then it’s the best move.
If you’re someone who uses Golem, then you should always deploy your Golem the same lane and distance from your opponent’s Giant. This will almost always give you the advantage.
But what do you do if you have a Giant?
The best move you can make when your opponent plays Golem all the way at the back is play your Giant on the opposite lane and on the bridge!
This forces your opponent to either sacrifice their Arena Tower or use the remainder of their Elixir to protect their tower.
- If they decide to protect their Arena Tower, then they will not have enough Elixir to support their Golem, making it very easy to kill their Golem, while also dealing lots of damage to their Arena Tower.
- If your opponent decides to sacrifice their Arena Tower and instead support their Golem, then you must make a decision to go for the 3 crown before your opponent 3 crowns you, or also sacrifice your tower and defend against their Golem push.
The safest move in this case is to not overuse your Elixir on your Giant push, and instead just use enough to take their Arena Tower, while making sure you have enough Elixir to defend against their Golem push. Don’t expect to shut down their Golem push, because you just wasted a lot of Elixir on your Giant push.
Instead, the best move is to sacrifice your Arena Tower while preventing your opponent from 3 crowning you. This way, you’ll be tied 1-1, and every time your opponent deploys Golem, pressure them immediately with your Giant. If they drop their Golem and go for 3 crown, you can easily go for a 3 Crown first with your Giant!
If you’re a Golem user, then you should not go after their King if you’re tied 1-1, go for their 2nd Arena Tower because the King’s Tower has a lot more HP. You should also never place down your Elixir Collector when it’s double Elixir time, or else the Giant player will rush in and steal your Arena Tower easy and you won’t be able to recover back in time.
The same rules apply for all other threats as well.
And it’s also why I always urge people not to play your win condition first!
If you drop your Giant at the back without first scouting whether your opponent has a Golem or Lava Hound, then you’ll immediately lose control of the battle.
You want them to make the first move and play their tank, so you can take advantage, knowing what move to make. And you should never deploy your Lava Hound or Golem early either, not unless you have a big Elixir lead, as you want to deploy your Lava Hound or Golem in the same direction as their Giant or any other slow tank.
So let’s review some rules:
- If your opponent drops big tank such as a Lava Hound, you want to pressure the opposite lane. Examples of ways you can pressure the other lane is use Giant or Hog Rider or X-Bow or Mortar or Elite Barbarians or Royal Giant or Graveyard or a countless other ways.
- If your opponent drops any bulky slow moving unit such as Giant or Knight or Valkyrie or Bowler, then you want to almost always deploy your Golem or Lava Hound on the same lane.
- Never drop your tank at the back first, before your opponent, not unless you’re leading in Elixir. As your opponent can always take advantage of that.
Watch the video for more details/commendations
But what if your opponent is using same weight tanks?
Such as Golem vs Lava Hound, or Golem vs Golem, or Giant vs Giant?
In this case, it’s very important that you’re not behind in Elixir.
In fact, the player who’s leading in Elixir will always have a big advantage.
If your opponent drops their Giant all the way at the back, then you want to drop your Giant at the bridge on the opposite lane and directly pressure and steal your opponent’s Arena Tower. By the time your opponent’s Giant comes close to your Arena Tower, you can easily defend against it.
But this is only possible if you have the same or more Elixir than your opponent, and so it’s very important not to be behind in Elixir.
The only time you should deploy your Giant behind your tower is when you’re in a big Elixir lead, that way if your opponent decides to rush you on the other lane, you can defend against it with enough Elixir and then easily steal their other tower with your Giant because they’ll run out of Elixir.
However, if your opponent drops a bigger tank such as Golem or Lava Hound at the back, the only time you want to place your own Golem or Lava Hound at the bridge is during Double Elixir time. Otherwise, you won’t have enough Elixir to support them.
During the first two minutes of battle, when it’s not Double Elixir Time, it’s best to play your Golem or Lava Hound two or three tiles ahead of your opponent’s Golem or Lava Hound. This is a very important concept to note.
Why two or three tiles ahead?
This is because the bridge is two tiles long. This means that your Golem or Lava Hound will cross the bridge first, allowing you to safely target their Golem or Lava Hound first while yours distracts their supporting troops. So by targeting their tank first, you will be able to kill their Golem or Lava Hound first and be able to also kill their supporting troops first because your Golem or Lava Hound will live longer.
If it’s Double Elixir time, you never want to deploy your tank all the way back!
I see players make this mistake all the time.
It’s way too risky because time is now limited and Elixir production is doubled.
If you drop your Golem at the back, while your opponent drops his Golem at the bridge, your opponent will have the advantage as your opponent’s tank will now be able to get to your Arena Tower and deal lots of damage while also be able to support their Golem from double Elixir.
Now let’s go over other scenarios:
If your opponent drops an expensive support unit, such as Executioner, or Bowler, or Witch at the back; then you should drop your Golem or Lava Hound in the same lane.
Why?
Because if you choose to deploy your tank on the opposite lane, then you risk sacrificing your Arena Tower if your opponent plays a Giant in front…
However, if it’s double Elixir time, then it’s better to deploy your Lava Hound or Golem on the opposite lane.
For example, if your opponent deploys an Executioner on the left lane, you can go right ahead with your Lava Hound and Balloon on the right lane and avoid dealing with the Executioner and Tornado.
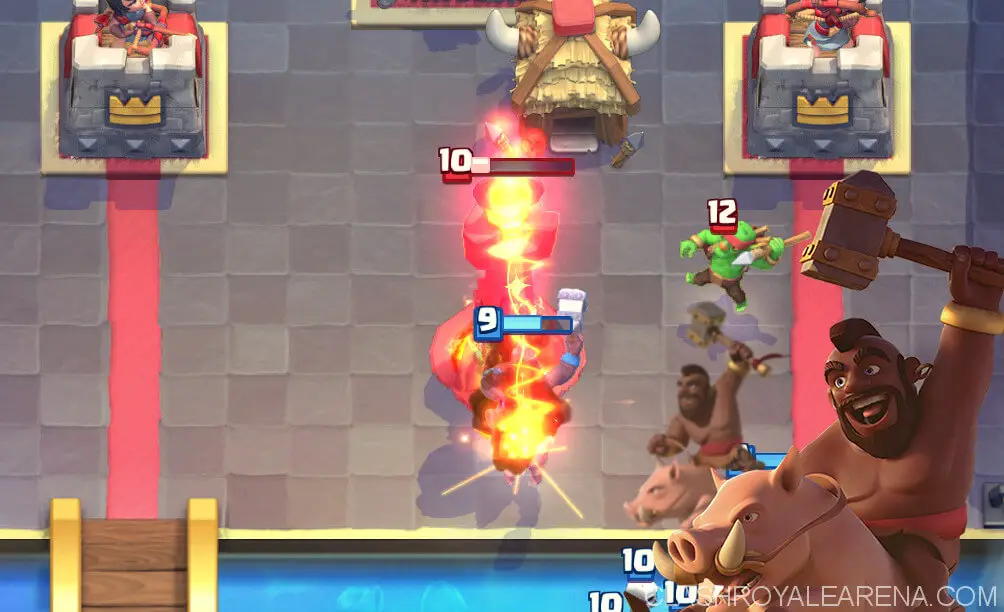
While if you’re using something less expensive like a Giant or Hog Rider, then you should always attack from the bridge on the opposite lane.
For example, if your opponent deploys their Bowler at the back left lane, then you should always quickly head in with your Giant or Hog Rider on the right lane. This will force your opponent to spend the rest of their Elixir defending your push. They’ll most likely not have enough Elixir to stop you from dealing damage to their Arena Tower, and when their Bowler reaches your side, you can now easily defend against it since your opponent will have troops on two separate lanes.
If your opponent is using Royal Giant, then you always want to keep enough Elixir to deploy your tank after killing the Royal Giant.
For example, instead of using your Wizard and Musketeer and Skeletons and Ice Spirit to kill their Royal Giant, it’s better to take some damage to your Arena Tower and just use your Musketeer and Skeletons and Ice Spirit on the Royal Giant, and save the rest of your Elixir to play your Giant in front of your Musketeer for a much stronger counterpush.
If your opponent places down an Elixir Collector, and you have a spell such as Lightning, or Poison, or Fireball to use on it, it’s better to attack your opponent in the same direction as the Elixir Collector and then use your spell. This way you can not only damage the Elixir Collector, but could also get more value by killing other units next to the Collector.
Also, if you don’t have an Elixir Collector yourself and it’s not Double Elixir time, then you should not let your opponent accumulate a big Elixir lead with their Collector. Even if you manage to deal lots of damage to their Arena Tower, they can punish you a lot more with a bigger Elixir lead.
Say your opponent’s right tower is low HP, while their left tower is at full HP and there’s two minutes left. They place down an Elixir Collector behind their left tower. What do you do?
If you attack the tower that was at 50% with a big push, then you will most likely take down the tower because your opponent is now low on Elixir. But, your opponent will now be in a big lead with Elixir for the remainder of the battle. Now your opponent can not only easily take down one tower, but with the Elixir lead, can also take down your 2nd tower before you do.
And so, as long as it’s not Double Elixir time, you should always attack the direction of the Elixir Collector or weaken it with a spell such as Fireball, Poison, or Lightning. This way, your opponent will not be able to make a powerful push during Double Elixir and not be able to make a comeback.
So I hope you guys found this video to be helpful and insightful.
Depending on your decision, a battle can end in just one turn, so hopefully this video was an eye-opener and it should help you win lots of battles!
Thanks for watching, and be sure to subscribe for more great Clash Royale content.


