Cards Breakdown
I think it’s only proper to begin with a quick rundown of the cards and the role they play.
 Hog Rider
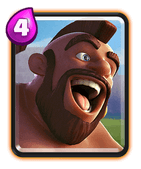
Primary win condition. Always a good starting move, play him with or without either of your 1 elixir cards (personal preference). Due to the lack of high health cards in this deck, it’s not an entirely bad idea to use him as a defensive unit to kite opponent’s troops or delay them a little bit, allowing you to cycle to another card.
When you’ve figured out what deck you’re up against, you will generally want to pair him with the ice golem, unless you need it for defense against cards like royal ghost or pekka.
Musketeer
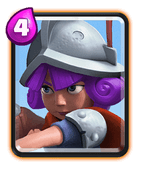
The most essential card in this deck. She is your main source of DPS and your only reliable air counter, so use her cautiously; never, ever, ever do you want to throw her away. Identify, based on your opponent’s deck, which card(s) you have to save her for, examples are baby dragon, mega knight and minion horde. Most of the time you should try to protect her with skeletons, ice spirit, the log... whatever the situation calls for, against incoming miners or barbarian Barrels. Don’t just let your opponent take her out and get rid of your main source of damage.
Don’t play her by herself in the back unless you’re responding to something your opponent put in the back. The only situation when I would play her in the back is behind an ice golem. The reason for that is because it poses a threat to your opponent without you having to expend you hog. A fireball or poison won’t be enough to take your little push, and a lightning or rocket puts them down too much elixir to risk you attacking with your hog. An important note when facing beatdown decks is that you shouldn’t immediately respond to their tank with with musketeer. The ideal play is obviously to push your hog in the opposite lane, but if that’s not an option you should wait a couple seconds so that your musketeer doesn’t cross the bridge, and instead sits safely on your side of the arena, poking away at their tank.
Ice Golem
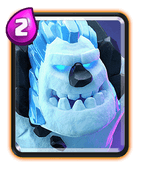
The second most essential card. Since the day of it’s release, hog rider and ice golem have been a staple 1-2 punch, providing the hog with a meat shield and a splash effect potent enough to eliminate skeletons and bats, slowing all units and dealing just enough damage to allow a fireball to take out medium health units like musketeers and electro wizards. Once again, it’s critical not to throw it away, since it’s your only cheap tank.
It’s not just a tank for your hog though, it can be a distraction against all sorts of units: royal ghost, bandit, minion horde, electro wizard etc. I could go on and on, ice golem probably counters more than half the units in the game. Not only that, it has a great synergy with the musketeer, shielding her from incoming attacks, protecting your main damage source on defense. How you want to use your ice golem is up to you; where you see JACK often save it for offense, Lucas uses it on defense quite a bit.
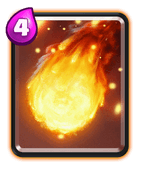
Fireball
Your second win condition, in times where your hog rider just can’t get through, or when you need to finish off that 600 health tower.
A prediction fireball can allow your hog multiple additional hits, taking a chunk off buildings like cannon and furnace, knocking back units such as electro wizard and mini pekka, and completely taking out barbarians and minions.
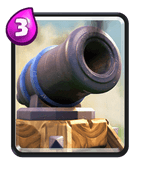
Cannon
A cheap and all around great defensive building. It has countless uses that you couldn’t even think of, such as leading a balloon to activate your king tower or to quickly disperse a graveyard (another common play you will see by top players). In a matchup where you opponent doesn’t have a unit that only targets buildings, newer players will just let it sit in their without even thinking about it.
This is a huge mistake. At the cost of 1 less elixir it can counter any ground card almost as well as a musketeer, and some even better because of it’s fast hit speed (skeleton army, royal recruits). Especially when you’re up against a bait deck, when you don’t need that musketeer for defense, you can use your cannon, not only for a cheaper cycle but also to save your musketeer to snipe an inferno tower across the river. Cannon also performs well versus x-bow and mortar, two generally tough match ups for hog decks.
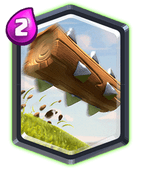
The Log
Historically one of the, if not the most popular card, although you could consider this meta its worst, with a mere 15% usage rate and a 35% win rate (RoyaleAPI) at the time of writing this. This however, doesn’t prevent it from being the go to small spell in hog decks. Just like with fireball, a prediction log can often win you the game, but don’t go overboard and try to predict a goblin gang when you know they’ve got a better counter in hand, or before you even know what their deck is. It can become quite a mind game.
For example: if your opponent has inferno tower and skeleton Army and they know you’re gonna try to predict their skeleton army, they will instead use the more expensive, but more reliable inferno tower, and vice versa, they know that you think they’re gonna play inferno tower and not even bother with throwing a log down. Then there also are the most basic tips such as saving your log for their swarm cards and to always try and hit their princess tower with it when possible.
If your log is not high enough level to one hit princesses and dart goblins at your trophy range I would suggest replacing it with either snowball or zap.
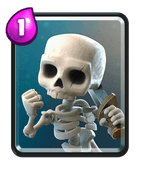
Skeletons
Delay, Damage and Diffuse – the three D’s of using Skeletons. ‘Delay’ represents the cyclability and distraction that the doots are capable of. ‘Damage’ is the simplest of the three; left unattended the lil’ skellies can dish out a surprising amount of damage. In combination with a Cannon they work very well against all sorts of ground tanks. ‘Diffuse’ stands for the amount of cards that can be countered by surrounding them with skeletons, wizard, sparky, executioner, bowler…

Ice Spirit
Countless nerfs later, we arrive at the frosty boy we have today. With half the freeze duration and only 85% of its original health, I wonder how powerful the original ice spirit would have been by today’s standards, with micro plays at a whole new level. Despite the numerous hits to the card, the ice spirit still remains in the original hog cycle deck. Although it has the least consequential role out of the 8 cards, its primary use being cycling the deck, it does a great job at it and is an essential part of the deck.
General Tips & Tricks
Spells
It’s commonly said that you should always know the combined crown tower damage of your spells. This is especially true when playing a cycle deck like 2.6, where you will often resort to spell cycling at the end of the game. Due to the fast cycle, you should keep in mind not only the tower damage of one round of spells, but two. For example, at tournament standard one fireball deals 201 damage to towers, and a log deals 84, combined they deal 285 damage. This is the magic number for when you can (in most cases) completely abandon your defense and throw your spells at their tower. For two rounds of spells, that’s 570. Keep in mind that you might still have to defend in some fashion if you have to use two rounds of spells to finish them off.
Another thing to note when using spells against towers is their travel time. Spells that travel from your king tower (exceptions being lightning, poison and zap) have to travel the arena before they deal damage. That’s why it’s important to aim for the inner corners of your opponent’s tower, since they are the closest to you.
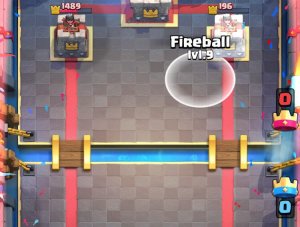
Switching Lanes
Something I learned from watching the 2.6 pros is that they’re not afraid to switch lanes, or at least not afraid to send a hog in the opposite lane just to apply pressure when a tank is placed in the back, in the lane they’re attacking. You don’t have to completely switch lanes however, sometimes it’s just a distraction to make your opponent split up their troops. You can also place a hog with a surviving musketeer or ice golem forming a counterpush, even if you have more damage in the other lane. This is something you’re gonna have to judge in the moment; how high health does the surviving unit have? How much damage have I dealt to the other tower? Am I facing a deck that I can afford to play same lane against? The more you play the deck (and the game in general), the better you’re gonna get at making these judgements in the moment.
So, when should you switch lanes entirely?
It’s a good time to switch lanes when you know your opponent is gonna be able to build an unstoppable counterpush if you continue going same lane as them. Perhaps the best example is against a Giant deck; It’s x2 elixir time. They defend your hog rider and ice golem push with a prince and a mega minion. You’re up 2 elixir, but they have a full health prince and mega minion, and they place a giant in front. You have 7 elixir to defend this push, and you can count on your opponent adding in spells and a Miner when they have the elixir to do so.
When thinking back to what went wrong, you try to come up with a better defensive strategy, better card placements and better timing, but the mistake happened way earlier, when you allowed them to build up all these units in the first place. What you should’ve done is pushed the other lane, where they’re not gonna commit to this big of a push, and even if they do, your tower has more health and is more likely to survive the attack.
Decks you should consider switching lanes against are: golem, lava hound, graveyard, miner control and especially giant.
Facing Buildings
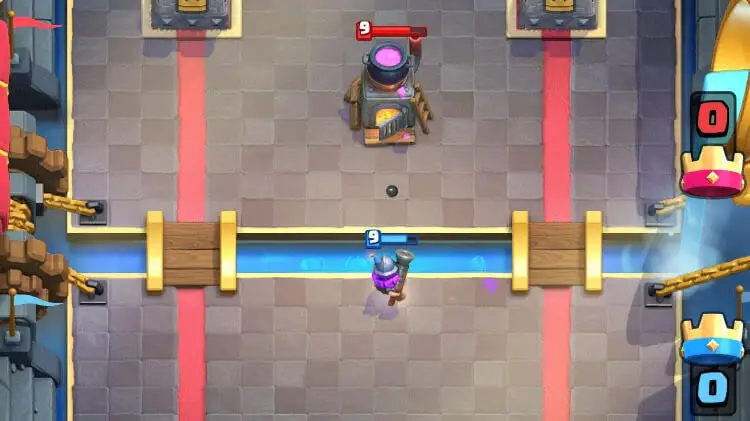
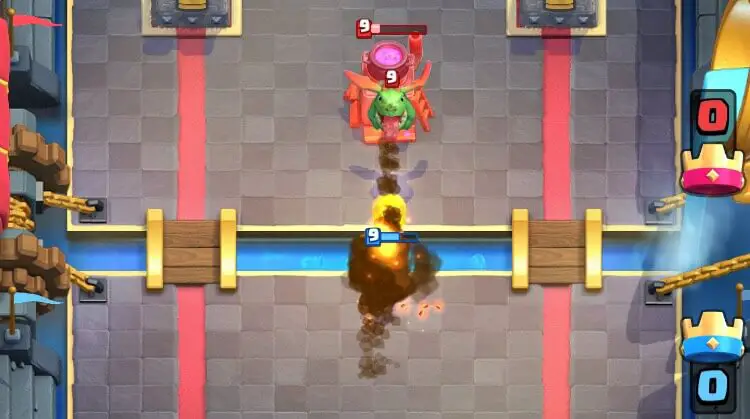
Facing spawner buildings can be tricky – they have high health, they produce defensive units and they’re constantly annoying you with chip damage. That’s why it’s important to know when you can place a musketeer at the river to snipe the spawner, when you should fireball it and when you are able to bypass it with your hog. There are mainly 3 relevant placements when it comes to spawner buildings. The high placement, 3 tiles from the river, which will pull your hog in from either lane. Then there’s the low left placement and the low right placement, which will pull in your hog from the left and right lanes respectively. When it comes to the high placement, you can easily snipe their spawner with a musketeer at the river, but be ready to fireball any troops they may place to defend their furnace.
If the spawner is placed low in the other lane, you can bypass it.
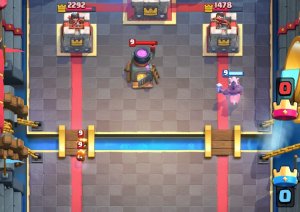
The only situation where you should really fireball a spawner if it’s placed low in the lane you’re attacking, unless of course, you’re just trying to get spell damage on their tower.
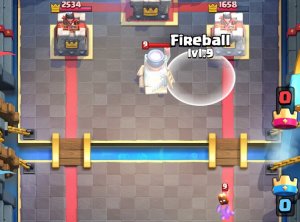
If your timing is precise, you can even hit a deep spawner and a troop placed in the corner.
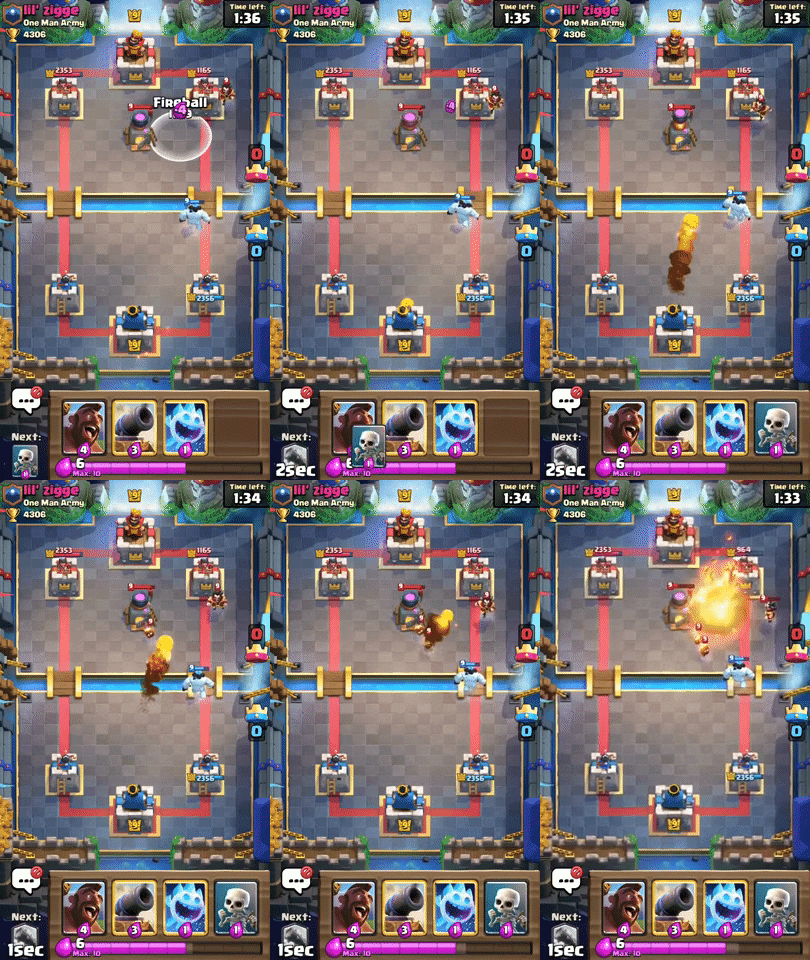
Defensive buildings are also tricky. You’re not gonna have to deal with incoming units every couple seconds, but they’re a lot more threatening to your hog. For the more expensive buildings like inferno tower and bomb tower, you’re most of the time gonna be able to out cycle them if not in regular time, at least in x2 elixir. The real challenge is when it comes to the cheaper buildings – cannon and tesla. They’re cheap and typically paired with cheap decks, making out cycling them not an option. They are numerous strategies you can employ in this scenario, placing a musketeer at the river to snipe the building, using a prediction fireball to help your hog get through them, or going in when they don’t have enough elixir to defend.
Pocket Plays & All-in Attacks
This section is about when you should completely abandon defense and go all in with an attack. But how do you do that? And when should you?
It’s overtime and you’re 1-1 in terms of towers. Neither you or you opponent has a play they immediately need to make, and you’re just waiting for each other to make a play while you’re collecting elixir. This is when you should consider making an all in attack. Placing a hog rider and a musketeer in the pocket in quick succession can be a surprisingly effective strategy. It’s also a good play to make if your opponent places an expensive card.
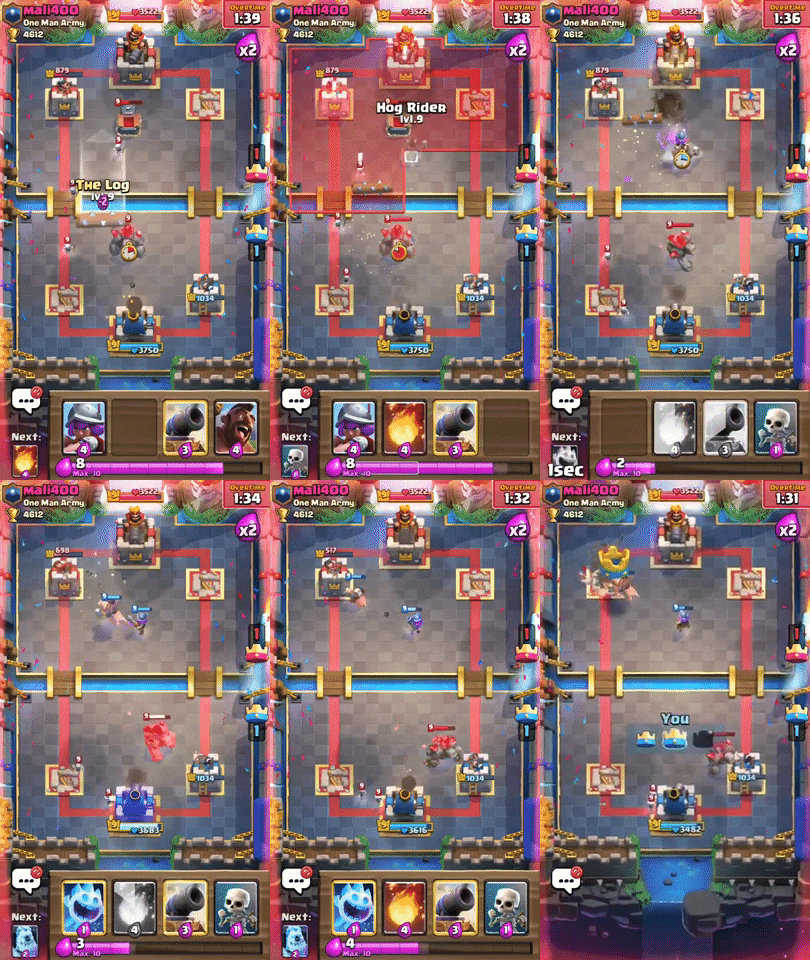
Mitigating Damage
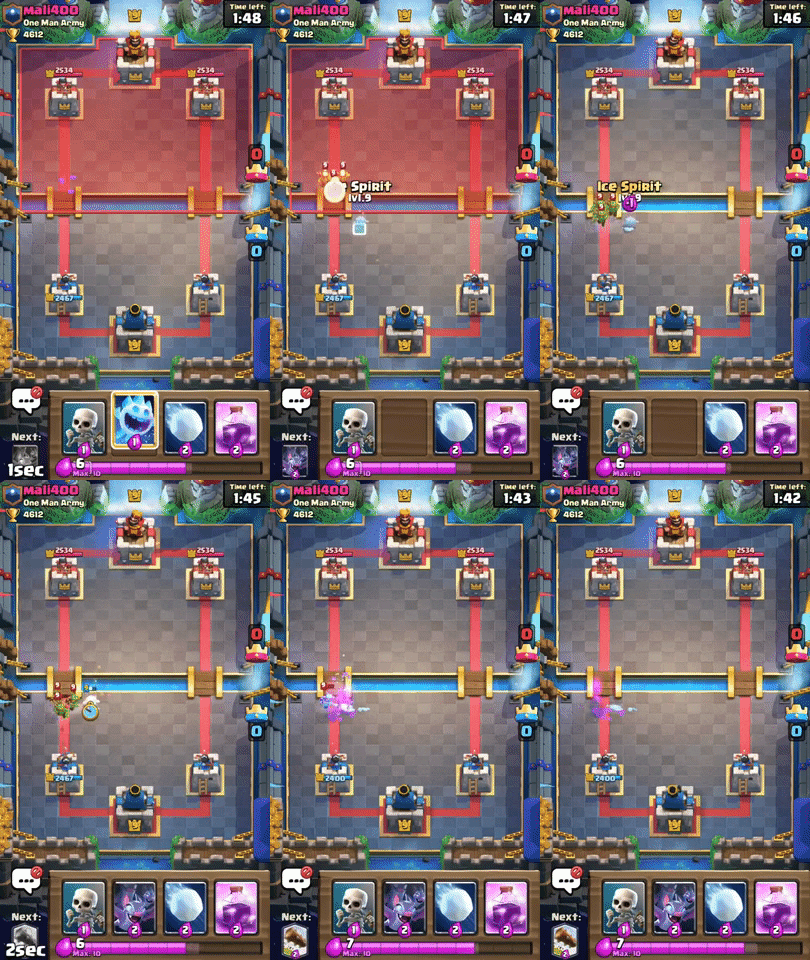
When playing a cheap cycle deck like 2.6 it’s crucial to mitigate as much damage or possible, even if it means sacrificing your ice golem to deny a mega minion or barbarian hit. This is not something you’re gonna decide for yourself whether you wanna do. If you have a cheap card in hand and there are some units approaching that are gonna deal over 100 damage, play it! One of the most important parts of using this deck is learning how to use the 1 elixir cards efficiently. When played correctly they can counter cards in a way you had no idea was possible. Here’s a clip of me discovering a way to counter a valkyrie with only two elixir, giving me an elixir lead, cycling my deck and setting me up for an attack.
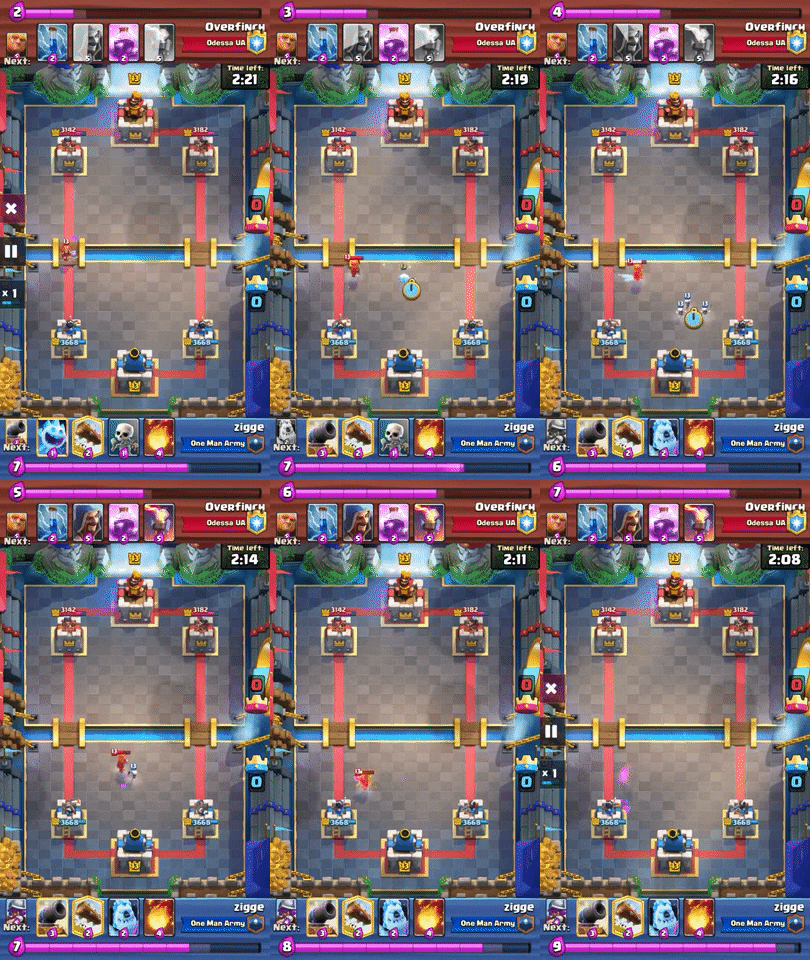
Using either one or both of the 1 elixir cards can deny all or almost all damage for a positive elixir trade. Note that the timing and placement is critical for each of these interactions to work out.
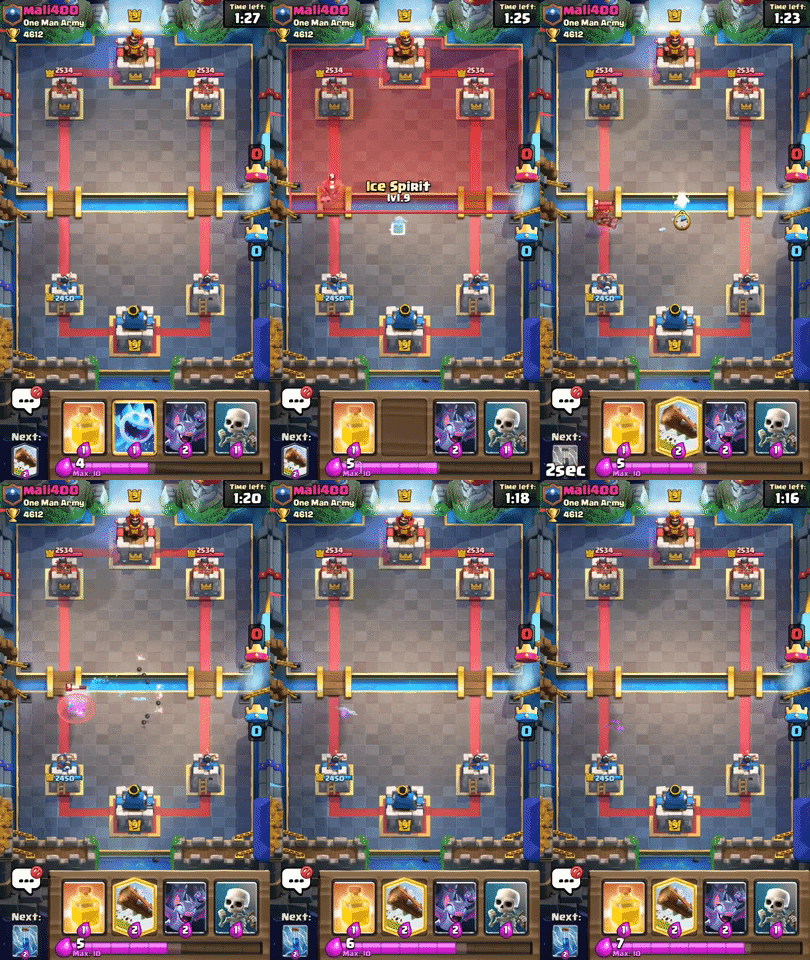
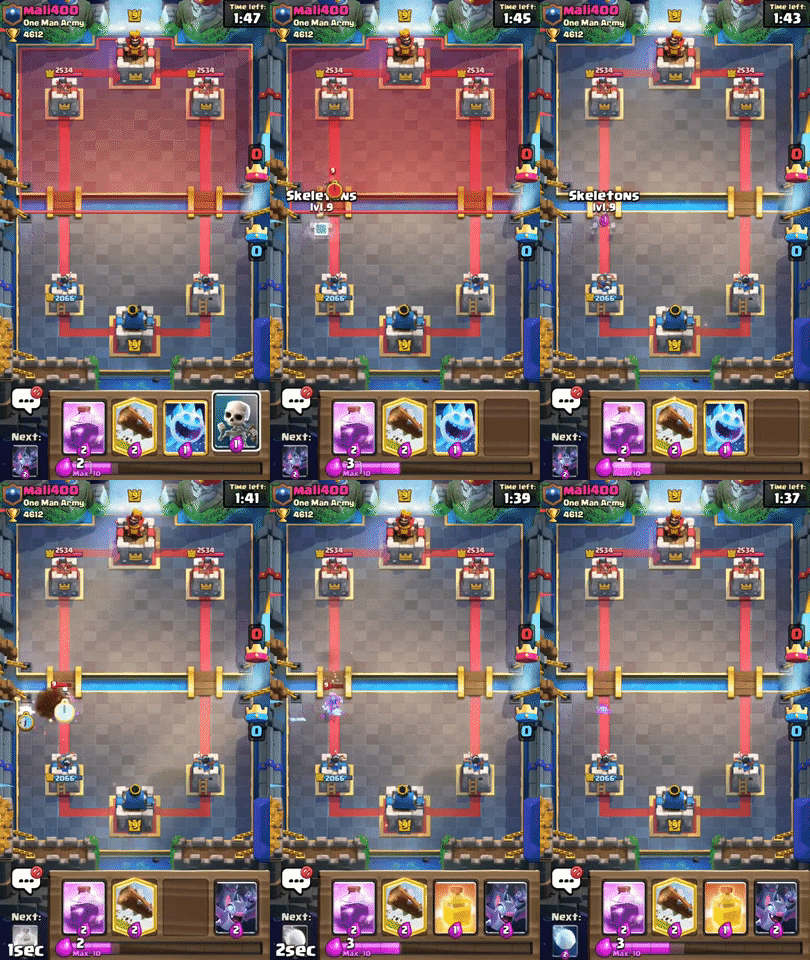
Spacing
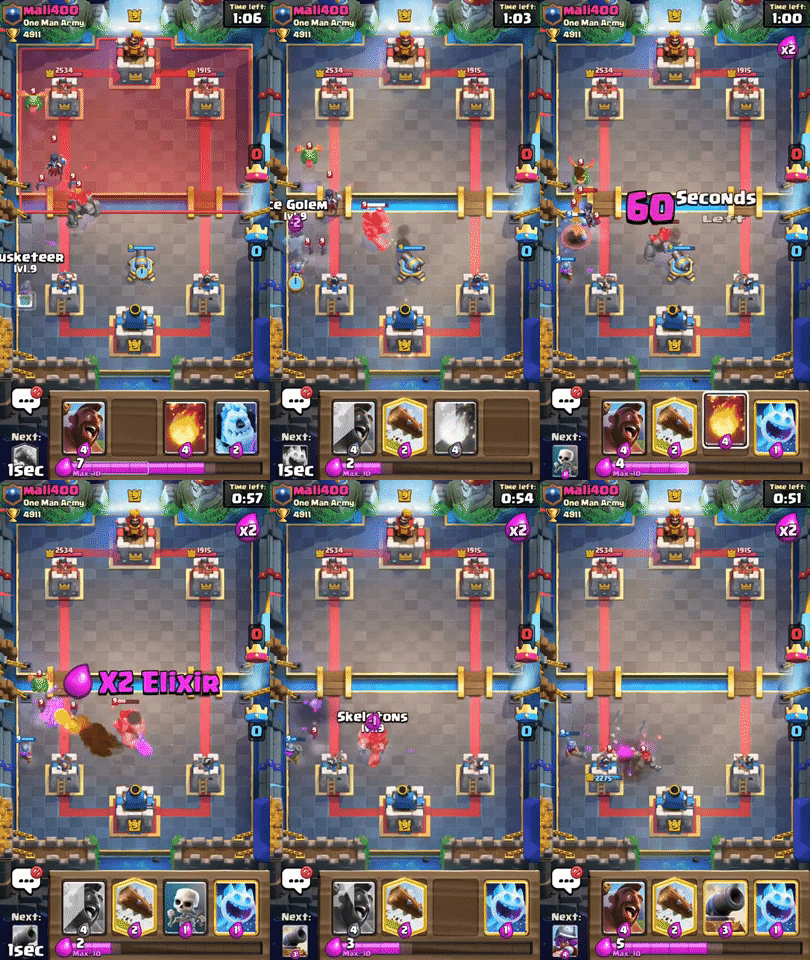
One of the most underrated and overlooked skills in the game. Spacing out your units out and avoiding spell value will win you the game more times than you can count. This skill mostly applies to defense but there are some situations where you can use this on offense to your advantage. We’ll start off with the defensive tips.
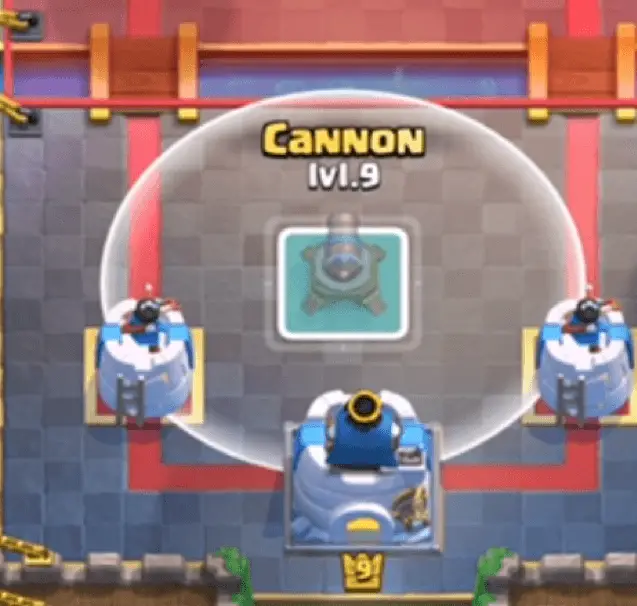
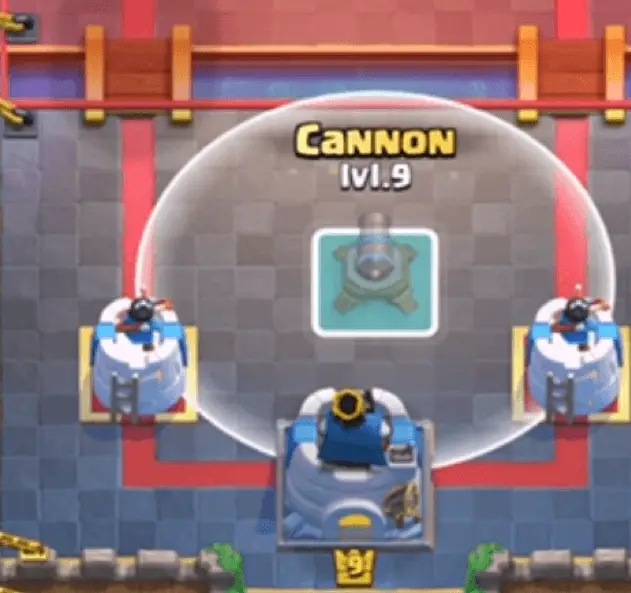
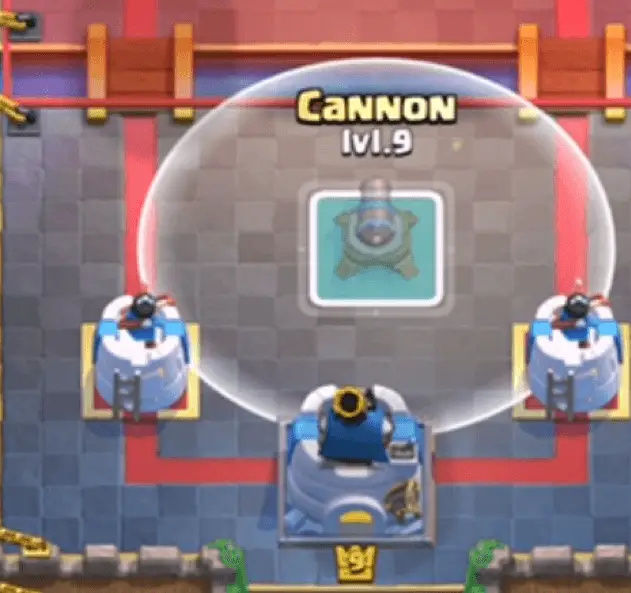
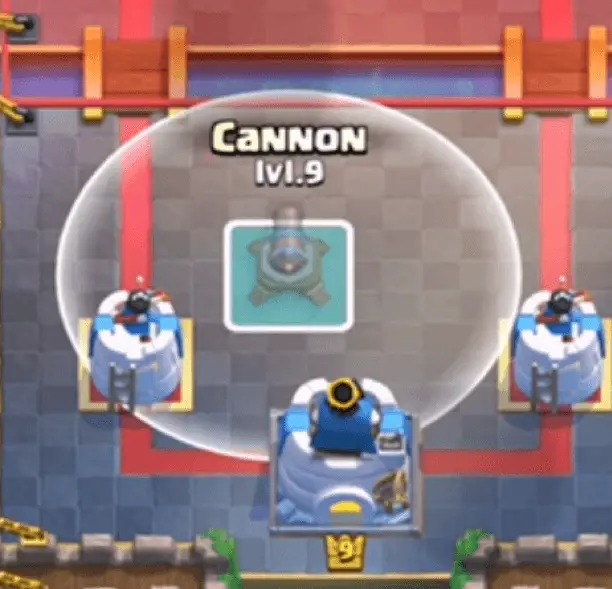
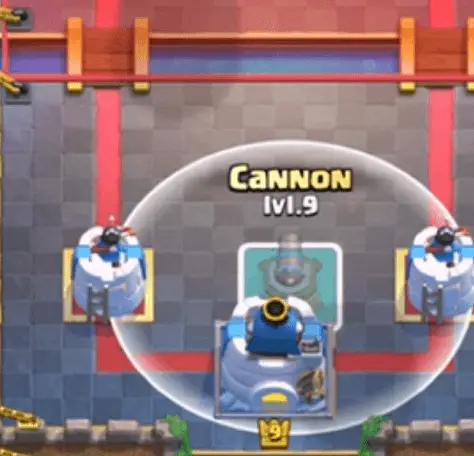
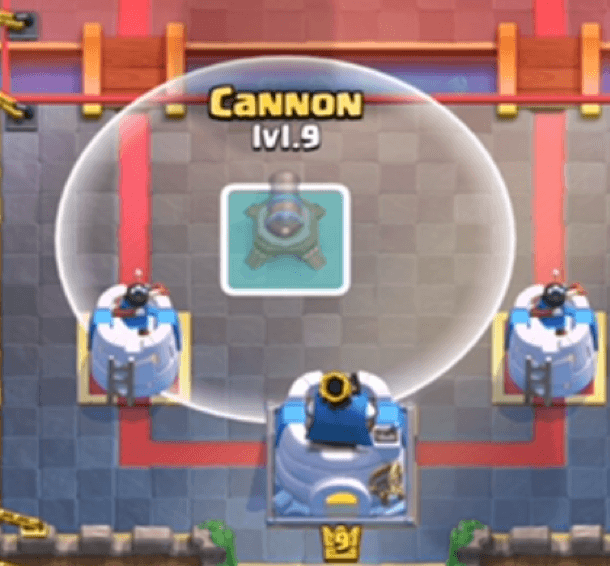
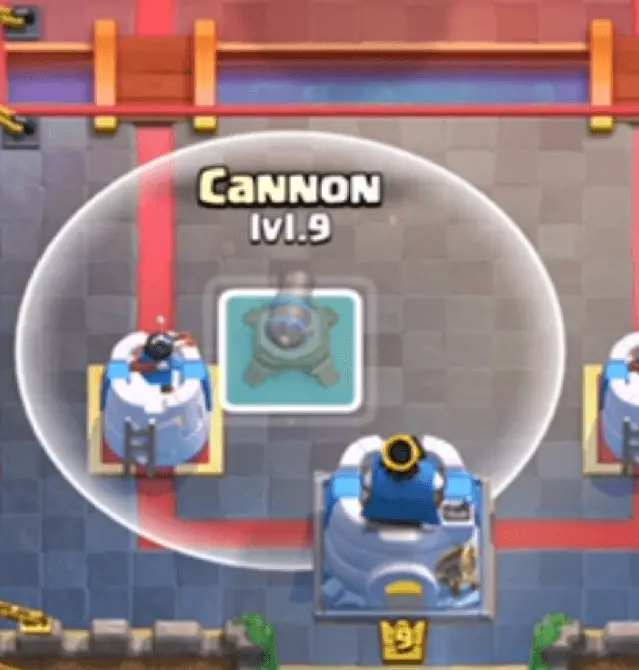
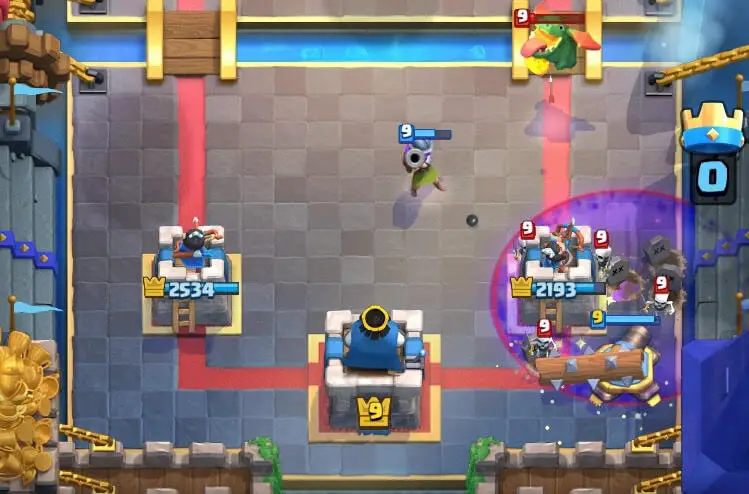
Against an incoming push you should almost always place you cannon in the center, attracting enemy tanks, and your musketeer on the outer side of the princess tower, allowing her to take out enemy support troops. Also make sure to protect her by any means necessary, even if it means using a panic fireball. Against giant, royal giant and golem, the 4-3 Cannon placement is ideal, 4 tiles from the river, 3 tiles from the defending tower. The tank (excluding RG) will get targeted by both princess towers and will go down in time for your defending tower to re-target onto the supporting units.
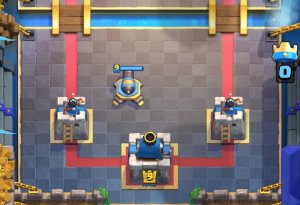
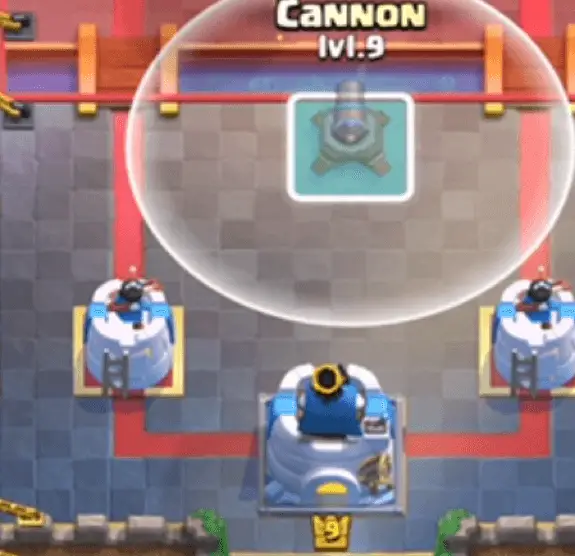
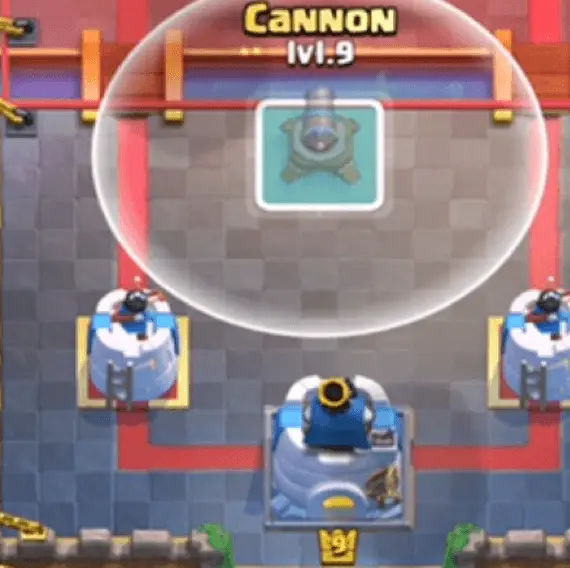
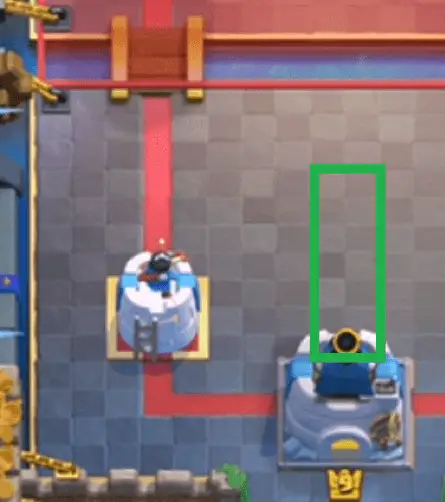
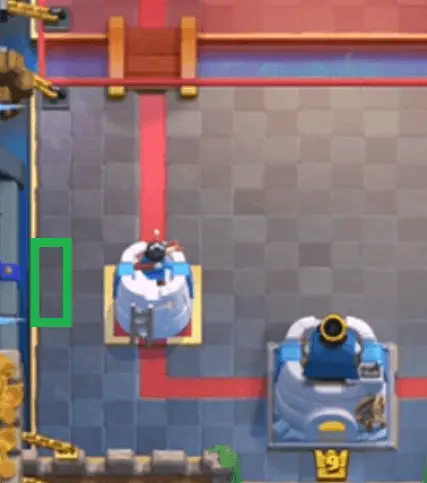
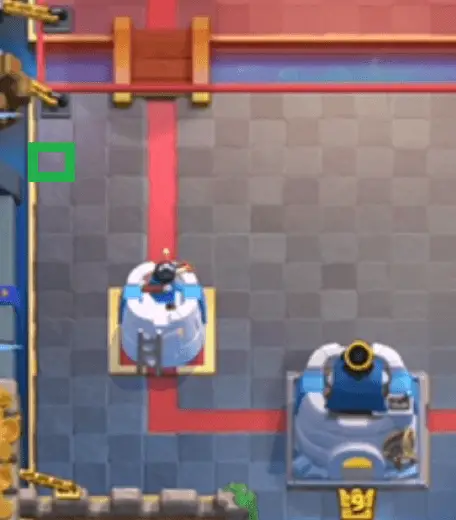
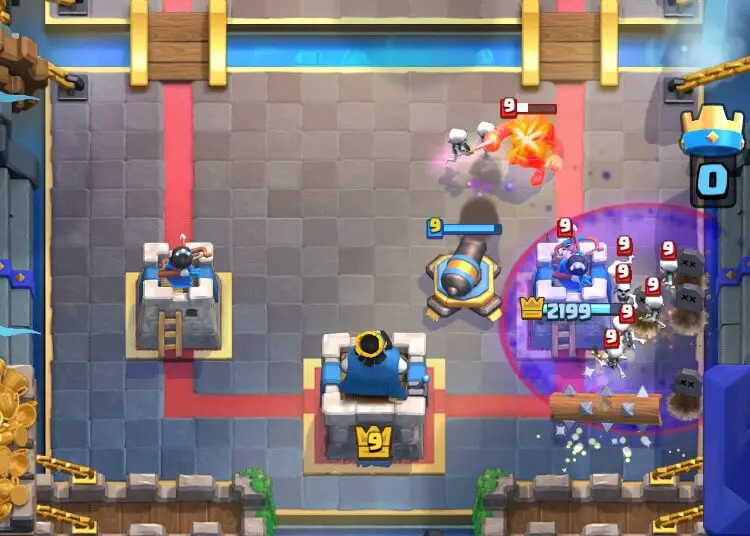
Lava hound is no doubt the most difficult match up for 2.6, but it’s not impossible. Having only one air counter forces you to come up with some interesting ways to defend, such as pulling the balloon to your king tower with cannons and cycling back to another musketeer after having used your first one. Immediately when you realize they’re running Lava Hound, look at your elixir. If you’re at full or to it, place a musketeer at the back in the lane their lava hound is in, then go in with a hog in the other lane. If you’re low on elixir, instead of playing the musketeer at the back, play a cannon in the spot shown below, followed by a hog in the other lane.
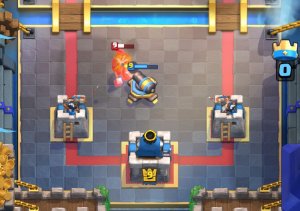
When their push approaches, play a musketeer to snipe the balloon (it will divert from the lava hound and go for the cannon). Then play another cannon in the spot shown below to pull the balloon to your king tower, making future defenses easier. The musketeer will then go on to pop the lava hound and you can use an ice golem or skeletons to sponge the lava pups.
Against graveyard decks you don’t have use to cannon to distract any buildings attackers. Instead, it’s your best defense against a graveyard. You can place it behind the tower to take pepper down the larries without risk of being destroyed, or you can place it on the inner side of the tower to also help take out a ground tank. It’s up to the situation, really.
The best cannon spot against hog riders is the 4-2 placement, 4 tiles from the river, 2 tiles from the defending tower.
Gameplan for Hog Circle
I will be going through what you’re trying to do throughout the match. From the beginning of the game to the very last seconds of overtime.
Getting Into the Match
For the first few seconds, look at your starting hand. What do you do if your opponent just waits? What will you use to defend if they rush you immediately? While doing this you should also keep watch of your opponent’s side of the arena, not to miss anything they do. Your ideal starting to play is either cycling a 1 elixir card (split skeletons in the back, ice spirit at the bridge) or going aggressive with a hog rider (either paired on not skeletons or ice Spirit, personal preference).
If you had to prioritize, I would say hog > skeletons > ice spirit. If none of those are an option, you can log the bridge for chip damage. If that’s not an option, I would either wait or play an ice golem a couple tiles in front of your king tower. The reason for that is because your opponent might attack with an x-bow which you will have no chance against without ice golem. Personally though, I’d rather just wait than use the second most important card in the deck. If you got to your hog by cycling cheap cards and your opponent still hasn’t made a play it’s okay to go aggressive with a hog. A big no-no is playing your musketeer unprovoked.
The First Few Plays
If you played your cheap cards and now are stuck with musketeer, cannon, ice golem and fireball and you haven’t gotten a response from your opponent, you can play ice golem at the bridge, followed by the hog you’ve just cycled to.
If you went aggressive the game is gonna keep flowing pretty nicely. Their defending units will wander onto your side and you’ll shut them down with your cycle cards, having also gotten a hit on their tower. They’re gonna be ahead in elixir at this point, so you have to be ready to respond to whatever they play, either in the back or at the bridge. If they invest a card in the back, cycle back to, and rush your hog in the other lane, forcing them to split their elixir into both lanes. If they rush at the bridge you ideally want to shut their push down for a positive elixir trading, meanwhile not allowing them to deal more damage than you did.
If they defend with something heavy like a pekka and then counterpush, you can easily shut it down and be at an elixir lead, with surviving troops and with the hog rider in your hand, ready for another push. Rinse and repeat.
If they defend with a building (or tornado) you’ll be at roughly equal elixir, and you want to either cycle some cheap cards (except ice golem) and waiting for them to make a move, or cycling to another hog if they don’t make a move.
If you’re playing against another cheap deck (especially x-bow) you may find yourself in a back and forth situation where nobody wants to make the first move. If you know that it’s a bad matchup you should go aggressive, giving you a small edge and making the game happen in x1 elixir time, where their advantage is not as considerable.
Early Game
Of course, this is the point where you’re trying to figure out what deck your opponent is running, if you haven’t already. Studying the meta can help if you’re playing at above 6000 trophies or in a Grand Challenge, but if not, it’s likely that they’re running a self-made deck, that you’re unaware of. There are still some cards you should look out for, since they’re frequently paired with one specific win condition, and usually not used outside that deck. Examples of these being night witch (golem), furnace (royal giant), pekka (bridge spam), elixir pump (three musketeers), tesla (x-bow).
You also want to identify whether you have the advantage or disadvantage in this specific match up, and how you’re going to play it (more on match ups later).
Push with hog and ice golem, chip away with spells and defend whatever they throw at you.
Mid Game
By this point you should’ve identified what deck you’re facing, and maybe you’ve even defended a push. This is the least complicated phase, but often the one where you deal the most damage.
Late Game
Double elixir time. Your opponent is building up a huge push in the back, and you’re wondering how you’re gonna defend it. You have your musketeer and cannon on the board, hovering your fireball waiting for them to clump up all their units. All of a sudden lightning strikes your musketeer and cannon and they’re gone, the golem is wandering towards your tower and the fireball didn’t do enough damage kill anything. What went wrong? You think you’ve done everything perfectly but here you are, getting three crowned.
There are several points where thing could’ve gone bad. We will ignore ones out of your control: lag, under-leveled cards, Did you push the same lane as your opponent, allowing them to build an even stronger push? Did you not space out your units correctly? Or did you defend inefficiently earlier, setting you back a ton of elixir. Every match is winnable, and watching your replays to see what mistake you did is maybe the best tool to help you improve, not just at a deck but at the game in general.
Post Late Game
Deep into overtime. The pressure is high. Will you get that 12th win or will you be one of countless people who end up at a mere 11?
The post late game may be the hardest part of the game. First of all you rarely even play games this long, then there’s the high pressure to account for and you’re probably not playing at your best this late in the game. As you can see in the GIF below, you can surprise your opponent with an all in attack in the pocket. Most of the time however, this will not be an option as they will be expecting something on that nature and preemptively place cards to block your attack.

Usually you want to be more on the aggressive side in this phase; it doesn’t matter if your opponent has a 10 elixir lead when the game is over. There’s not much advise I can give you due to the limited experience I have, the limited information about it on the internet and because of the vastly varying circumstances at this stage.
Match-Ups
No deck guide would be complete without a section about how to counter every type of deck. I will outline the basic strategy in terms of winning every matchup, but note that there will always be people who outplay you and certain situations where you can’t adopt these exact strategies, whether it depends on the circumstances of the match or a variation in their deck list.
Giant Miner
We’ll start off with an easier matchup, being classic giant beatdown. You want to go opposite lane from them, not allowing them to build up a counterpush off of your push. The exception is if you’ve gotten a lot of damage on one tower in the beginning of the game, in which case you should continue pressuring with hogs in regular time and spell cycle them out in x2 elixir time.
Defend with the typical center placed cannon and outer placed musketeer. Protect her from miners, spells and incoming units at all cost, delaying the push while your cannon and towers are taking out the giant. A common mistake I see when defending a giant push is placing the musketeer in the center, behind the cannon. This gives you opponent spell value on not only your musketeer, but it also allowed them to hit the cannon, allowing their giant to march for the tower. Utilize the skeletons to get as much damage on the giant as possible, forcing them to waste a spell.
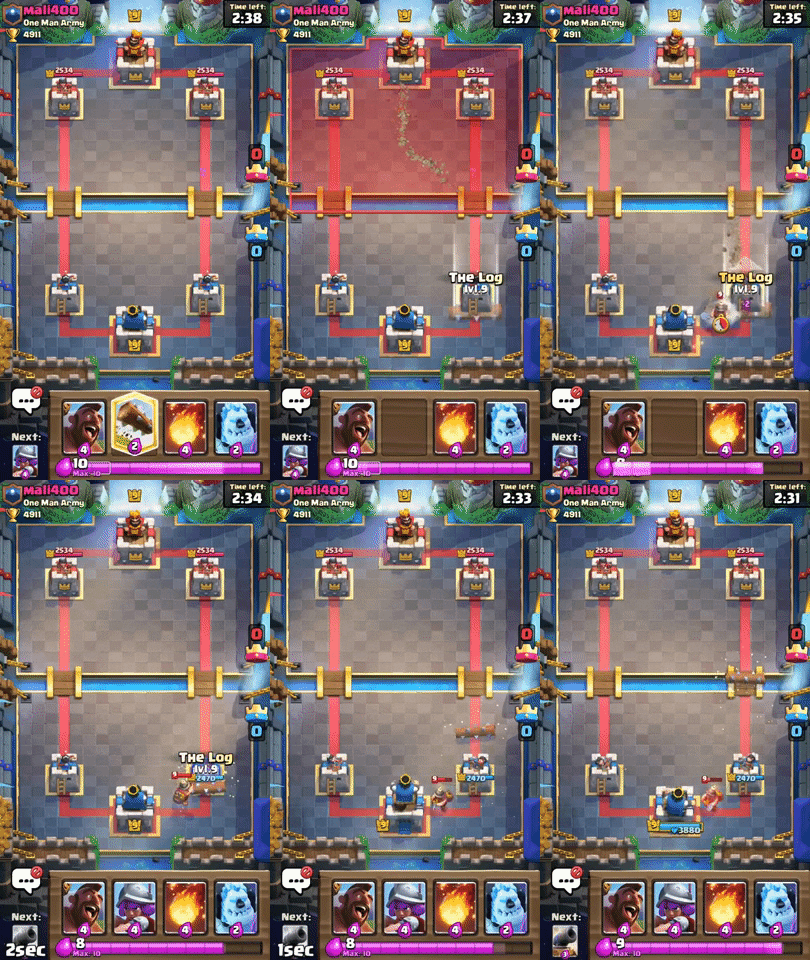
If you opponent makes the mistake of placing the miner on the corner tile of the princess tower near your king tower, you can use a log to push it onto your king, activating him and adding extra DPS to your defense.
Golem
As yarn once said, the best way to stop a big golem push is to never let it happen. That’s not always possible, but it does paint a picture for how you should approach this match up. In regular time you want to get as much damage as possible, always pushing with an ice golem in front to prevent them from activating their king tower. Ideally you should also try to identify what kind of spells they have; poison, barbarian barrel, tornado, lightning
Most golem decks will run barbarian barrel, accompanied by tornado and sometimes lightning. If they do run lightning, you have to space out your troops and be very cautious when it comes to stacking musketeers on defense. If they’re not running a removal spell (lightning, poison, fireball), you can, depending on the placements of your opponent’s supporting units, place the musketeer behind the cannon and kite the supporting units into the other lane, allowing both towers and the musketeer to decimate them. This also sets you up for a nice counterattack if you’re focusing on the opposite lane as them (which you usually should).
Be very aggressive and try to deny as much damage as possible from their leftover defending troops (you’re gonna need that extra tower health for when their big push comes), and take advantage of any situations when they’re low on elixir or have invested something in the back.
Graveyard
Keep up the pressure. Pressure, pressure, pressure with hogs. Never allow them to build up a death ball push with two tanks, graveyard and poison. Even if it’s just a hog and a log it still interrupts their plan and forces them to react. Defend the graveyard with cannons as shown earlier, take out the tank as quickly as possible so your tower can pick off the skeletons one by one. It helps a great deal if you have a log ready for when they push, but prioritize using it on offense to get rid of tombstones.
Never push right into their build up of troops, which will just allow them an even stronger attack. If the game goes into overtime and you’ve gotten a few hogs through to the tower, you can start spell cycling to get any value possible, even going so far as to fireball bowlers and baby dragons. This will force them to play their units further forward, limiting the size of their push.
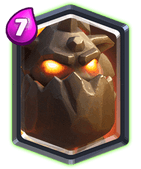
Lava Hound
I kind of touched on this match up earlier, but I will explain in more detail here.
As you saw in the video earlier, ideally you should activate the king tower via a balloon pull, but this isn’t always a safe option. If you opponent fireballs your cannon it’s important to have a backup plan. If they fireball your first cannon before the balloon is even pulled by it, place another one down in the same spot, place a musketeer so that it shoots the lava hound, then when the hound pops, fireball all the pups and knock back the balloon, preventing almost all damage. You could also do the trick where you cycle a musketeer, then push with your hog and cycle back to another one, giving you way higher DPS.
As for offense, just like against any beatdown deck you should keep up the pressure. Using ice golems with your hogs is not as important in this match up however, instead always save your log for them tombstone and sometimes you can go in for a predictive fireball against minions or a mega minion.
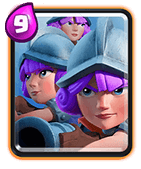
Three Musketeers
This is a pretty simple matchup if you don’t make any mistakes. Fireball pumps, attack when they invest and pull everything towards the middle of your arena on defense. Save your cannon for the battle ram and get value from your fireballs. Often times you’ll find yourself using a fireball and log against their two musketeers, then cycling back to another one for their minion horde on defense.
With the new deploy time, don’t be scared to fireball all three of them behind the king tower (only in situations where you’ve gotten a tower low enough that you can spell cycle). Keep in mind that a pump only gets its value back after 51 seconds, so don’t fireball any pumps after the one minute mark.
Just like against any other beatdown deck, your musketeer is very important on defense, so keep her alive. I like to put her in the center behind my cannon since 3m decks typically don’t run a big spell.
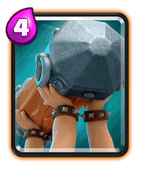
Bridge Spam
This matchup is kind of similar to three musketeers, since they run similar cards, the main difference being pekka and poison, where 3m runs pump and obviously, the three musketeers.
You have to space out your cards in this match up, but you won’t have to deal with as much dual lane pressure. The ice golem and musketeer are gonna be your most important cards against bridge spam. Kite around your opponent’s units as much as possible and save the cannon for their battle ram. Keep in mind some easy interactions, such as an ice golem just being able to counter a bandit with the help of one princess tower, and a cannon just being able to shut down a battle ram.
Going on offense can be difficult though, since their pekka or mega knight can shut down your hog after only getting one hit. Try to as often as possible use ice golem with your hog, allowing him to get 2-3 swings. You could also try to out cycle their pekka, but this is a risky strategy since it puts you down elixir and opens your opponent up for a counterpush.
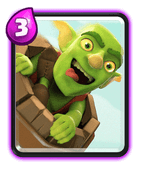
Log Bait
First you wanna figure out what kind of bait deck they’re running. Is it the classic with inferno tower and knight or is it one of the newer variations running rascals and prince? You’ll have a better match up vs variations without buildings, since it’s easier for you to go on offense and get down to spell cycling range, which, speaking of spell cycling, is a big part of this match. Always fireball princesses if you can also clip a tower so you don’t have to deal with them later. Save your log for the goblin barrel and kite the prince and rascals around.
If they’re running classic bait, you’re in for a long game. You’re gonna have to play pretty much flawlessly, since one tiny mistake can lead to you losing your tower, such as missing a juke goblin barrel or throwing away your log somewhere else. Be careful about when you fireball inferno towers, since it puts you down so much elixir for just one (if any) hog swings. If they play a high inferno tower you could also snipe it with a musketeer across the river.
Watch out for bridge placed princesses, they can be very tricky to counter if you have no musketeer or cannon in hand.
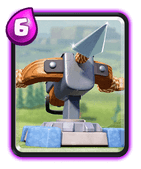
X-Bow
Typically seen as a hard counter to hog decks, you may be surprised at how well 2.6 hog does against x-bow decks. You can keep up their quick cycle, you have high damage spells and musketeer is phenomenal against an x-bow when she’s protected. In the worst case scenario you can use a hog against the x-bow.
There are a few different strategies you can employ when facing x-bow. You should switch up how you counter it as much as possible to remain unpredictable. Some of my favorite ways to defend against an x-bow are:
- Going on offense with a hog when they drop their x-bow and then shutting it down for cheap with a cannon
- Tank the x-bow with an ice golem and snipe it down with a musketeer
- Taking it down with spells while tanking with ice golems and center placed cannons
Center placed cannons are a great way to get rid of your opponent’s troops while delaying the danger of the x-bow. Simply place the cannon in the center like you would if there as a hog approaching. It’s gonna tank the x-bow and take our the enemy units. Then you can use a musketeer or hog to take down the x-bow.
The spell cycle strategy is something I reserve for the end game, if they go same lane as you.
Going on offense when they x-bow is one of my favorite strategies. It forces them to choose between defending their tower or their x-bow, and since the hog is a more immediate threat than their x-bow, you can often get away with a standing tower even if they choose to ignore your hog.
You could also try to out cycle their tesla. Many cycle players aren’t used to playing against other cheap decks, so they don’t ever feel the need to cycle back to their defensive building. This can catch them off guard the first time you do it.
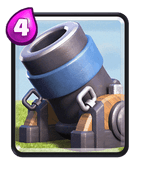
Mortar
Another siege deck. This one is even harder than x-bow from my experience. You don’t see many pure mortar cycle decks anymore so I’ll go over those ones quickly, then we’ll move on to the infamous mortar bait.
The reason this is a harder match up is because mortar cheaper than x-bow and they have tornado and rocket. They’re gonna win the spell cycle game, they can counter your hog even if it’s locked on to the tower and there’s no opening to go on offense when they drop their mortar. All I can say for this is be hyper aggressive and good luck.
Mortar bait is manageable but not easy, they can beat you in the chip game since they have a miner added to their direct damage arsenal. You have to be aggressive and force them to use their mortar on defense, severely weakening their offense. Save your log for their dart goblin (rascals if they don’t have it) and don’t be afraid to use your cannon against miners. It’s strong enough to survive a fireball and has pretty formidable DPS.
Fireball Bait
Fireball bait isn’t really meta right now, but you gotta be prepared for when it is. Just like against any bait deck you have to prioritize what you’re gonna fireball. I would recommend either barbarians or flying machine, Barbarians will completely shut down your hog and flying machine is extremely annoying to counter without musketeer.
There are multiple variations of fireball bait, there’s the ones running mega knight, the more expensive ones with barb hut and there’s those running pump. Any of them should be fairly straightforward but just one mistake will lose you the game. Pull the hogs into the center with your cannon and try to get as much damage as possible in single elixir time; it’s gonna get more and more difficult to deal damage the further the game progresses, and you can’t resort to fireball cycling this one.
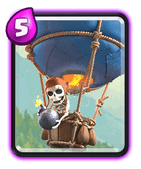
Balloon
This can be a very hard match up if your opponent knows what they’re doing. There are two main balloon decks going around right now, the cheap cycle ones with inferno tower and miner, and the more expensive ones running freeze, pekka and tornado, both equally unpleasant.
Against the pekka ones you can at least out cycle their pekka, but they will also have tornado and lumberjack as back up counters. The cheaper variants you can’t out cycle as easily but it’s gonna be even harder to break through an inferno tower.
The miner doesn’t make it any better either, seeing as them can zap your skellies letting the miner eliminate your musketeer. Your best bet against both decks is to pull the balloon to the king tower, since neither deck runs a big spell. Once you’ve done that defense against both miner and balloon is gonna be easier, but it’s still gonna be difficult to break through. Try to get as much log and fireball chip as possible on their towers and look for an opening either through out cycling, catching them when they’re low on elixir or making your pushes so strong that they can’t shut them down completely.
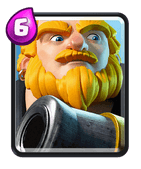
Royal Giant
First off: are they running fireball or lightning? If they’re running fireball you’re a lot more free to use your musketeer since they have to way to take it out unless she’s close to the river. Against both spells you obviously have to space out your musketeer. Just like against the regular giant, use the skeletons to get damage on the royal giant. The 4-3 cannon placement works against the RG too.
A lone royal giant is no problem, just use the cannon and musketeer (or skeletons), but if they manage to stack up two royal giants, along with supporting troops and spells, you’re doomed. So how do you deny that? You obviously want to pressure the opposite lane to split up their units, but that doesn’t help you defend. Similar to how you play a lava hound game, you should match their royal giant with a musketeer, so that once he reaches your side of the map he’s already at half health.
tracker for chest cycle








![Deck Of The Month – Vote for The Best! [September]](https://clash.world/wp-content/uploads/2017/07/mortar.jpg)
