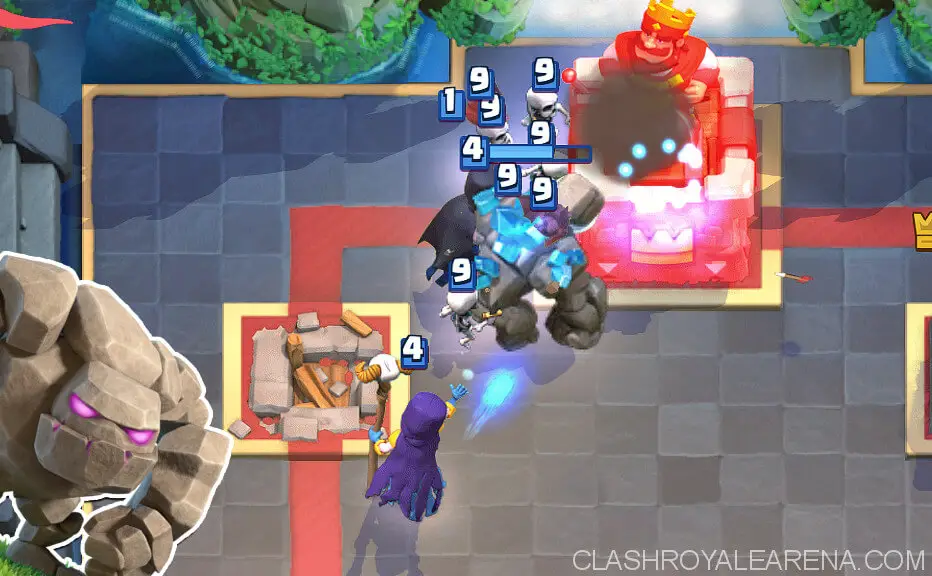
Hello fellow Clash.World readers, I am BW and i’m here to show you about the Tankiest Heavy Beatdown Deck I have ever made.
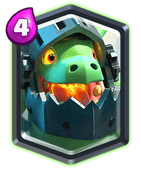
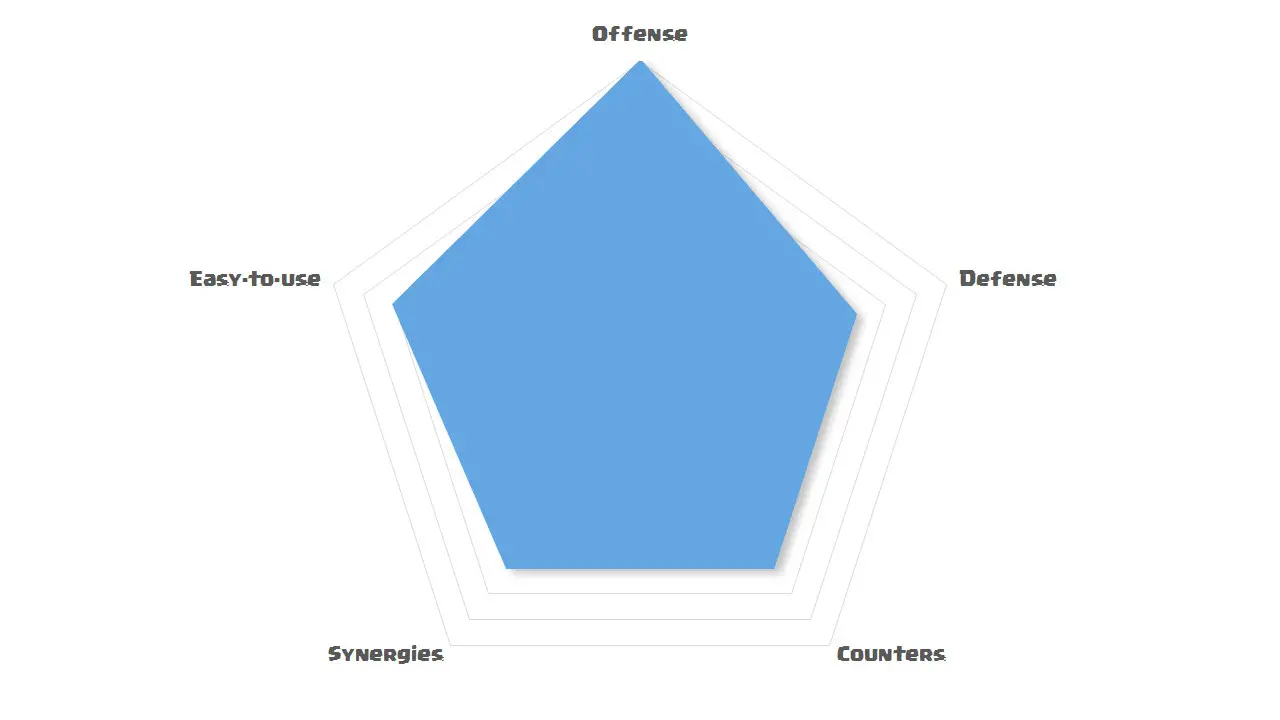
Previous balance changes have been made. The Inferno Dragon or so called by the name timmy is now tankier than the other timmy. This is a pretty good buff, considering that 1 more shot can be gamechanging for this Beam shooting Dragon. Because of the Inferno Dragon is a good card to pair for a beatdown Deck, I am trying to create a new Golem Deck based on my Gowilum Deck.
By no means, the Deck is still in a good state, but against a very good Lightning user. I don’t stand any chance. They will just Lightning my Wizard, Mega Minion, and Lumberjack, Annihilating all of the supports in my Deck.
So, I’m here trying to make the best tankiest Deck possible in this game. And TA-DA. Golem Double Dragon Deck has been made.
| Pros | Cons |
|
|
Card Breakdown
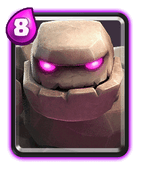
 Golem – #1 Win Condition
Probably the tankiest card in this game that when die turns to 2 mini-tanks. This card is our primary win condition, the one who will lead your Army to victory, even though that his heart is made of stone, he is ready to sacrifice its health to protect the others.
Never ever use this card as your opening. You are asking to be punished. Unless if you met a level 8 dude in challenge, feel free to rekt him in 1 minute XD, Just kidding mate.
But seriously, the first 2 minutes for every heavy beatdown Deck user is to:
- Place as many Elixir Collector as possible in the field.
- Defend your Tower as you possibly can and try not to overspend in defend. You will use your Tower as a resource for positive Elixir trades, but do not let all your Tower be destroyed. (ofc, n00b)
- Do not place your tank in the field UNLESS you have a noticeable amount of Elixir advantage over your opponent.
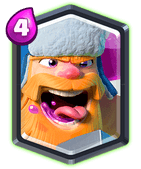
 Lumberjack – The Runner
Your war commander and your go-to card at most of the situation. This guy can take both the role of ADC and a Buffer.
- ADC means that this angry maniac axe chopper is your main reliable damage dealer and you will use this card to defend against enemy Hog, Royal Giant and almost all of them can be addressed by this guy.
- Buffer means that when this guy dies, he will drop a bottle of Rage and buffing your whole Army to go Rage and the DPS of your Army become 135% of the usual. Pretty great for the value huh.
Use this card to defend against enemy Hog Rider, Miner. Against a bigger pushes, you may want to use this card to deal some considerable amount of damage first.
And when he is dead, you can use the combination of a Baby Dragon + Tornado to wreck their Army.
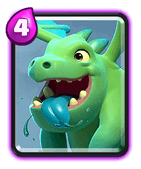
 Baby Dragon – Splash Tank
This Fireball spitting Dragon has been the Golem best friend for a long time. His first appearance is known when the Golem lighting meta is floating at max ladder gameplay.
Until this moment, the Baby Dragon has never ever leave the Golem, and will always to support him in almost every Deck :3.
You will want to use this card to cycle even though he is 4 Elixir because of it is less risky than Lumberjack and Inferno Dragon. Lumberjack will just quickly run to the enemy Tower and using the Inferno drag at the back have never been a good idea. ( you will just make your enemy to prepare to counter the Inferno Dragon easily)
This card can also be paired with Tornado for a decent amount of damage, though the damage is not as big as that Executioner/Wiznado. It is still viable and good enough to take care most of the swarms.
You can use this card to quickly eliminate most swarms at defending or you can pair splash timmy with Tornado to kill those Elite Barbarians.
 Inferno Dragon – Anti-Tanker
The other infamous timmy is in this Deck as the surprising card and as the most feared card by the enemy. When the full Army have been deployed. You will want to protect this Dragon at all costs.If the enemy is not swift enough to defend it, the Inferno Dragon will make his way to the arena Tower and quickly melt it like it was nothing.
If the situation is possible, try not to reveal this timmy until they deploy their tank or until you are going to push hard. Inferno Dragon can be very good at the first moment he is deployed. But if the enemy already know that you have the Inferno Dragon, it will not be that big of a deal.
The best situation to place timmy is to place him at the right-est side or left-est side in this game, whether you are going to defend against a tank or push. This allows him to become less vulnerable to swarms and can quickly shoot that tank off.
When defending, you will want to use this card is if their main tank is going to pass the bridge, you will want to quickly place him in front of the tank. Quickly letting him to kill the tank as fast as possible.
You may not want to use him against mini tank like Valkyries and Knight. Bowler and Sparky is still acceptable because ground units may not handle them pretty well.
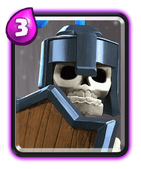
 Guards – The Defender
Some people may use a skeleton or even Goblin Gang for this slot. But I don’t find them pretty well against defending some threats because they are more vulnerable to spells.
Guards will let you to safely defend against an Elite Barbarians. They may not be the defender damage dealer, Lumberjack is a better option for that, but the Guards are best because of how spell and damage resistant they are against a P.E.K.K.A which is a bane for Golem decks.
Pair this card with an Inferno Dragon to quickly shutdown most of siege decks. The tricks is when they are deploying the X-Bow/Mortar. Quickly place the Inferno Dragon in front of them followed by the guard who will tank the hits for the timmy. Most siege decks doesn’t have a Zap ready for that, Tornado might give some trouble tho.
You can use Guards to quickly eliminate most of small threats like Miner, Goblin Gang, Skeleton Army. The Guards also do well against a Graveyard which is one of the most popular Deck nowadays.
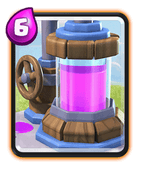
 Elixir Collector – Elixir Deposit
The reason why you can get a pretty big amount of Elixir advantage ahead of your opponent. Always to place this Collector as many as you can place before the 2x Elixir count.
After Double Elixir count, you may want to stop pumping and go full beatdown.
There are some very special case that will need you to still pumping even after 2x Elixir mark :
- You have always fight against your opponent and both sides didn’t win and not getting any Tower damage at all.
- You cannot pass through their defenses and your Tower is still healthy.
By still pumping, you can wait a bit more to make a bigger push.
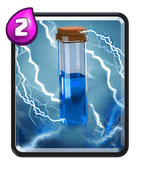
 Zap – Anti-ferno
One of the most used card in this game. A must have for any beatdown decks if the Deck didn’t carry a Lightning.
You may want to use this card mainly not just for the damage, the stun ability it offers is pretty handy when dealing with Sparky and Inferno thingies.
A good counter against every swarm cards, but against Goblin Barrel, the Tornado is better because it can make you to activate the king Tower.
Try to time it very correctly when dealing an Inferno Tower. This Deck didn’t carry a Lightning, so dealing with Inferno will be pretty tricky. Aim it 3 seconds after the Inferno lock on your target.
 Tornado – Splash Control
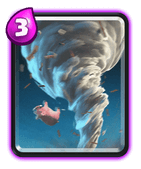
Used to not be used a lot, but after they buffed its area range and the pulling power. This card become one of the most used card in this game.
The reason is simple, it is because of the versatility it offers. You can use him like a Cannon when defending, or even you can use this card to destroy all of the enemy troops with the help of splash troop.
You may want to use this card a lot when defending. Always try to have your king Tower activated against a control Deck matchup. Especially Graveyard which will help you a lot when defending.
Against a beatdown Deck, it is unlikely that you will pull them to the king Tower most of the time. Because you will need to handle their support troops too and its better to do a Splashnado combo rather than pulling their tank to the king Tower.
Try to save this card against certain card at the match, like a Hog when you are defending or even their Minion Horde when you are pushing.
Some technique with Tornado :
- Against an Elite barbarian user. Try to use Tornado to pull them to the king. The next time they deploy the Elite barbarian, your guard can defend them pretty well with the help of king Tower firepower. Even an overlevelled Elite barbarian will not unlikely to land a single hit on your arena Tower.
- Try to use baby Dragon + Tornado when your baby Dragon is in an effect of Rage. The damage of baby Dragon is pretty bad, Rage spell will help him to negate that pretty bad damage.
- Inferno Dragon + Tornado is a pretty good technique, especially against a P.E.K.K.A user.
- When pushing, you will want to use the Tornado to pull the P.E.K.K.A out of range of the Golem so that the P.E.K.K.A will not hit the Golem. And at the same time, use the Tornado to make sure that the Inferno Dragon beam will not be out of range from the P.E.K.K.A. Tornado can help Inferno Dragon so that the target of Inferno Dragon will not get out of range from him.
- Golemnado is also a pretty awesome technique. So when your Golem is about to die, you can pull their Princess, Dart Goblin, archer or even Minion Horde to the head of Golem. This will make them to be killed by the Golem explosion.
Positioning
Positioning is very crucial in almost any moba-like games. Clash Royale is not an exception, here I will show you how the Deck should be positioned when pushing. Sounds easy, but a bad positioning often can lose you the game.
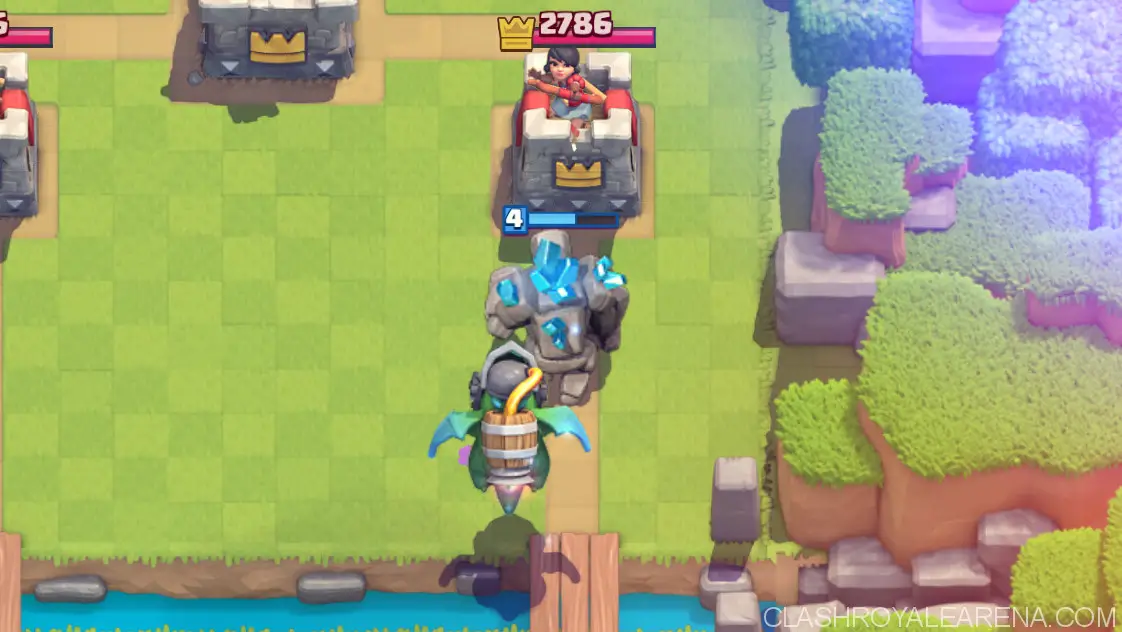
 Golem – Always try to place Golem in the back of king Tower or at the corner of the map. In some cases, you can also try to place him 3 tiles in front of the king Tower, This means that they cannot rush your Tower immediately with Elite Barbarians, in exchange of giving you lesser time to build a bigger push. This also works against a siege player, their Mortar/X-Bow will hit the Golem instead of the Tower.
 Lumberjack – This drunk maniac sometimes can be a bit tricky, his speed is very fast that often can make him to run past the Golem itself. When building a push, after you place the Golem, you may want to place him in the back of king Tower, not in the back of the Golem. By placing him in the very back, the enemy Princess Tower will likely to target the Golem instead of your Lumby.
Against a Hog player, you may want to place him immediately in front of the Hog. This simple technique can sometimes decide whether the Hog can get a hit or nay.
 Baby Dragon – The less damaging but splashing timmy will be your main Inferno Dragon’s bodyguard. He has 0.5 less range than the Inferno Dragon which will result him to be likely targeted by the Princess Tower rather than the other timmy.
The positioning with this card when you are pushing is usually at the middle-left/right side of the arena according to which lane you push to. By placing the baby Dragon in the middle, he can help the Golem to deal with the Inferno Tower while also guarding the Inferno timmy from other threats. Adding a Tornado is also useful against a defensive Minion Horde.
 Inferno Dragon – Inferno Dragon or so called the timmy is your most precious troops when in a clash. The purpose of using him as my Tower-melter is the all or nothing principal. You will either get the Tower by the help of timmy or the timmy will just get shredded by that pesky Minions.
The best situation to place timmy is to place him at the right-est side or left-est side of the map, whether you are going to defend against a tank or push. This allows him to become less vulnerable to swarms and can quickly shoot that tank off.
By placing him in the most left/right side in the map, he will also ignore the defensive building and proceed to go to the arena Tower or get distracted by enemy troops. This is the moment when you should do the Baby Dragon + Tornado to make sure that the Inferno Dragon can land the beam into the Tower safely.
 Guards – Your main Tower defender. This guy will also be the one that absorb the hits when defending. Although it is unpopular and outclassed by the skeleton Army and Goblin Gang, I like how this card has a shield and it is very good. This let the Guards can handle against Graveyard better because they are more spell resistant.
Generally, you will want to place him in the middle against distractable unit like Elite Barbarians, Knight, and Valkyrie. Against a Hog Rider, if you doesn’t have a Tornado. You can use the Guards in front of him to bodyblock him a little bit. And against a bigger push, you usually will use the Guards to gank their support troops and Lumberjack/ Inferno Dragon will take care of the tank.
Against an Inferno Tower. You can place him in front of the river, this will let the Guards to distract the Inferno Tower a little bit before the Inferno manage to lock on to the Golem or even distracted again by the Baby Dragon.
 Elixir Collector – As a Tornado user and Elixir Collector user, you may want to place the Elixir Collector in the left or right of the king Tower. It is good against a Lightning and Hog user. Miner would be OK.
Why not in the front? Although in the front of king Tower may be the best position because it is best against Rocket, you cannot pull a Hog/Knight/Valkyrie/Elite Barbarians to the king. This will results to minimal Tornado play. The Elixir Collector will also be more vulnerable against a Hog/Poison/Lightning user.
 Zap – Not much to say about the Zap positioning, just make sure that you can time it right against an Inferno Tower and be careful against a hipster Barrel play.
 Tornado – The card that requires positioning skill the most. A bad positioning play will turn the game into the enemy favor. Mostly, you will try to pull them to the middle instead of the furthest side of the arena. The firepower from other Tower can help you to successfully defend.
Just make sure that Tornado has been nerfed quite great. It is now only lasts 2.5 seconds, so make sure that you make the best out of it.
Matchups
Certain matchup can be quite harder than the others, just make sure to know that it is ok to sacrifice a Tower early on.
You may want to use a surprising Inferno Dragon by directly dropping him in front of the tank. Place a Guards if there is an air troop supporting him. Lumberjack + Inferno Dragon is the ultimate anti-tank combo.
Raged Inferno Dragon will only require 2.6 sec to reach max damage output and the max raged damage output DPS is 1180 DPS, that number alone is enough to kill every tournament standard tanks in under 4 seconds.
One thing to be noticed is that this Deck has one of the most hitpoints combined. The total hitpoints of the 20 Elixir push in this Deck is 7380 Health points, combine that with the golemites and it will be 9108 Health point. Crazy huh?
Safe your Elixir for the push, dont bother to sacrifice a Tower. Comeback can be real in Clash Royale.
Conclusion
Thanks a lot for reading my guide down until here. This Deck is one of my core Deck used right now even though the baby Dragon is still level 4.
One of the major advantage in this Deck is that even a Lightning will not kill our support troops. You may want to use the Tornado wisely when pushing.
Place the Inferno Dragon in the far right/left of the map so that he can bypass the buildings easily. And dont forget to always Pump whenever possible before Double Elixir time. This is my guide and thank you for your attention!


![Deck Of The Month – Vote for The Best! [September]](https://clash.world/wp-content/uploads/2017/07/mortar.jpg)
