Hey clashers, this time I’m gonna talk about some of the best synergies among decks for 2v2.
I’ve splitted this guide into two parts to make it easier to read and write as well. So let’s get into it!

Best Deck Combos for 2v2 Battles
For more detailed tips on 2v2, take a look at this in-depth guide!
The Dual-Synergy:
Okay, before getting into the main subject, let me tell you about dual-synergy.
Just like two cards synergize with each other in a duel, two decks also synergize with each other during a 2v2 battle. Although you can possibly win tons of battles without actually caring about synergy (that’s what we do in a Quick Match), having two decks with synergistic combo between them greatly increases your chances of winning.
There are many deck combos that work better together. The list below covers some useful combos that I believe can help you in 2v2 matches ahead!
Note: This list is incomplete. Feel free to add more combos if you know, in the comment section below. I’ll update the post with your ideas!
Giant Beatdown + Graveyard Cycle
I guess all of us are aware of the infamous Tank+GY synergy.
This dual-synergy is based on the same principle. While there is a beatdown going on, a GY added in the mix, is devastating especially if it’s a GY poison cycle.
Beatdown decks normally lack the ‘cycling’ feature. That’s what the GY cycle is for! They can easily cycle to their defenses while the beatdown players can focus on their pushes.
Moreover, due to RNG feature of GY, just a simple Giant + GY combo is threatening if the opponent is not prepared. The cycling ability of the GY deck, allows to magnify even a small beat down push.
Here’s an example of this combo:
Deck #1
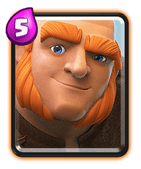
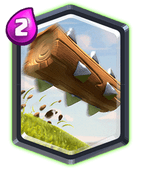
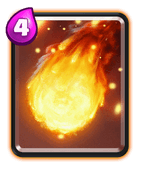
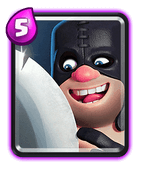
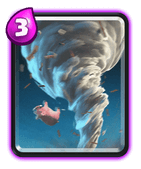
Deck #2
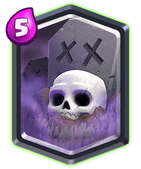
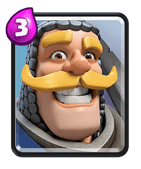
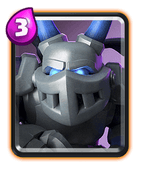
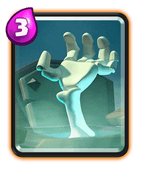

Gameplan:
Let’s assume Player #1 is using Giant Beatdown and Player #2 is using GY cycle.
During the start of the match, it’s better to cycle cards at the back and not go for a push. But if the opponent places a big tank at the back, feel free to Giant+GY them.
During the middle phase, push whenever you can after a successful defense by plopping a Giant in front of the alive troops and placing the Graveyard once the Giant crosses the river.
In 2v2 matches, Beatdown pushes can get easily defended, especially if it’s Giant Beatdown.
So the mindset while playing this dual-combo will be to cause as much damage as possible through GY+Spell combo and not letting them counterpush. Player #1 should save their defensive troops since Player #2 doesn’t have decent defense.
The Push: Giant+Splash Troop+GY+Spells should be a decent push in my opinion.
Bridge Spam+Spell-Bait
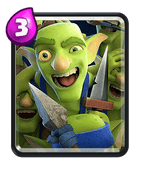
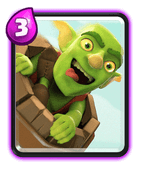
The bridge spam deck is really useful to bait opponent’s Log or Zap since it has battle ram. 9/10 times your opponent will use his Log on Battle Ram if he has it in hand. That’s where the spell bait deck shines.
Moreover, the ultimate defense of spell bait decks is useful to counter the opponent’s counterpush after a bridge spam push. The key is to not use ‘Log-able’ or Zappable troops together such as Battle Ram + GobGang.
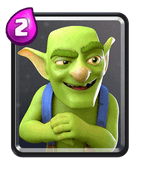
Use Goblin Barrel as your win condition. If the opponent uses Skarmy/Minions/Gobgang to counter Goblin Barrel, then Poison comes handy, providing an awesome elixir advantage and an area denial for both your Battle Ram and the Goblin Barrel.
Recommended Decks:
Deck #1

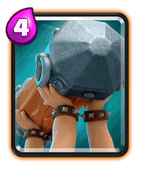
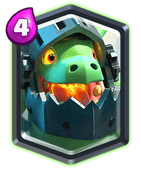
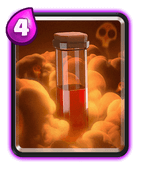
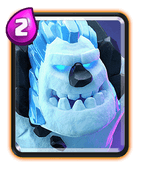

Deck #2


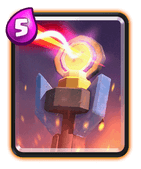
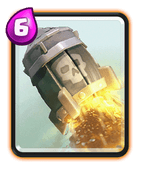


Gameplan:
While playing with this combo, Player #1 must apply enough pressure to force their Log.
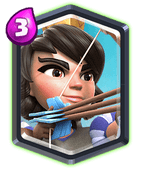
As starting hand, GobGang at the bridge or Princess or Knight at the back is preferred for Player #2.
Always remember to place the Princess in the opposite lane to force out their cards. Once the opponent uses his spell, feel free to toss Goblin Barrel. Poison if needed. Player #1 should play as usual. Read more about Vietnam’s Bridge Spam here.
The Push: Basically, Goblin Barrel and the spells does all the damage. Battle Ram+Goblin Barrel+Poison +Bandit is a decent push.
Hog Cycle + Hog Cycle
This one’s my favorite!
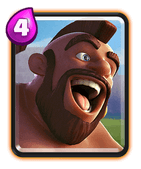
The reason why two Hog Cycle decks work amazingly is the same reason why Hog Cycle decks are popular; the ability to out cycle their counters and apply constant pressure.
Since both of the decks have cards that are meant to support the Hog push, the two players can do constant Hog pushes and can counter their counters easily. The players can also Dual lane pressure the opponent to baffle them up.
Read more about Hog Cycle here!
Example Decks:
Deck #1




Deck #2





Gameplan: I don’t think this needs much explanation. Just play normally as you would being a Hog Rider player.
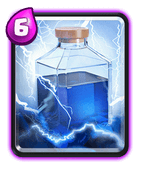
The key to not letting them counterpush and apply uniform pressure in both lanes if possible. Use your spells to let the Hogs pierce through.
NEVER play two Hogs at once, push with each Hog periodically so as to bait their counters to Hog.
The Push: The small Hog pushes are your damage dealer. There’s no specific push to be honest. Spells can be also used to take down their tower during Sudden Death when everything’s is rapid.
However, counterpushing with remaining defense troops (like the Musketeer and Executioner) is your best push possible.
3M + Spammer
This one is interesting! And effective too!
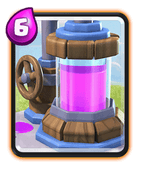
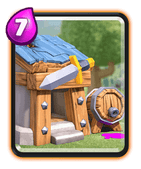
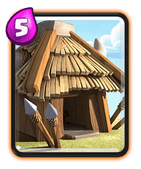
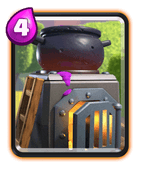
I actually tried this combo with my friend and it worked wonderfully great! The reason why it works is because there are a lot of units that forces your opponent to use their medium/heavy spell, such as The Barbarian Hut, Goblin Hut, Elixir Collector, Furnace.
Once your opponent uses his Fireball, you know the next. 3M!
The spammer cards, being spell-bait, are also useful to apply dual lane pressure, which 3M decks aim to!
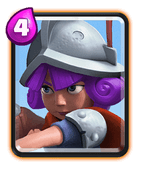
You can simply split your 3M with the lone Musketeer supported by the spawned Barbs and the other two by Battle Ram. And it becomes a pretty devastating push.
Example of this combo:
Deck #1




Deck #2



Gameplan:
As you might have figured out, both of the decks are heavy. So play defensively at first, pumping as much as possible.
Here are more possibilities decks:
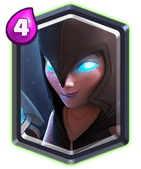
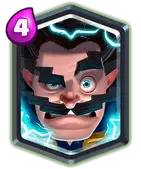
1. Double Spawner Decks
Key Cards:
- Barbarian Hut
- Goblin Hut
- Furnace
- Royal Recruits
- Poison
- Log
- Electro Wizard
- Mega Minion
Strategy: Spawner decks can overwhelm opponents by continuously spawning troops that chip away at towers and distract enemies. In 2v2, the constant pressure from spawners forces opponents to split their attention and resources. Pairing this with defensive cards like Electro Wizard and Mega Minion ensures you can counter your opponents’ pushes effectively.
2. Golem + Support Deck
Key Cards:
- Golem
- Night Witch
- Baby Dragon
- Lumberjack
- Tornado
- Mega Minion
- Lightning
- Log
Strategy: The Golem deck is a classic for a reason. Its high health and destructive potential make it a formidable win condition. In 2v2, having a partner who can support the Golem with additional troops or spells can create unstoppable pushes. The Night Witch provides excellent support with her bat spawning ability, while the Lumberjack can add a rage boost to the mix. Use Tornado and Baby Dragon for effective defense and counter-push potential.
3. Hog Cycle + Control Deck
Key Cards:
- Hog Rider
- Ice Spirit
- Skeletons
- Cannon
- Musketeer
- Fireball
- Log
- Knight
Strategy: Hog Cycle decks focus on fast, relentless pressure. The Hog Rider is quick and can deal significant damage if left unchecked. Pair this with a control deck that focuses on solid defense and counter-attacks. The cycle aspect allows for frequent Hog Rider pushes, keeping the pressure on opponents while your partner supports with heavier defensive or offensive cards.
4. LavaLoon + Miner Poison Deck
Key Cards:
- Lava Hound
- Balloon
- Miner
- Poison
- Mega Minion
- Guards
- Arrows
- Inferno Dragon
Strategy: The LavaLoon combo is devastating when executed correctly. The Lava Hound serves as a tank while the Balloon deals massive damage to towers. In 2v2, coordinating with your partner to protect the Balloon and Lava Pups can lead to explosive damage. The Miner and Poison combo is excellent for taking out defending troops and chipping away at towers.
5. Royal Giant + Sparky Deck
Key Cards:
- Royal Giant
- Sparky
- Electro Wizard
- Minions
- Fireball
- Zap
- Furnace
- Guards
Strategy: Royal Giant’s range allows it to chip away at towers from a distance, making it a solid win condition. When paired with Sparky, you create a high-risk, high-reward scenario. Sparky’s splash damage can annihilate defending troops, paving the way for the Royal Giant. Support these heavy hitters with defensive cards and spells to protect them and maximize their potential.
Tips for 2v2 Success
- Communication is Key: Whether you’re playing with a friend or a random ally, communication can make or break your strategy. Use the in-game emotes and chat to coordinate attacks and defenses.
- Complementary Decks: Ensure that your decks complement each other. If one player uses a heavy deck, the other should consider a lighter, faster deck to balance out the elixir cost.
- Adapt to Your Opponents: Be ready to adjust your strategy based on what your opponents are playing. Flexibility is crucial in 2v2 battles.
- Elixir Management: With two players, elixir management becomes even more critical. Coordinate to ensure you’re not both low on elixir at crucial moments.
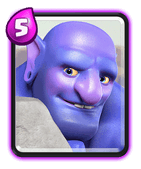
The Bowler and Executioner are great cards to generate Elixir Advantage.
If both opponents use their Fireball on something else other than 3M, split the 3M and slowly ramp up the push from the back.
You’re not gonna rush because of the ‘high risk, high reward’ property of this dual-synergy.
The Push: Two Muskies+Barb in one lane, 1 Musketeer + Other troops in the other lane. Keep your spells ready in case they counter with swarms.
Conclusion:
So here’s the end of the Part I of this guide! Hope it proved useful to you.
Provide your feedbacks, complaints and ideas in the comment section below! I’ll be posting the Part II very soon.
Till then stay tuned and clash on!

