Hey guys I am Jb3403 from The Jayming broadcast here with my first strategy guide, ‘How to use spells; basic and advanced strategies’.
First of all, I want to thank Ash with his amazing spell guide for the foundation of this guide and The Log Guide by crSean!
The Ultimate Guide to All Clash Royale Spells
Background
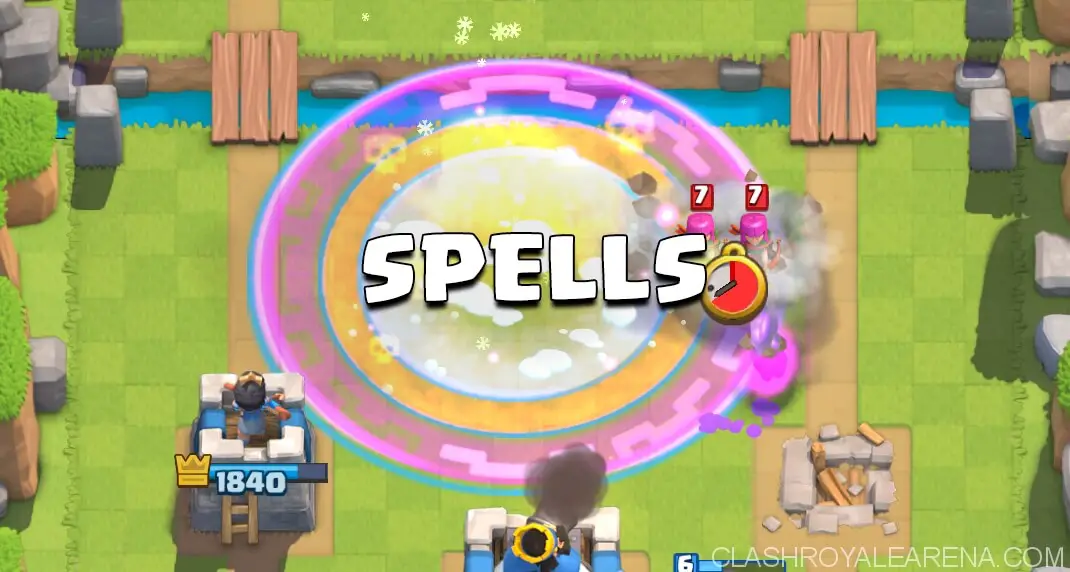
Spell cards are extremely important because they have the ability to gain major profits in Elixir and allow you to finish off towers to get the win.
Spell cards are also in my opinion, the most difficult cards to play due to the fact that unlike troops and defensive buildings, the precise timing and placement of these spells can quickly overturn a battle or create impending doom.
So in this guide, I’m going to go over all of these spells and show you guys basic and advanced ways to use the spells (‘recommended target tables included).
This is gonna be a looooongggg spell guide, so sit back, get some popcorn and start reading (or watch the video if you’d prefer).
One thing I want to mention before we get into each card is you need to prioritize your spells.
‘Prioritizing your spells’ is where you literally prioritize your spell/s to certain cards that your opponents have.
For instance, say your opponent has a Goblin Barrel in their Deck and you have The Log. You want to prioritize your Log for the Goblin Barrel by only using it when your opponent sends in a Goblin Barrel.
Another example is prioritising your Fireball on the 3 Musketeers card. You will only play the Fireball card on the 3 Musketeers because they’re more of a danger than the pesky Elixir pumps your opponent plays. Use this advanced technique to enhance your skill level.
Arrows
Let’s start basic, Arrows! A card that you unlock in the training camp.
Arrows can counter many big threats and provide you with incredible Elixir profit or equal exchanges.
Not only that, the thing about the Arrows card is that it has really a large radius, therefore being able to hit many troops in the target area. This gives you opportunity to gain more value out of the card.
The objective of a battle, other than winning is to get as much value as you can by using the least needed Elixir necessary. The Arrows help you achieve this objective with its basic, yet profitable trades.
For example, the Arrows card can one-shot a Minion Horde for a 2 Elixir profit.
But, an advanced strategy would be to look for even greater value than that.
You would be patient, because you can take out a Minion Horde at any time, so if you wait, there is a chance your opponent will place another card following behind the Minion Horde, for example, the Miner. Once the Miner appears, hover the Arrows over the Miner and wait until the Minion Horde comes just in range and then use the Arrows. Being patient in that situation allows you to get that 2 Elixir profit with that Minion Horde and weakens the Miner allowing you to ignore that Miner giving you an extra 2 Elixir profit!
Generally, you only want to use Arrows, and most spells, for a nice Elixir profit, but Arrows are usually best at taking out swarm troops (or the Princess & Dart Goblin) which the majority usually use 1-3 Elixir. Using Arrows will sometimes harm your Elixir advantages, but those equal/negative Elixir trades will save you at times.
Recommended Targets to use ‘Arrows’ On
| Card (Tournament Standard) | Elixir Cost | Elixir Profit Using Arrows | HP remaining |
| Goblins | 2 | -1 | N/A |
| Spear Goblins | 2 | -1 | N/A |
| Bats | 2 | -1 | N/A |
| Minions | 3 | 0 | N/A |
| Goblin Gang | 3 | 0 | N/A |
| Skeleton Army | 3 | 0 | N/A |
| Cloned Troop/s | 3 | 0 | N/A |
| Princess | 3 | 0 | N/A |
| Goblin Barrel | 3 | 0 | N/A |
| Dart Goblin | 3 | 0 | N/A |
| Minion Horde | 5 | 2 | N/A |
| Lava Hound/Pups | 7 | 0-4 depending on what is used to pop hound. | N/A |

Fireball
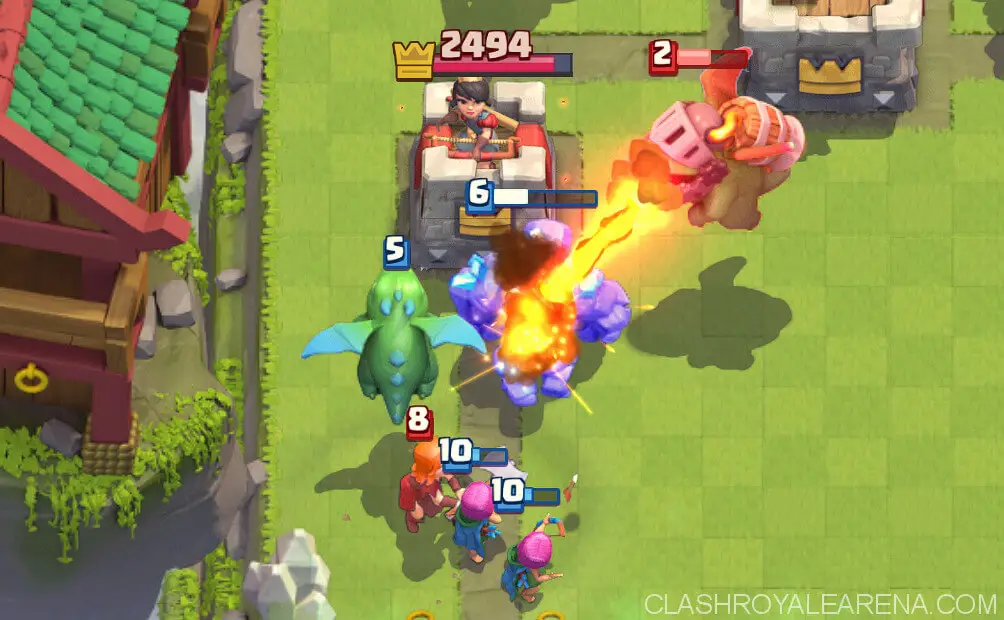
Just like Arrows, the Fireball is another spell that allows you to get some sick Elixir profits.
Instead of vacuously placing your Fireball on the opponent’s towers to weaken them, possibly with a cheap unit next to the Tower, try to focus on positive Elixir trades or equal Elixir trades with your opponent.
For example, if your opponent places Barbarians behind their Tower… wait until they’re clumped up either next or in front of the Tower and send in your Fireball. Doing this allows you to get a little chip damage on the opponent’s Tower and makes the Barbarians HP low enough to be taken out by 1 shot from your Archer Tower or another cheap spell.
But just like the example used before, a smart player will wait until the very last second to launch the Fireball just in case another troop is played on the field by your opponent. Doing this allows you to gain a massive positive Elixir trade!
One important thing to note is that if your Fireball is 1 level higher than a Musketeer (3 Musketeers included), Wizard or Electro Wizard (Killing Ratio with Electro Wizard is lvl 8 Fireball kills lvl 1, lvl 9 kills lvl 2 ect.), it will kill them which is usually a great trade! But if they’re the same level or below, they will not die, allowing your opponent to put a tank in front of the severely weakened troops, unless you use a cheap spell to kill the weakened supporting troops.
Another option using the Fireball is to Fireball the buildings placed by your opponent, for example, spawners. Fireballing a single spawner, or multiple, while chipping away at the Tower is a great way of using. Another example is Fireballing defensive buildings whilst you have a push on the opponent’s side.
Recommended Targets to use ‘Fireball Card’ On
| Card (Tournament Standard) | Elixir Cost | Elixir Profit Using Fireball | HP remaining |
| Archers | 3 | -1 | N/A |
| Minions | 3 | -1 | N/A |
| Goblin Gang | 3 | -1 | N/A |
| Bomber | 3 | -1 | N/A |
| Dart Goblin | 3 | -1 | N/A |
| Mega Minion | 3 | -1 | 123 |
| Princess | 3 | -1 | N/A |
| Ice Wizard | 3 | -1 | 159 |
| Cannon | 3 | -1 | 324 |
| Electro Wizard | 4 | 0 | 28 |
| Musketeer | 4 | 0 | 26 |
| Furnace | 4 | 0 | 431 |
| Flying Machine | 4 | 0 | N/A |
| Witch | 5 | 1 | 93 |
| Wizard | 5 | 1 | 26 |
| Goblin Hut | 5 | 1 | 604 |
| 3 Musketeers | 9 | 5 | 26 |

Lightning
The Lightning is a powerful card as it can completely destroy some annoying decks to play against, such as spawner decks, 3 Musketeers and some powerful beat-down decks but is also quite versatile as it can stun enemies and buildings.
The Lightning Spell targets up to 3 enemy units with the highest HP at once.
For example, if your opponent places a Wizard and Musketeer and a Giant and you use Lightning on it, the Lighting spell will target the Giant first, then quickly hit and kill the Musketeer and Wizard. So to effectively use this card to obtain value, your goal should be to use it on 3 enemy units that all die to Lightning, get severely weakened, or get reset by the stunning of the lighting and to use less Elixir than your opponent has.
Another use for the Lightning spell is when you you have a Golem followed by a Musketeer heading onto your opponent’s side and on your opponent’s side, there is an Inferno Tower, Wizard and Mega Minion. What you would want to do is wait until the Inferno Tower locks onto that Golem for 1-2 seconds, then use the Lightning in a radius where all your opponent’s troops are in it to a) Reset the Inferno Tower so it doesn’t obliterate your Golem, b) Kill the troops and c) Give you a 7 Elixir positive trade.
The Lighting Spell costs 6 Elixir, but is so easy to obtain value with it when you use it properly to kill multiple threats at once. Thus I will not have a table of recommended targets because once you memorise what each card costs, it is easy to use Lighting at its fullest potential.

Rocket
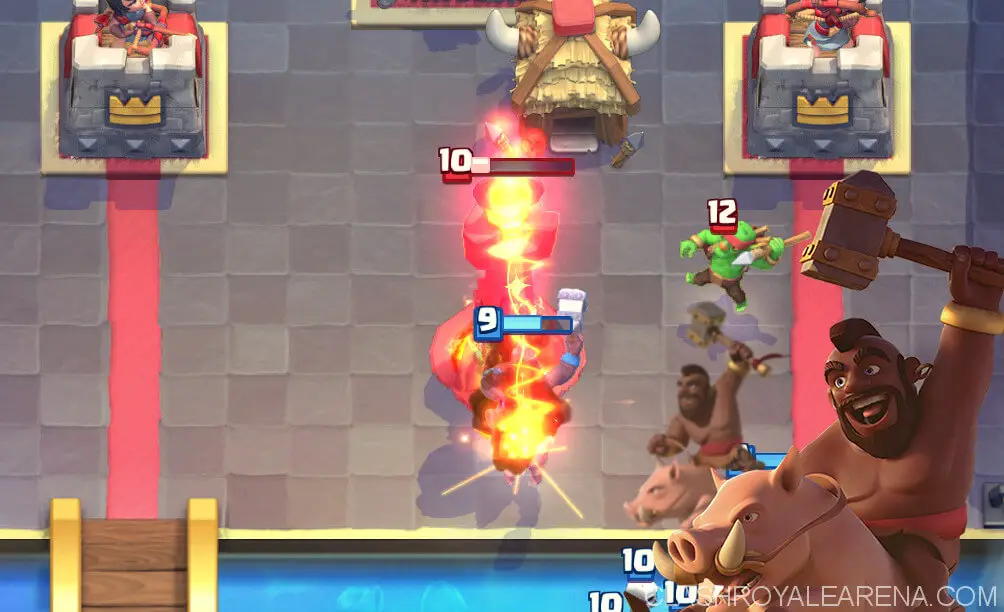
The Rocket card is similar to the Lightning Spell as both cards cost 6 Elixir to use, but the Rocket card does significantly greater damage. But the main difference is that the Rocket has a much smaller radius, only 2 tile radius compared to the Lightning’s 3.5 tile. Due to this, the Rocket is my personal favorite card and by far one of the most skill-based cards in the game.
You need to master ways in which you can utilize the Rocket by timing the deployment and speed of certain troops, have them clumped up or next to a Tower, and at the same time blast them with a Rocket.
Preferably, when using the Rocket you want to spend an equal or less Elixir than your opponent if you use the Rocket defensively. But when using offensive, you want to Rocket a unit costing 4 Elixir or more while chipping the Tower.
The Rocket is also the hard-counter to the Elixir Pump, so in situations where your opponent has the Pump, you need to prioritize your Rocket to that card so your opponent doesn’t get too ahead in Elixir.
Another thing you can do with the Rocket is be creative! Try to synergy cards with the Rocket, such as the Miner, Mortar and Tornado (May be a bit harder to synergy with due to the recent nerf)! Remember, precision is key!
Recommended Targets to use ‘Rocket Card’ On
Side note, all cards under 6 Elixir should be rocketed when next to a Tower, chipping it unless it is urgent.
| Card (Tournament Standard) | Elixir Cost | Elixir Profit Using Rocket | HP remaining |
| Musketeer | 4 | -2 | N/A |
| Baby Dragon | 4 | -2 | N/A |
| Inferno Dragon | 4 | -2 | N/A |
| Night Witch | 4 | -2 | N/A |
| Electro Wizard | 4 | -2 | N/A |
| Barbarians | 5 | -1 | N/A |
| Wizard | 5 | -1 | N/A |
| Bowler | 5 | -1 | 364 |
| Witch | 5 | -1 | N/A |
| Elite Barbarians | 6 | 0 | N/A |
| Sparky | 6 | 0 | N/A |
| 3 Musketeers | 9 | 3 | N/A |

Rage
The Rage Spell, coming in at 2 ELIXIR is one of the cheapest, yet one of the few, pretty much useless spells. It increases the speed and damage of all your units in its radius.
The Rage spell is a good and fun ‘Surprise’ card that can win you a few battles. This card works best in Beat-Down and used when you have a big push on your opponent’s side.
However this card isn’t the greatest for competitive play due to its poor capabilities at helping you out in situations where specific interactions need to take place.
With the Rage Spell, you need to keep in mind that you can only take 8 cards into battle and that the Rage Spell only really works with a few cards. One of the most hated uses with the Rage Spell is with Elite Barbarians, but let’s just think for a moment, we hate it because Raged Elite Barbarians surprise us and they move at the speed of light due to the increase of stats from the Rage spell. These two cards while having Arrows or the Zap in your hand can easily destroy a Tower, due to your surprise attack and counters towards swarm troops.
Another common use for the Rage Spell is in Beat-Down decks.
For example, you have a huge Golem push on your opponent’s side. You Rage your troops and all of a sudden, the Tower is gone, once again, due to the stat increases from the Rage Spell. However, this push can easily be shut down by a simple Inferno Tower and a few distraction troops.
In conclusion, the Rage Spell is a card that can be used only in certain situations, otherwise it is easily ‘Metaphorically Countered’.

Freeze
The Freeze Spell is one of the scariest spells (but we all know the Graveyard is the scariest).
A cool thing about the Freeze Spell is that you can use it both on offense and defense! It also is a very skill-based card as you need to properly time the place of the spell.
Your goal is to Freeze as many troops or buildings as you can within the 3 tile radius of the Freeze spell without letting your win-condition die (if used on offense).
For example, you have a Hog Rider going down your opponent’s lane, and they place a Mini P.E.K.K.A to annihilate your bacon. You would wait until the very last second to deploy your Freeze because you want to use your Hog Rider to its fullest potential. Once you Freeze the enemy troop/s, you can sit back and relax.
When used on defense, you want to deploy the Freeze spell on a big push (or something else if you’re desperate) from your opponent on your side, then utilize another high DPS troop to take out the push while you use less Elixir than your opponent.
Generally, you want to use the Freeze Spell when you have a greater Elixir advantage than your opponent!

Zap
The Zap Spell is a card that comes in at 2 Elixir and briefly stuns units for 0.5 seconds. Due to the stun and low Elixir cost, the Zap Spell is commonly found in ‘Spell Bait’ decks and Beat Down decks because it is a useful cycle card that can reset the Inferno Tower’s charge (Also the Inferno Dragon and Sparky’s charge too).
The Zap Spell can be used in pretty much any Deck because it is, once again, a cheap card and can take out swarm troops which can be a hassle.
The best way to use it is on the Inferno Tower, swarm troops or to stun units when you have a win condition going to/on the opponent’s Tower.
For example, you have a Balloon going towards your opponent’s Tower, and they have Archers and their Tower shooting at it, you can Zap the Archers and the Tower so your Balloon will get 1 shot off, which is huge!
Another example is when you have a nice big Golem push and your opponent places the scariest card for you, the Inferno Tower! What you would do is wait until the Inferno Tower locks onto your Golem, and your Supporting troop/s lock onto the Inferno Tower, you would Zap the Inferno Tower while trying to get as many other units in its radius. That way, you can get your Golem to stay alive, as well as get as much value out of the 2 Elixir Zap.
Recommended Targets to use ‘Zap’ On
Key – (R) = to reset the troop
| Card (Tournament Standard) | Elixir Cost | Elixir Profit Using Zap | HP remaining |
| Goblins | 2 | 0 | 10 |
| Spear Goblins | 2 | 0 | N/A |
| Fire Spirits | 2 | 0 | N/A |
| Bats | 2 | 0 | N/A |
| Skeleton Army | 3 | 1 | N/A |
| Goblin Gang | 3 | 1 | 10 (On Stab Goblins) |
| Minions | 3 | 1 | 71 |
| Goblin Barrel | 3 | 1 | 10 |
| Inferno Dragon (R) | 4 | N/A | N/A |
| Battle Ram (R) | 4 | N/A | N/A |
| Minion Horde | 5 | 3 | 71 |
| Graveyard | 5 | 3 | N/A |
| Sparky (R) | 6 | N/A | N/A |
| Royal Giant (R) | 6 | N/A |

Mirror
The Mirror is a very fun card, but let’s be real here, the Mirror is awful in competitive play.
The Mirror is pretty bad because it really hurts you on defense and it doesn’t really help you much on offense either.
One of the only ways to use the Mirror is to create more pressure than your opponent can handle. This is why the Mirror usually is only used in Spell Bait decks because Spell Bait decks’ priorities are to create pressure, and having the Added pressure of Mirrored Cards can destroy your opponent’s mind and win you the game.
Another use for the Mirror is to Mirror spells at the end of the game to finish off a Tower.
In my opinion, the Mirror is useless in all decks apart from the ‘Spell Bait’ decks as only certain cards are ‘good’ when mirrored.
Recommended Troops to Mirror
| Card | Elixir Cost |
| Dart Goblin | 4 |
| Skeleton Army | 4 |
| Goblin Barrel | 4 |
| Goblin Gang | 4 |
| Princess | 4 |
| Furnace | 5 |
| Minion Horde | 6 |
| Elixir Pump | 7 |
| Elite Barbarians | 7 |
| 3 Musketeers (Risky) | 10 |

Poison
The Poison is a fun, well-rounded, versatile card that is appropriate for competitive play and 2v2! Its deadly toxin lingers around in the arena for 8 seconds dealing 30 damage per tick.
Due to this and its large radius, it is super effective against clumps of troops and buildings (such as spawners).
Generally, the best way to use the Poison Spell is to prioritise it to cards that cost 4 or more Elixir. Commonly, you want to play the spell on the Tower whilst hitting the unit/s you’re after. For example, there’s a Minion Horde placed in the back behind your opponent’s Tower. You would want to place the Poison spell a little earlier before the Minion Horde hovers over the Tower as you want time for the Poison Spell to kill the Horde.
The Poison synergises really well with cards like the Graveyard and Giant as the Poison Spell prevents any swarm troops to be placed on those cards to take them out.
For example, you just placed a Graveyard on your Opponent’s Tower (With a tanking troop of course) and then you place a Poison Spell on your Graveyard whilst still hitting the Tower. This use of a Poison Spell prevents the swarm troops, that are usually used to counter Graveyard, to be placed. If they did place their Swarm Troops a little before you placed your Poison Spell, don’t worry! That’s why the Poison Spell is there!
With the Poison Spell, it is really easy to find profitable trades!
Recommended Targets to use ‘Poison’ On
| Card (Tournament Standard) | Elixir Cost | Elixir Profit Using Poison | HP remaining after 8 seconds |
| Skeleton Army | 3 | -1 | N/A |
| Goblin Gang | 3 | -1 | N/A |
| Musketeer | 4 | 0 | N/A |
| Furnace | 4 | 0 | 403 |
| Electro Wizard | 4 | 0 | N/A |
| Night Witch | 4 | 0 | 225 |
| Barbarians | 5 | 1 | 36 |
| Minion Horde | 5 | 1 | N/A |
| Goblin Hut | 5 | 1 | 576 |
| Wizard | 5 | 1 | N/A |
| Witch | 5 | 1 | 96 |
| 3 Musketeers | 9 | 5 | N/A |

Tornado
The Tornado is a fun and extremely useful card that has many uses! For example, a Tornado can: Defend your units, bunch units up, deal damage, force a retarget, allow extra damage to be done by your units and change order of attack!
One of the best ways to use the Tornado is to activate your King Tower early in the game! Usually, your opponent has 1 win condition that can easily be pulled to the King Tower, for example, the Hog Rider or Giant.
Let’s say you have a Hog Rider coming down your lane, what you would want to do is position the middle of the Tornado on the King Tower but just in range of the middle of the Princess Tower. What you would do is; wait until the Hog Rider is on the edge of the Tornado range, then use it and your King Tower should become active! Once you have your King Tower active, you no longer need to pull the opponent’s win condition to it.
Another way of using the Tornado is to clump up troops and synergise it with another spell or a splash-damage-dealing unit (Wizard, Bowler ect.) For example, one of the best synergies is the Execution plus the Tornado. This synergy is by far one of the most powerful in the game as the Executioner hits each of the targets in the Tornado as they’re clumped up and can destroy many troops for a positive Elixir trade.
The Tornado is such a strong card that is very versatile and can help you out in many situations.

The Log
I’m not gonna go too in-depth here (for that you can visit this page), But The Log is one of the most useful cards in the vast majority of spells in Clash Royale.
‘The reason for this isn’t due to its damage or ability to take down enemy towers from far away but rather due to its utility and flexibility as arguably one of the most multifaceted cards in the game.’ – Shared by crSean.
The Log has the ‘special’ ability to reset attack animations of many cards (P.E.K.K.A for example) and knocks back cards (including resetting the Battle Ram’s charge), resetting their targets (For example, the Royal Giant).
The Log is also amazing at dealing with cards like Musketeers, Wizard, Electro Wizard etc. on defense. You can simply roll your Log right once the opponent’s’ units enter the Tower’s attack range, pushing them back a bit while dealing 240 damage.
When swarms like Elite Barbarians or Barbarians are dropped, The Log can do decent damage to them and knock them away from your defensive cards so they can continue to attack them from a range.
Another use for The Log is ‘denying space’. You can throw The Log behind troops like Hog Rider to help them reach the Tower and prevent the opponent from using swarm troops. This strategy is good, although you can improve it by waiting 1-2 seconds after deployment of your Hog Rider, then placing a ‘Prediction Log’ for the Swarm Troops.
That is a brief guide on how to use The Log properly, but if you want more detail, read this guide!
Recommended Targets to use ‘The Log’ on
| Card (Tournament Standard) | Elixir Cost | Elixir Profit Using The Log | HP remaining |
| Goblins | 2 | 0 | N/A |
| Spear Goblins | 2 | 0 | N/A |
| Goblin Gang | 3 | 1 | N/A |
| Skeleton Army | 3 | 1 | N/A |
| Goblin Barrel | 3 | 1 | N/A |
| Archers | 3 | 1 | 67 |
| Dart Goblin | 3 | 1 | N/A |
| Princess | 3 | 1 | N/A |
| Musketeer | 4 | 2 | 358 |
| Electro Wizard | 4 | 2 | 360 |
| Barbarians | 5 | 3 | 396 |
| Elite Barbarians | 6 | 0-3 depending on what is used | 730 |

Clone
The Clone Spell is a weird and wacky spell that is nearly useless. One thing to always remember with it is that the original troops cloned will go to the left and the Cloned Units will be pushed to the right.
Although the Clone has pros, its cons out-weigh them; however it can still be used effectively!
Because of the 1HP factor, where the Cloned Troops have 1 HP, the strategies are very simple.
It will be fairly useless cloning tanks as they won’t gain much DPS and will die as quickly as a skeleton. On the other hand, cloning DPS units will be much more productive.
Particularly, you want to Clone cards such as the Musketeer, Mega Minion, Wizard and Balloon.
In particular with troops that drop bombs upon death (For example, the Balloon) or cards that burst into units (Like the Lava Hound) will be especially dangerous.
Another tactic that has been brung upon us by Yarn is Clone Skipping. Clone skipping allows you to bypass buildings on your opponent’s side by pushing your unit to the left. For example, a 4-2 building plant pulls in a Balloon placed on the left lane, but using Clone Skipping, you can push your Balloon to the left bypassing the building entirely. You can Clone Skip with other units too, such as Giants.
With the Clone Spell, you can easily swap troops lanes if they’re placed in the middle. Simply use a Clone Spell on a troop in the middle towards the right and you have successfully swapped a troop’s lane.
These are some of the advanced ways of using the Clone Spell, but if you want to go basic, use it to overwhelm your opponent by cloning swarm troops. Although it may work sometimes, that tactic is High-Risk, High-Reward.

Heal
The Heal Spell in my opinion is a fun, if not, the most fun spell to play with! Although its Ladder capabilities fall down due to overleveled cards, in challenges it is absolutely amazing!
One of the best uses for the Heal Spell is to heal your support troops and glass cannons, especially when they were already damaged by troops/spells.
One of the best examples for when to use the Heal Spell is when your opponent fireballs your 3 Musketeers. Once your opponent does this, you can quickly Heal your Musketeers and wipe clean a Tower with the support of spells. You may not be able to pull off this trick again because if they’re smart, they will Fireball + another cheap spell your 3 Musketeers simultaneously.
Typically, you would want to bring your Heal Spell into control or beat-down decks as the Heal serves a purpose when your troops who are defending your opponent’s units or in a big push damaged as they can be brung up to full HP, thus allowing tons more damage to be dealt.
The Heal Spell works well when you have an Elixir Advantage and just like the Rocket, be creative and go wild!
So guys this has been the ULTIMATE GUIDE TO ALL SPELLS, I hope you enjoyed it as it took a long time to make it, so I would really appreciate it if you left a subscription on my channel, The Jayming Broadcast.
Anyways guys, this is Jb3403 signing off.


